Xeriscaping Ideas for Front Yard: A Water-Wise Curb Appeal Guide
Xeriscaping ideas for front yard spaces aren’t about dumping a load of gravel and calling it done. Done right, a water-wise front yard looks fuller and more intentional than the tired lawn it replaces — and it slashes your outdoor water bill by 50 to 75 percent in most climates, according to the EPA’s WaterSense program.
The front yard is the one part of your landscape every neighbor, buyer, and delivery driver sees daily. A xeriscaped front yard signals a cared-for home while removing the single biggest maintenance chore you own: mowing. If you’re tired of fertilizing, edging, and watering turf that browns out by mid-July anyway, a well-designed dry garden is the fix.
This guide walks through practical layouts, the best drought-tolerant plants, hardscaping choices, and honest cost figures, so you can build something that looks good in every season.
Why Xeriscape Your Front Yard
The case is mostly money and time. A traditional bluegrass or fescue lawn needs roughly 1 to 1.5 inches of water per week during summer. On a 1,000-square-foot front lawn, that’s about 620 gallons a week. Over a six-month irrigation season, you’re looking at well over 15,000 gallons — enough to fill a small above-ground pool — just to keep grass green.
A xeriscape flips that math. Native and drought-tolerant plants typically need deep, infrequent watering for the first one to two seasons, then survive on rainfall alone in most regions. The savings show up as:
- Lower water bills (often 50 percent or more off summer usage)
- No mowing, edging, or seasonal fertilizer treatments
- Fewer weeds once ground covers establish and block light
- Higher curb appeal without a single weekend lost to yard work
There’s a resale angle too. A tidy, mulched front yard with stone accents reads as “low-maintenance upgrade” to buyers, and increasingly to appraisers in drought-prone markets across the Southwest and California.
Start With Soil, Slope, and Sun
Before you buy a single plant, map what you’re working with. Xeriscaping is a system, not just a plant list, and the system starts at ground level.
Test and amend the soil. Most clay-heavy soils drain slowly, while sandy soil dries out fast. Neither is ideal for drought-tolerant plants, which generally want soil that drains freely but still holds some moisture. Add 2 to 3 inches of compost worked into the top 8 inches before planting. Skip this step and even the toughest agave will sulk.
Read the slope. Water follows grade. On a sloped front yard, you can either terrace it into level planting beds or use the slope to your advantage with a dry creek bed that moves runoff toward shrubs instead of the street. Flat yards are easier: simply mound each planting bed 3 to 4 inches above surrounding grade to keep crowns dry.
Track the sun. The strip along a south-facing wall bakes; the area under a mature tree stays shaded and cool. Group plants by their water and sun needs — a practice called hydro-zoning — so one irrigation zone isn’t drowning a cactus to keep a shade plant alive.
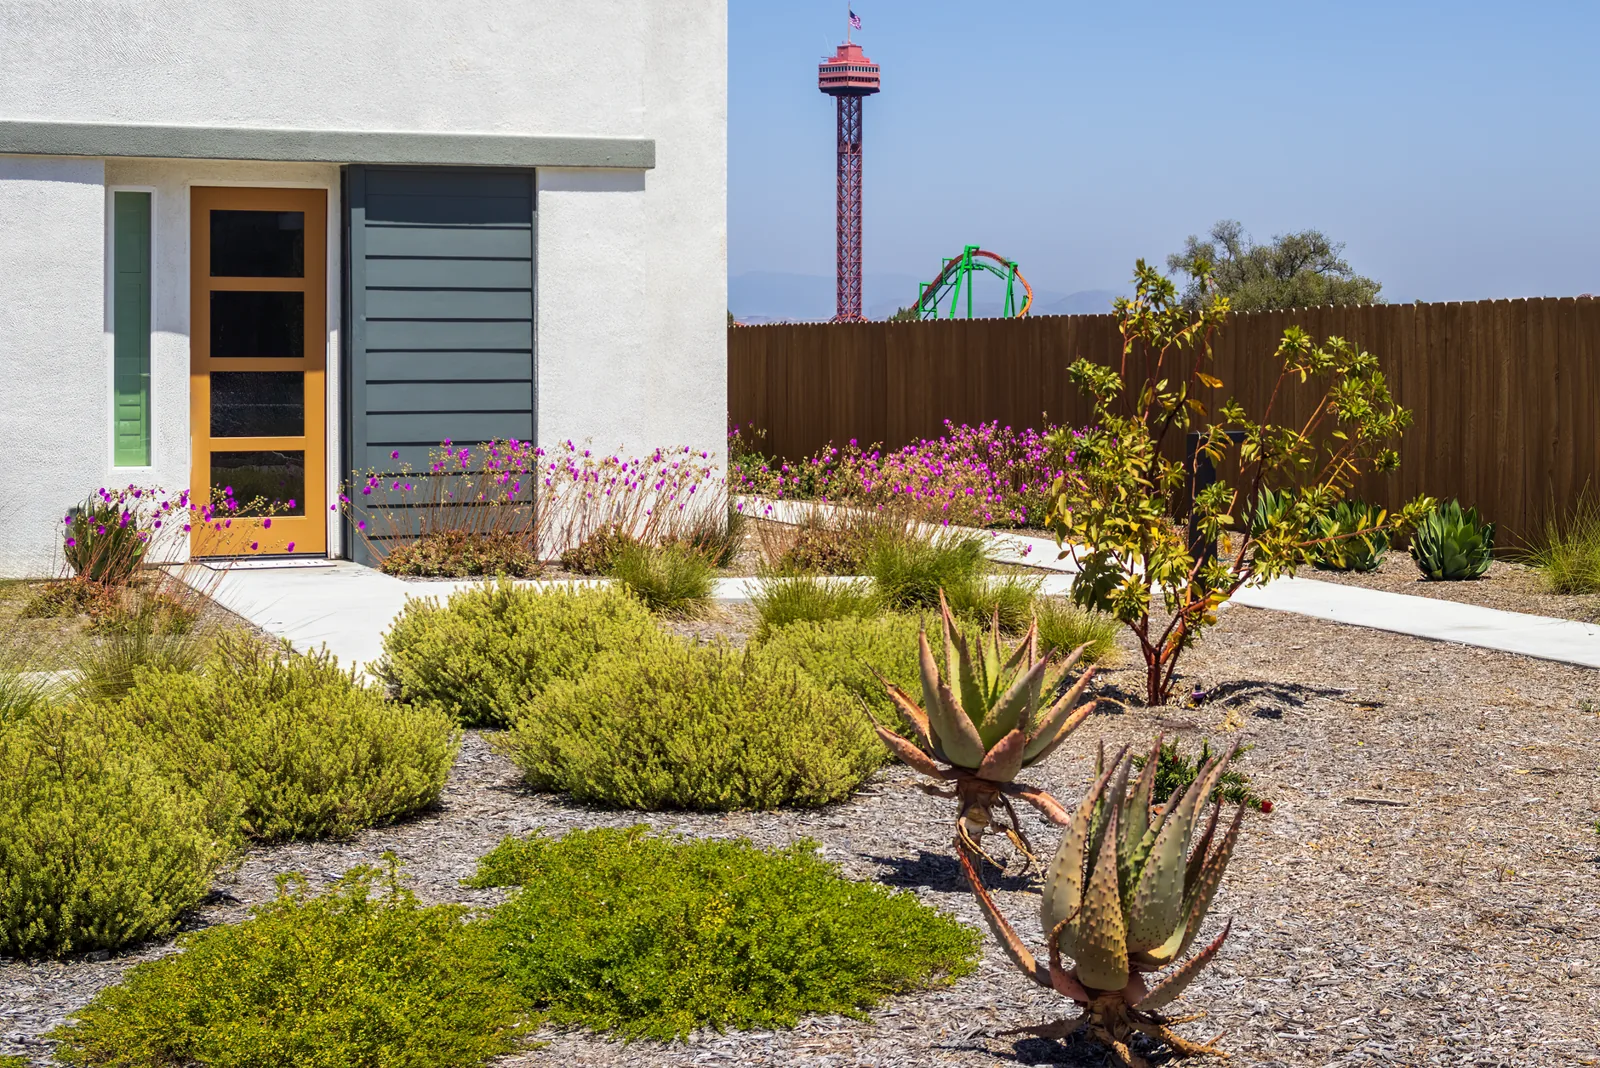
Photo by David Brown via Pexels
Hardscape First, Plants Second
Hardscaping — stone, gravel, paving — is the backbone of any good xeriscape because it needs zero water and reads as “designed” from the curb. Front-load money into hardscape and the plant budget stretches further.
A decomposed granite (DG) path or patio is the workhorse option. DG compacts into a firm, natural-looking surface and costs about $30 to $60 per square yard installed. Pea gravel runs $40 to $80 per square yard and gives a softer crunch underfoot, though it migrates and needs occasional raking. Flagstone or concrete pavers look premium but land between $15 and $30 per square foot installed — a better fit for a walkway or patio than a large bed.
For a defined look that boosts curb appeal, edge every bed with steel edging, bender board, or a double row of stacked stone. Crisp edges are what separate “intentional landscape” from “vacant lot.” If you want a route from driveway to door, browse paver walkway ideas for stepped, gravel-inlay, and mixed-material options.
The Best Drought-Tolerant Plants for Curb Appeal
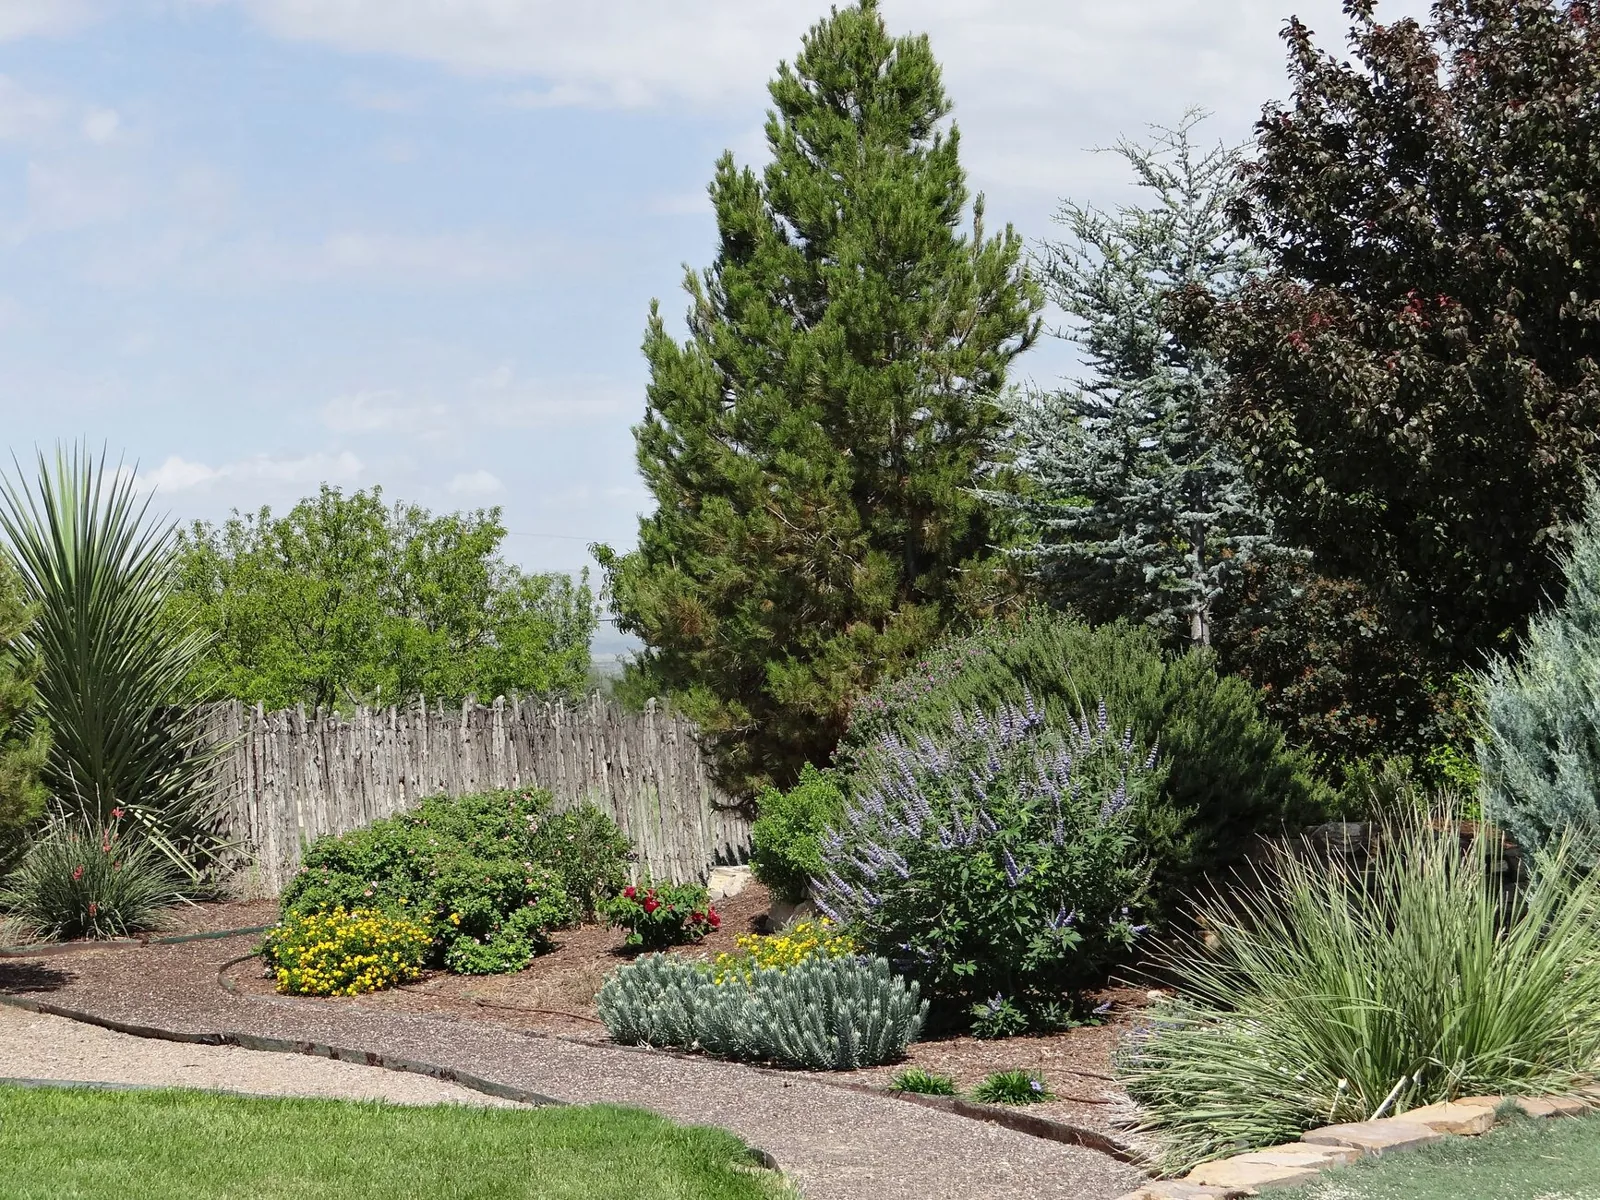
Plant selection is where most front yards fail. The trick is layering heights and textures so the yard reads as a garden, not a rock pile. Stick with species native to your region where possible — they’re adapted to local rainfall and resist local pests.
Structural evergreens (the backbone):
– Agave and yucca for sharp, architectural spikes
– Juniper and dwarf pine for year-round green mass
– Manzanita for red bark and sculptural branches in dry Western climates
Perennial color (the mid-layer):
– Lavender and Russian sage for purple blooms and silver foliage
– Salvia and penstemon for summer-long flower spikes
– Coreopsis and blanket flower for warm yellow and rust tones
Ground covers (the floor):
– Creeping thyme and sedum for walk-on texture between stones
– Ice plant for fast-spreading color on slopes
– Blue fescue and Mexican feather grass for airy ornamental clumps
Layer these so you have something evergreen in winter, a bloom flush in spring, and dried seed heads for texture through fall. Most of these plants cost $8 to $25 each in a 1-gallon pot, so a 400-square-foot bed might set you back $300 to $700 depending on density.
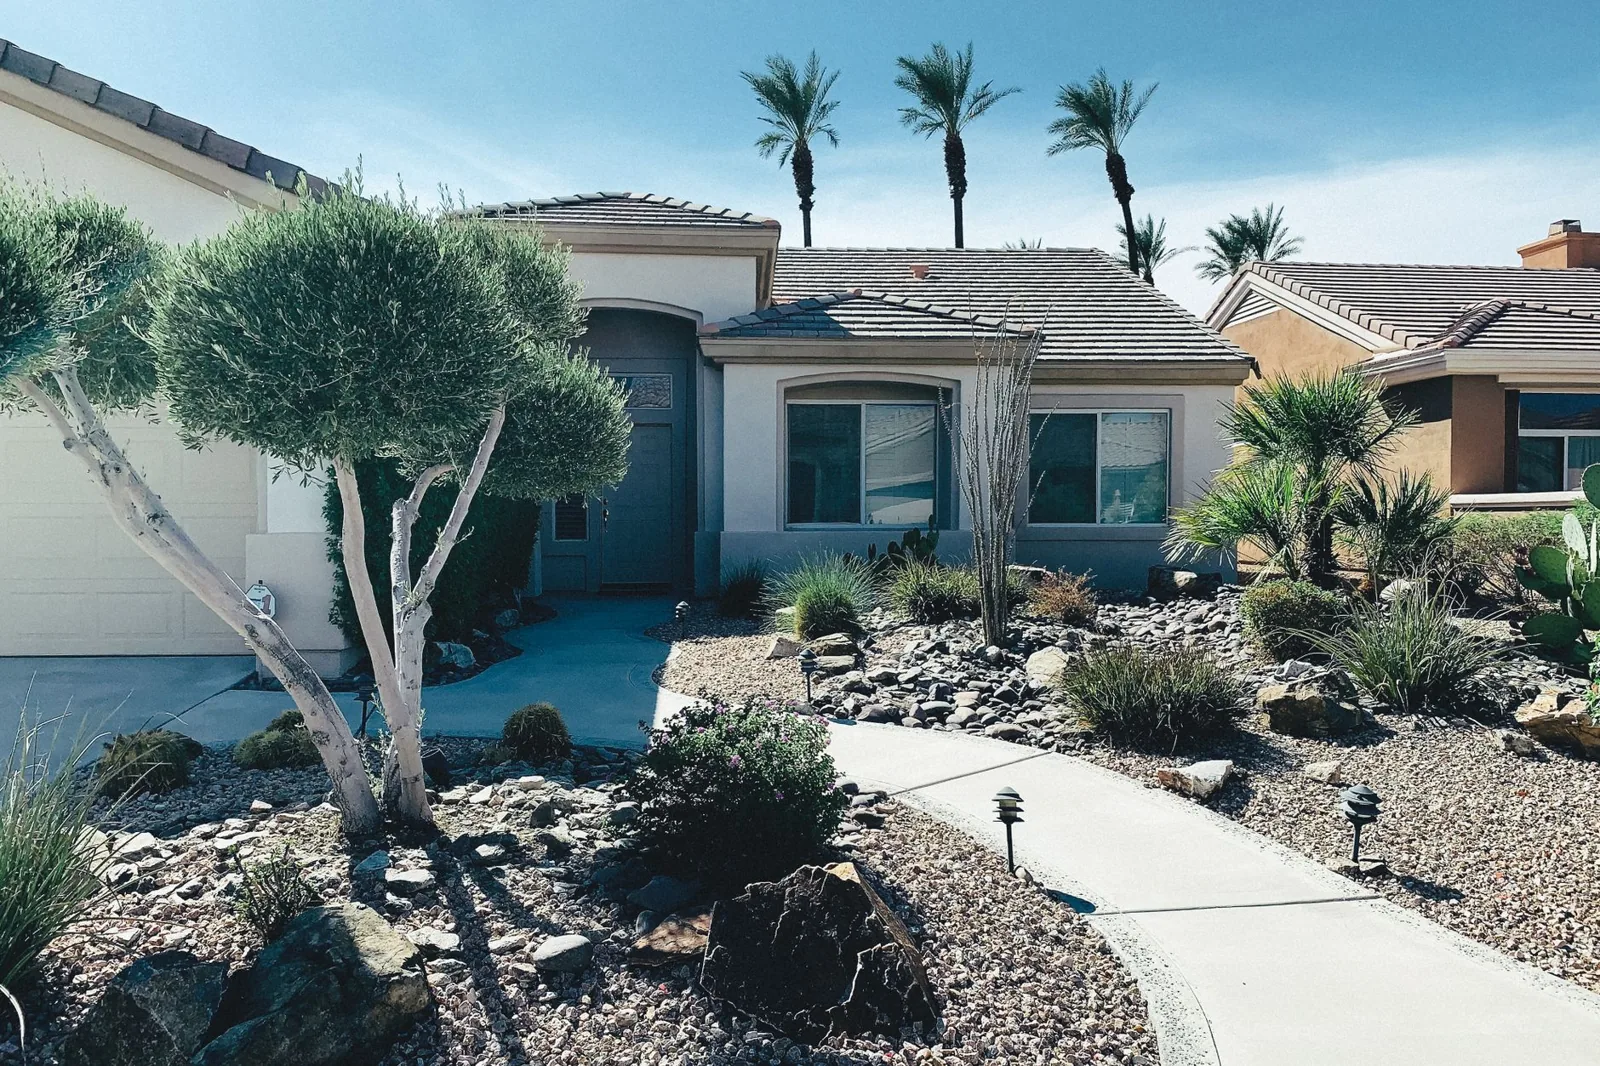
Photo by JUDY HORN via Pexels
Xeriscaping Ideas for Front Yard: Layouts That Work
Not sure how to arrange everything? These three layouts cover most typical front yards.
The standard suburban rectangle. Keep a thin green buffer strip (a 3-foot band of turf or low ground cover) near the curb for a soft transition, then fill the house-side bed with a sweep of gravel, an architectural agave or two, and a standing stone or boulder for focal weight. Run a DG path from driveway to door through the middle.
The full conversion. Replace the entire lawn with mulched beds, burying the hose line. Use a dry creek bed of river rock to handle downspout runoff, and anchor the design with a single specimen tree — a desert willow or palo verde, depending on zone — for shade and scale.
The rock garden. For sloped or awkward front yards, build terraced stone walls and plant between them with sedum, ice plant, and creeping phlox. The stone does double duty: it holds the slope and reads as luxury from the street.
The common thread is repetition. Use the same stone, the same mulch color, and two or three plant species repeated in clusters. A xeriscape with twenty different plants looks chaotic; one with seven well-chosen species repeated looks professionally designed.
Gravel, Mulch, and Ground Covers Compared
The material you spread across open ground does the real water-saving work. It shades roots, slows evaporation, and suppresses weeds. Here’s how the main options stack up:
| Feature | Decomposed Granite | Pea Gravel | Bark Mulch | Ground Cover Plants |
|---|---|---|---|---|
| Installed cost / sq ft | $1.50–$3.50 | $1.00–$2.50 | $0.40–$0.90 | $0.25–$1.00 (plugs/seeds) |
| Water retention | Fair | Poor | Excellent | Excellent |
| Weed suppression | Good | Fair | Good (when 3″ deep) | Excellent once established |
| Maintenance | Rake, add yearly | Rakes, migrates | Replace every 1–2 yrs | Prune annually |
| Best for | Paths, patios | Decorative beds | Plant beds | Slopes, large areas |
For plant beds, a 3-inch layer of shredded bark or arborist wood chips is the best value — it holds moisture against the roots and feeds the soil as it breaks down. Reserve gravel for paths and open areas where nothing is planted. A common beginner mistake is graveling entire beds with plants poked through; the rock traps heat, and transplants struggle.
Irrigation: Water Wisely On Purpose
Xeriscape doesn’t mean zero water. New plantings need roughly one season of consistent moisture to root out, and even established natives appreciate a drink during extreme heat.
A drip system delivers that water directly to the root zone with almost no evaporation or overspray. Drip lines typically run $1 to $3 per linear foot plus a controller, and a simple front-yard setup can be installed in an afternoon. If you’re weighing options, this breakdown of drip irrigation vs. sprinkler system covers the cost and efficiency differences in detail.
Group plants by water need so one zone doesn’t overwater the drought-tolerant section. Run drip early in the morning to reduce evaporation, and add a 2- to 3-inch mulch layer to stretch the interval between waterings. After the second season, most xeriscapes need supplemental water only during prolonged dry spells.
What Xeriscaping Costs
Budget reality check: a DIY front yard xeriscape runs about $4 to $12 per square foot for materials, while hiring a landscape contractor pushes it to $12 to $25 per square foot installed. For a typical 1,000-square-foot front yard, that’s $4,000 to $12,000 DIY or $12,000 to $25,000 with a pro.
The big-ticket items are hardscape material, site prep (removing sod, regrading), and any irrigation work. You can cut the bill meaningfully by:
- Removing sod yourself (rent a sod cutter for about $60 to $80 a day)
- Using bark mulch instead of gravel in large areas
- Starting small — convert the parking strip and one bed the first year
- Buying smaller plants and letting them fill in over two seasons
Keep in mind that many water utilities offer rebates for turf removal, often $1 to $3 per square foot up to a cap. That can cover a healthy slice of the plant budget. If you’re already pricing the broader project, see landscaping cost per square foot for a fuller line-item breakdown.
Frequently Asked Questions
Is xeriscaping the same as zero-scaping?
No. Xeriscaping is a water-conserving design method that uses mulch, drought-tolerant plants, and efficient irrigation. “Zeroscaping” is a loose term for covering everything in rocks and nothing else — a look that tends to read as barren and still collects weeds.
Do xeriscaped yards really lower water bills?
Yes. The EPA’s WaterSense program estimates that converting turf to water-wise landscaping cuts outdoor water use by 50 to 75 percent. In hot, dry climates, homeowners commonly report saving $300 to $600 a year on summer watering.
Will a xeriscape hurt my home’s resale value?
Generally the opposite. A maintained, well-mulched xeriscape with defined edges and year-round structure is a selling point, especially in drought-prone markets. The risk is only when a yard is left to look empty — so keep evergreen structure and defined paths in the design.
How long before a new xeriscape looks established?
Plan on two to three seasons. The first year is spent rooting in and filling gaps; by year three, mature plants and ground covers should cover most of the soil surface. Faster-growing options like ice plant and creeping thyme can fill in within a single season.
Do I need any watering at all?
For the first year or two, yes — new plants need regular deep watering to establish roots. After that, established drought-tolerant plants typically survive on natural rainfall in most of the US, with occasional supplemental drip watering during heat waves.
For region-specific plant lists, the National Wildlife Federation’s native plant finder helps you pick drought-tolerant species for your zone.
The Bottom Line
Xeriscaping ideas for front yard spaces come down to one trade: you give up a lawn that needs constant feeding, mowing, and watering, and you gain a front yard that looks sharp year-round for a fraction of the upkeep. Start with soil and grade, build hardscape edges and paths first, then layer drought-tolerant plants by height and water need.
Keep it simple: one path, one palette of stone and mulch, and a handful of plants repeated in clusters. Do the sod removal yourself, take the utility rebate, and the project pays for itself in water savings within a few seasons. If you want a broader plan for the rest of the property, check out hardscaping ideas for backyard to carry the water-wise theme around the whole house.