Dry Creek Bed Landscaping: Cost, Design, and DIY Guide
A dry creek bed is one of the most useful features you can add to a yard that drains poorly. Dry creek bed landscaping uses river rock, gravel, and larger boulders to mimic a natural stream, channeling rainwater away from your foundation while giving the landscape a finished, intentional look. It fixes a real problem and looks good doing it, which is a rare combination in home improvement.
Whether you are fighting a soggy lawn, a bare patch where grass refuses to grow, or runoff that pools near the house after every storm, a dry creek bed routes that water exactly where you want it to go. Done right, it costs a fraction of a full French drain or a regrading job, and most homeowners can build one in a weekend.
What Is a Dry Creek Bed?
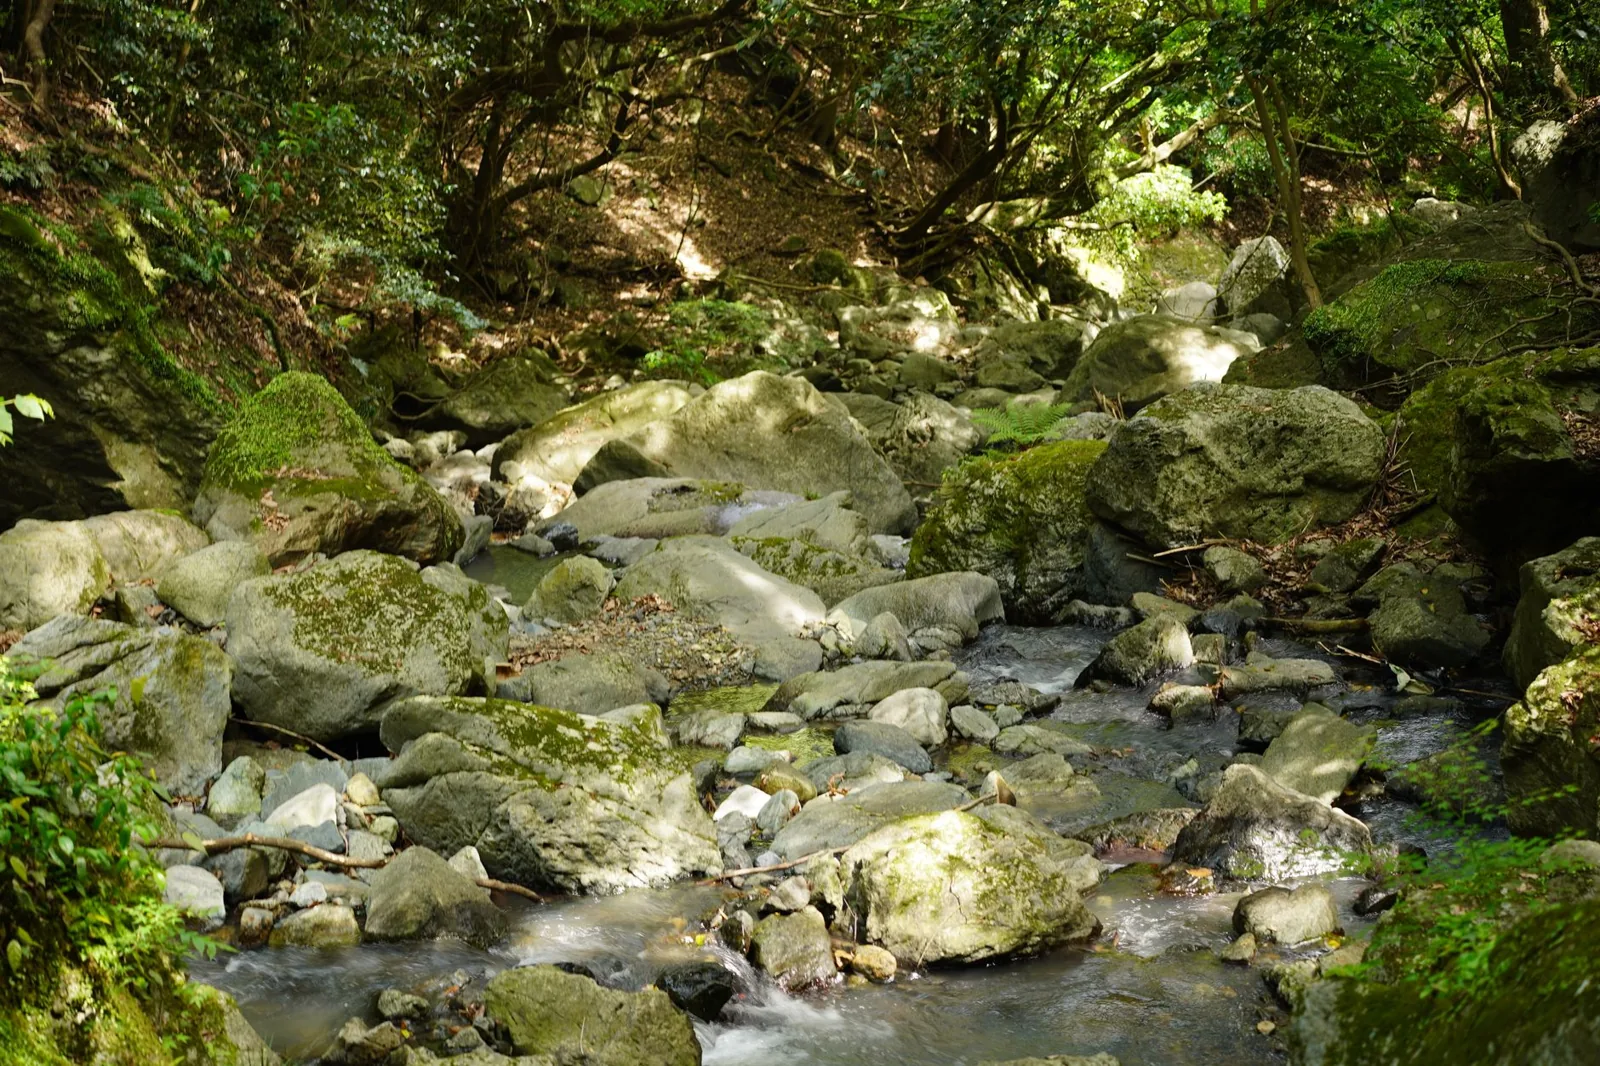
A dry creek bed (also called a dry stream bed or dry river bed) is a shallow, stone-lined channel built to carry water across your yard during and after heavy rain. It is dry most of the time. The rocks stay put, and the channel carries runoff only when it storms. The design borrows from how a natural creek moves water: a winding path, rocks of mixed sizes, and a gentle downhill slope.
A typical dry creek bed has four working parts:
- A shallow trench, usually 6 to 12 inches deep and 2 to 4 feet wide
- Landscape fabric lining the bottom to block weeds and keep the rock from sinking into the soil
- A mix of rock sizes: large boulders and cobbles along the edges, medium river rock in the bed, and pea gravel or crushed stone at the bottom
- Optional plants, ornamental grasses, and a bridge or stepping stones for visual interest
The trench is the functional half; the rocks are the visible half. Both matter, and skimping on either one is where most DIY jobs go wrong.
Why Add a Dry Creek Bed to Your Yard?
A dry creek bed earns its keep in several ways at once, which is why landscape designers reach for it so often.
- It moves water off your lawn. A low, wet spot becomes a designed channel instead of a muddy puddle. Water flows along the rock path and away from the house.
- It slows erosion. On a slope, stormwater cuts ruts and washes away topsoil. A stone channel gives the water a clear route and stops it from carving its own.
- It adds year-round structure. Unlike a planting bed that dies back in winter, a dry creek bed looks the same in January as it does in July.
- It cuts your water bill. A dry creek bed needs no irrigation and no mowing. Pair it with drought-tolerant plants and you have a low-water landscape feature.
- It is one of the cheaper hardscaping fixes. For a drainage problem that does not require buried pipe, a dry creek bed almost always beats a French drain on cost.
None of this requires heavy equipment or a hired crew. With a shovel, a wheelbarrow, and a few tons of rock, a determined homeowner can handle most of it.
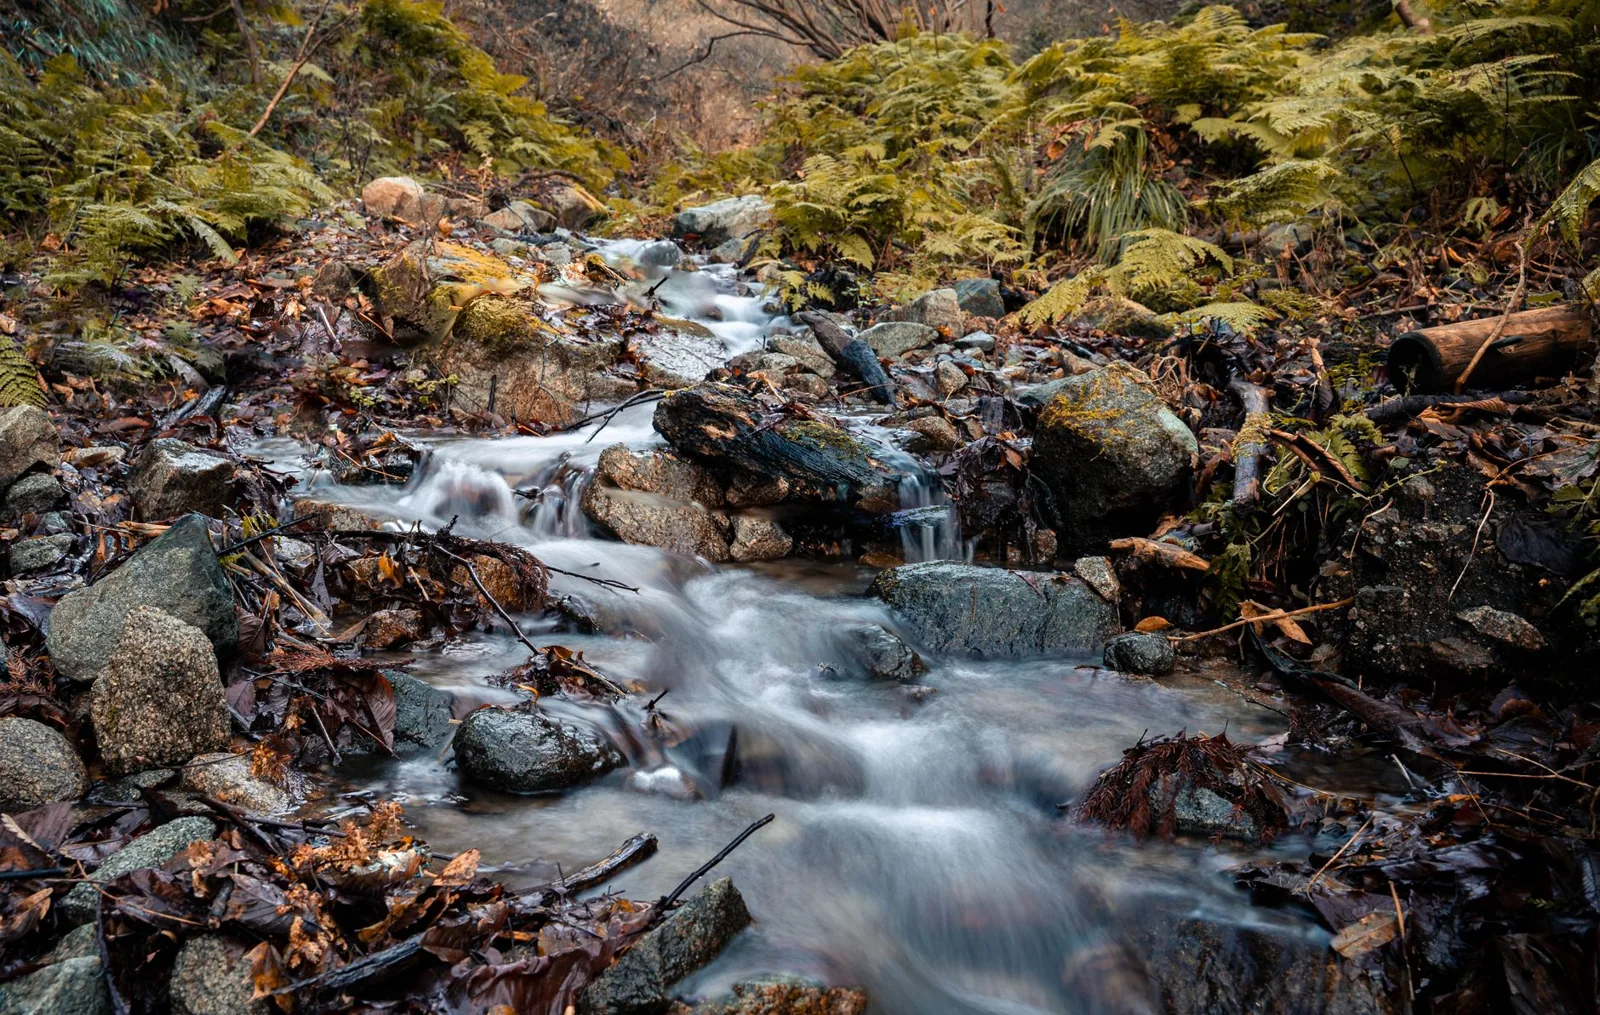
Photo by sun via Pexels
How Much Does Dry Creek Bed Landscaping Cost?
Plan on spending $15 to $40 per linear foot for a professionally installed dry creek bed, or roughly $3 to $10 per square foot in materials if you build it yourself. A typical 20-foot bed 3 feet wide works out to about 60 square feet, so a DIY project usually lands between $200 and $600, while a pro job for the same bed runs $900 to $1,800.
The single biggest line item is rock, and rock is priced by weight. River rock and pea gravel generally cost $40 to $80 per cubic yard or $60 to $150 per ton delivered, depending on your region and how far it has to travel. Larger accent boulders are sold individually, often $25 to $100 each for the 12-to-24-inch pieces that frame a creek bed.
DIY material costs
For a 20-foot bed, expect something close to this breakdown:
- Landscape fabric: $20 to $40
- Pea gravel or crushed stone base: $80 to $150
- River rock (2 to 4 tons): $150 to $400
- Accent boulders (6 to 10 pieces): $150 to $500
- Edging, stakes, and optional plants: $50 to $200
Professional installation costs
Hiring a landscaper to build the same bed typically costs $900 to $1,800, including labor, delivery, and disposal. Most crews charge $50 to $100 per hour, and a small bed takes a two-person crew most of a day. Larger beds that need a skid steer to move rock will push the total higher.
What changes the price
- Rock size and type. Large river rock costs more than pea gravel, and imported or colored stone costs more than local stone.
- Access. If a truck cannot dump rock near the bed, expect hauling fees or added labor.
- Slope and drainage. Steep sites need deeper trenches, more fabric, and more careful grading.
- Your region. Rock is cheaper near quarries; delivery in metro areas costs more.
For context on how this fits a bigger project, compare it against the per-square-foot figures in our landscaping cost per square foot breakdown. A dry creek bed is usually one of the least expensive ways to fix drainage.
How to Build a Dry Creek Bed Step by Step
This is a weekend project for one or two people. Rent nothing, buy a good pair of gloves, and order more rock than you think you need, because running short mid-project is the most common rookie mistake.
Step 1: Plan the path
Walk the yard during or right after a storm and watch where the water already wants to go. That natural route is your bed. Mark it with spray paint or a garden hose, keeping the path winding rather than ruler-straight. A gentle curve looks like a real creek and slows the water down, which is exactly what you want. The bed should end somewhere that can absorb or carry the water, like a rain garden, a swale, or the street gutter, never at your neighbor’s fence or your own foundation.
Step 2: Dig the trench
Remove the sod and dig a shallow channel, 6 to 12 inches deep at the center and shallower at the edges, so the cross-section looks like a shallow “U.” Slope the whole thing downhill at least 1 to 2 inches for every 10 feet of length. Pile the soil you remove along the outside edges; you will use it later to shape the banks.
Step 3: Lay the fabric
Line the trench with heavy-duty landscape fabric, overlapping the seams by at least 6 inches. Tuck it up the sides and let it extend a few inches beyond the edge of the bed. The fabric keeps the rock from slowly sinking into the dirt and blocks most weeds, which is the difference between a bed that looks good for a decade and one that needs redoing in two years.
Step 4: Add the rock in layers
Start with the smallest stone at the bottom, then work up to the biggest.
- Spread 2 to 3 inches of pea gravel or crushed stone as the base layer.
- Add the medium river rock on top, 3 to 5 inches deep, and rake it level.
- Set the large boulders along the edges and at the curves, burying each one a third of the way into the gravel so it looks settled, not placed.
Vary the rock sizes and cluster a few boulders together at bends. That irregularity is what makes the bed read as natural instead of manufactured.
Photo by Mirko Fabian via Pexels
Dry Creek Bed vs. French Drain vs. Swale
If your goal is moving water, you have three common choices. They solve related problems but at different prices and with different looks.
| Feature | Dry Creek Bed | French Drain | Swale |
|---|---|---|---|
| Water handled | Surface runoff | Subsurface water | Surface runoff |
| Cost per linear foot | $15–$40 | $25–$50 | $5–$15 |
| Appearance | Decorative stone channel | Invisible, buried | Grassy, low profile |
| DIY difficulty | Moderate | Moderate to high | Low |
| Best for | Visible drainage + curb appeal | Wet basements, standing water | Gentle slopes, large areas |
A dry creek bed is the choice when you want the drainage to double as a design feature. A French drain is the choice when water sits against the foundation or under the lawn and you want it gone and hidden. A swale is the cheapest option for redirecting water across a large, open area, but it offers no visual interest on its own. Bob Vila’s rundown of 10 DIY yard drainage solutions weighs each option against the others if you are still deciding.
For more on the hardscape side of things, our hardscaping ideas for backyard guide covers stone, gravel, and paver options that pair well with a creek bed.
Design Ideas and Plants for a Dry Creek Bed
A dry creek bed looks best when it blends into the surrounding planting rather than sitting in the middle of an empty lawn.
- Start the bed at a downspout. This is the classic application. Bury the downspout outlet under the first boulder so roof runoff empties straight into the channel.
- Use a bridge or stepping stones. A single flat boulder or a short cedar plank across a narrow point turns a drainage ditch into a focal point.
- Bank the edges with plants. Ornamental grasses, creeping phlox, sedum, daylilies, and blue fescue all tolerate the drier soil along a creek bed’s edges.
- Anchor the bends with a shrub or small tree. A dwarf conifer or a clump of river birch gives the bed a sense of purpose and scale.
- Keep the rock palette consistent. Pick one or two stone types and repeat them. Mixing five different rocks looks like a leftover pile, not a design.
If you want more visual inspiration before you commit, this collection of dry creek bed landscaping ideas from Family Handyman shows a wide range of finished looks.
If you are planting along the bed, think about water at the same time. The plants that frame a creek bed are usually drought-tolerant, but the lawn around it may not be. Our drip irrigation vs. sprinkler system comparison helps you decide how to keep the rest of the yard healthy without watering the rocks.
Dry Creek Bed Maintenance
A dry creek bed is low maintenance, but it is not zero maintenance.
- Rake the rocks once or twice a year to spread them back out and fill bare spots.
- Pull weeds early. Landscape fabric blocks most weeds, but seeds blown in on top will still sprout in the gravel. Pull them before they root.
- Replenish stone as it settles. Expect to add a bag or two of gravel every few years, especially after the first winter.
- Clear leaves and debris in the fall so the channel does not clog before spring rains.
- Check the slope after heavy storms. If water ponds anywhere in the bed, add gravel to restore the downhill fall.
Ten minutes a couple of times a year keeps a properly built dry creek bed working for decades.
Frequently Asked Questions
How deep should a dry creek bed be?
Most dry creek beds are 6 to 12 inches deep at the center. Steeper slopes and heavier rainfall call for a slightly deeper channel, but going deeper than about 18 inches rarely helps and just adds rock and cost.
Do dry creek beds really help with drainage?
Yes, when they are built with a downhill slope and an outlet. A dry creek bed gives surface runoff a clear path away from the house and prevents it from pooling on the lawn. It will not solve a high water table or a wet basement, which usually need a French drain or a sump pump.
Can I put a dry creek bed on a slope?
Slopes are actually the best place for one. The channel slows water as it moves downhill and stops erosion. On steeper slopes, use more large boulders and add a few check dams, which are rows of stone placed across the bed to slow the flow.
What size rock is best for a dry creek bed?
Use a mix. Pea gravel or crushed stone (1/2 to 3/4 inch) goes at the bottom, medium river rock (2 to 5 inches) fills the bed, and larger boulders (12 to 24 inches) frame the edges and bends. The variety of sizes is what makes it look like a natural creek.
Does a dry creek bed need landscape fabric?
Yes. Fabric keeps the rock from sinking into the soil and blocks most weeds from growing up through the bed. Skipping it saves $30 up front and typically costs you a rebuild in a few years.
The Bottom Line
Dry creek bed landscaping is one of the few home improvements that pays off twice: it solves a genuine drainage problem and it makes the yard look better at the same time. For $200 to $600 in materials and a weekend of work, most homeowners can build a feature that lasts for decades, needs almost no maintenance, and adds curb appeal that shows up in every listing photo.
If you have a low, wet, or eroding spot in your yard, start by watching where the water goes during the next storm. That path is your blueprint. Mark it, dig it, line it, and fill it with rock, and you will have turned your worst drainage problem into the best-looking part of the landscape.
For a deeper look at how this fits into a full-yard budget, read our landscaping cost per square foot guide before you start.