How to Seal a Deck: Step-by-Step Guide for a Lasting Finish
A well-sealed deck sheds water instead of soaking it up, and that single difference is what keeps boards from warping, cracking, and rotting years before their time. If you’re wondering how to seal a deck properly, the good news is that it’s a genuinely doable DIY project — no special machinery, no license, just the right sealer, a couple of dry days, and a system you can knock out in a weekend.
Sealing isn’t a one-and-done job. Even the best sealer wears thin under sun, rain, and foot traffic, so plan on resealing every two to three years depending on your climate and how much your deck gets used. This guide walks through every step of the process, including how to prep the wood, which sealer to choose, what it should cost, and the mistakes that leave first-timers with a peeling, blotchy mess.
Why Sealing Your Deck Matters
Wood is porous. Left unsealed, a deck board acts like a sponge every time it rains or the sprinklers run, swelling as it absorbs moisture and shrinking as it dries. That repeated swelling and shrinking is what drives visible damage: boards that cup, split, and splinter; nails that pop; and eventually the soft, spongy rot that means pulling up the wood and starting over.
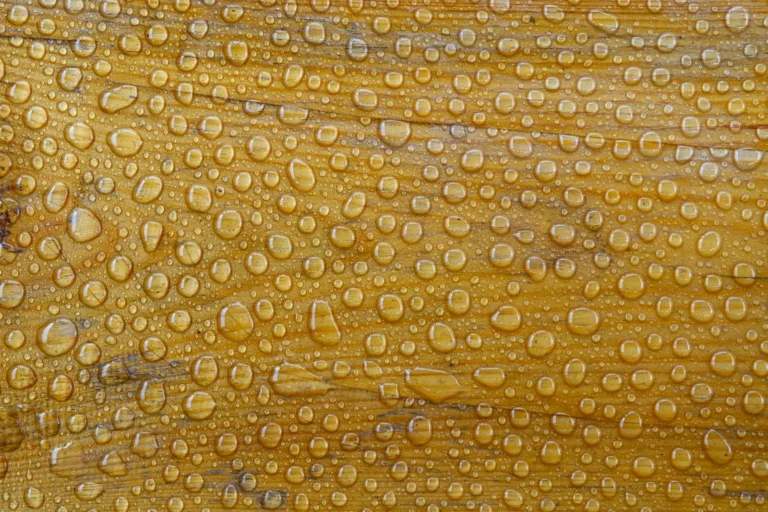
Sealing interrupts that cycle. A quality sealer forms a barrier that repels water on the surface while still letting the wood breathe, so boards stay more dimensionally stable. It also blocks harmful UV rays, which is the main reason decks turn gray, discolored, and brittle in sunny spots. In practice, a sealed deck looks better, lasts longer, and is easier to keep clean because dirt and mildew can’t work their way into the grain.
If you’ve already got boards with soft spots or visible rot, sealing won’t fix them — it will just trap the problem underneath. Address how much wood rot repair costs first, then seal once the wood is sound. The sealer preserves wood; it doesn’t restore it.
What You’ll Need Before You Start
Most of the work in a good sealing job happens before the sealer ever touches the wood. Gather these materials up front so you’re not running to the store mid-project:
- Deck cleaner or brightener — a product like Olympic Premium Deck Cleaner or Restore-A-Deck for stripping grayed, mildewed wood.
- Pressure washer (optional) plus a pump sprayer, roller, or stain pad for applying the sealer.
- Stiff-bristle brush and bucket for scrubbing edges and corners the sprayer misses.
- Sandpaper or a pole sander — 60-80 grit for rough spots.
- Painter’s tape, drop cloths, and plastic sheeting to protect siding, plants, and anything under the deck.
- A high-quality exterior wood sealer (more on choosing below).
- Safety gear — gloves, eye protection, and a respirator if you’re using an oil-based product.
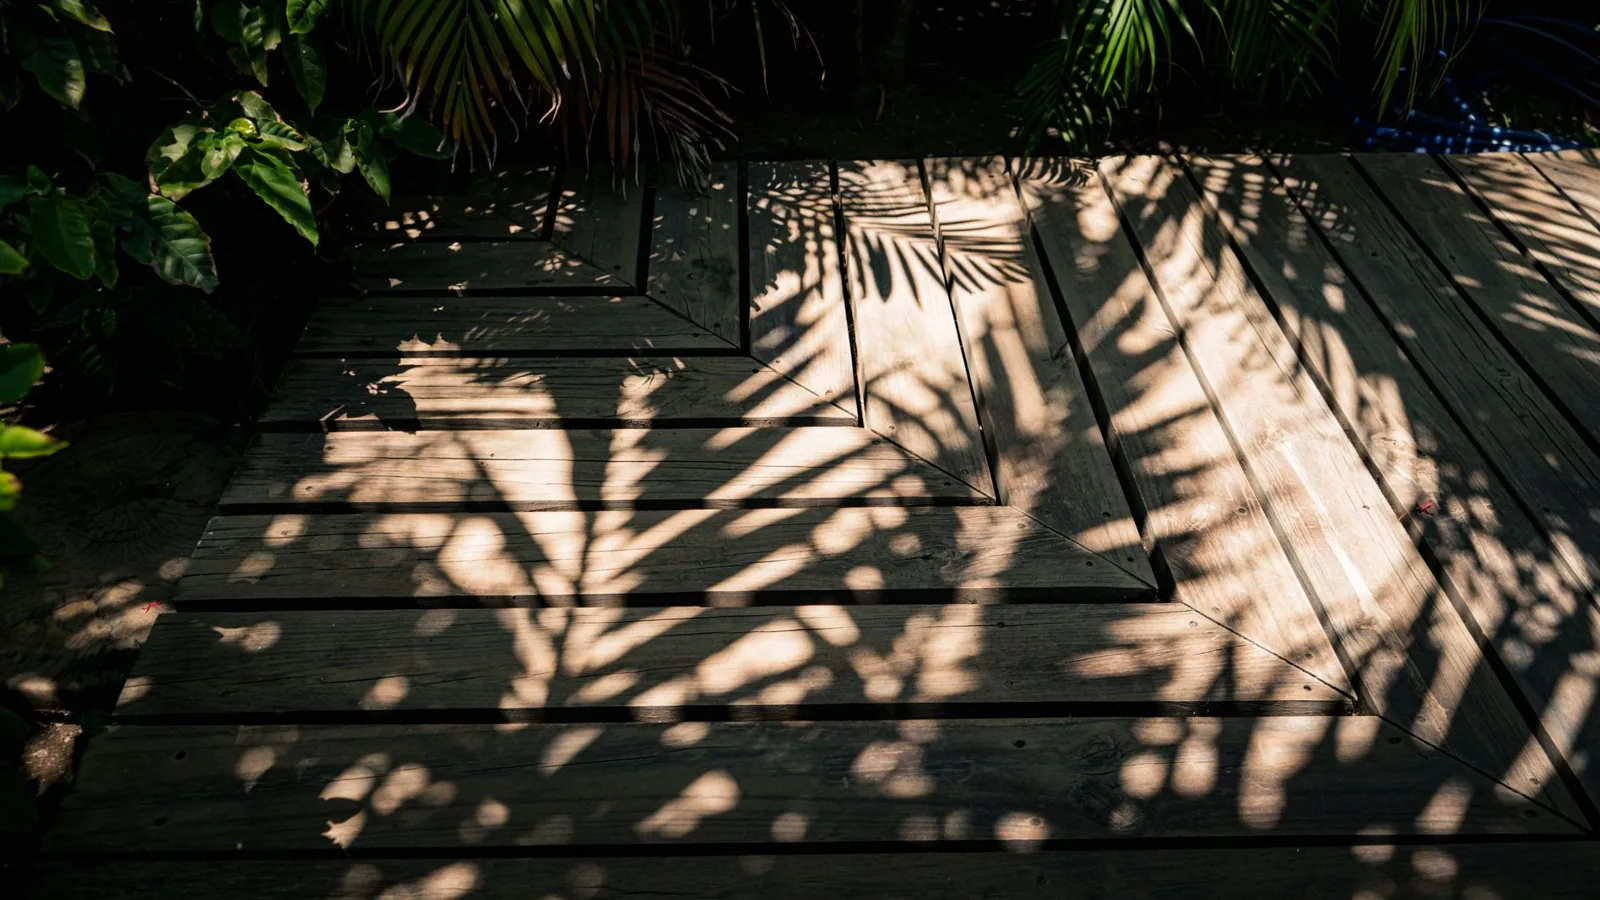
Photo by Cristian Andres Molina Ossaye via Pexels
How to Seal a Deck: The Step-by-Step Process
Here’s the full sequence, in order. Skip a step and the sealer will fight against whatever’s left on the boards.
1. Clean the Deck Thoroughly
Sweep off loose debris, then scrub the entire surface with a deck cleaner applied according to the label. For a pressure-treated or weathered deck, a proper cleaner — not just soapy water — dissolves the gray layer of oxidized wood fibers and mildew that would otherwise sit between the sealer and the board. If you’re pressure washing, keep the nozzle moving and hold it at a shallow angle; too much force at close range raises the wood grain and leaves permanent wand marks. Not sure what a proper wash should cost if you’d rather hire it out? See our guide to pressure washing cost.
2. Let the Wood Dry Completely
New wood and freshly washed decks are full of moisture. Sealer applied to damp wood won’t penetrate properly, and most manufacturers want the wood at a moisture content of 12% or below before you coat it. In dry, sunny weather this usually means waiting 24 to 48 hours after cleaning; in humid climates, give it 48 to 72 and test a small spot first.
3. Sand Rough Spots
Once dry, sand any splintered areas, fuzzy grain raised by washing, or previously sealed patches with 60-80 grit. The goal isn’t to strip the wood — just to knock down anything that would snag a rag. Sweep or blow off the dust when you’re done.
4. Protect Surrounding Surfaces
Tape off the house siding and any railings or hardware you don’t want coated, and lay drop cloths or plastic over plants, concrete, and anything stored beneath the deck. Oil-based sealers in particular are hard to remove once they spatter.
5. Apply the Sealer Evenly
Work in small sections — usually two to three boards at a time, running the full length so you don’t leave lap marks where one pass dries and the next overlaps. A pump sprayer with a back-brush is the fastest method: spray on a light, even coat, then work it into the wood with a brush or stain pad. Two thin coats generally beat one heavy coat, which puddles and peels.
6. Let It Dry and Apply a Second Coat If Needed
Check the label for re-coat and dry times. Most water-based sealers dry in one to four hours and are ready for light traffic in 24; oil-based products can take 24 to 48 hours to fully cure. Apply a second coat within the window the manufacturer specifies, usually while the first is still tacky or just after it dries.
Choosing the Right Sealer for Your Wood
“Sealer” covers a lot of different products, and they perform very differently. Match the product to what you actually want your deck to look like, because going darker than you intended is one of the most common regrets after the fact.
| Feature | Clear/Penetrating Sealer | Toner or Semi-Transparent | Solid Stain-Sealer |
|---|---|---|---|
| Wood grain visible? | Yes, fully | Partially | No, mostly covered |
| UV protection | Lowest | Good | Best |
| Typical lifespan | 1–2 years | 2–3 years | 3–5 years |
| Best for | Preserving new/light wood | Adding tint & protection | Covering old or mismatched wood |
| Relative cost | Lowest | Mid | Highest |
Oil-based penetrating sealers soak into the grain and look the most natural, but they’re slower to dry, smell stronger, and are more work to clean up. Water-based sealers dry fast, clean up with soap and water, and have improved a lot in the last few years, though they generally need re-coating slightly sooner. For older decks with uneven color, a solid or semi-transparent stain-sealer does double duty by hiding the blotches while it protects.
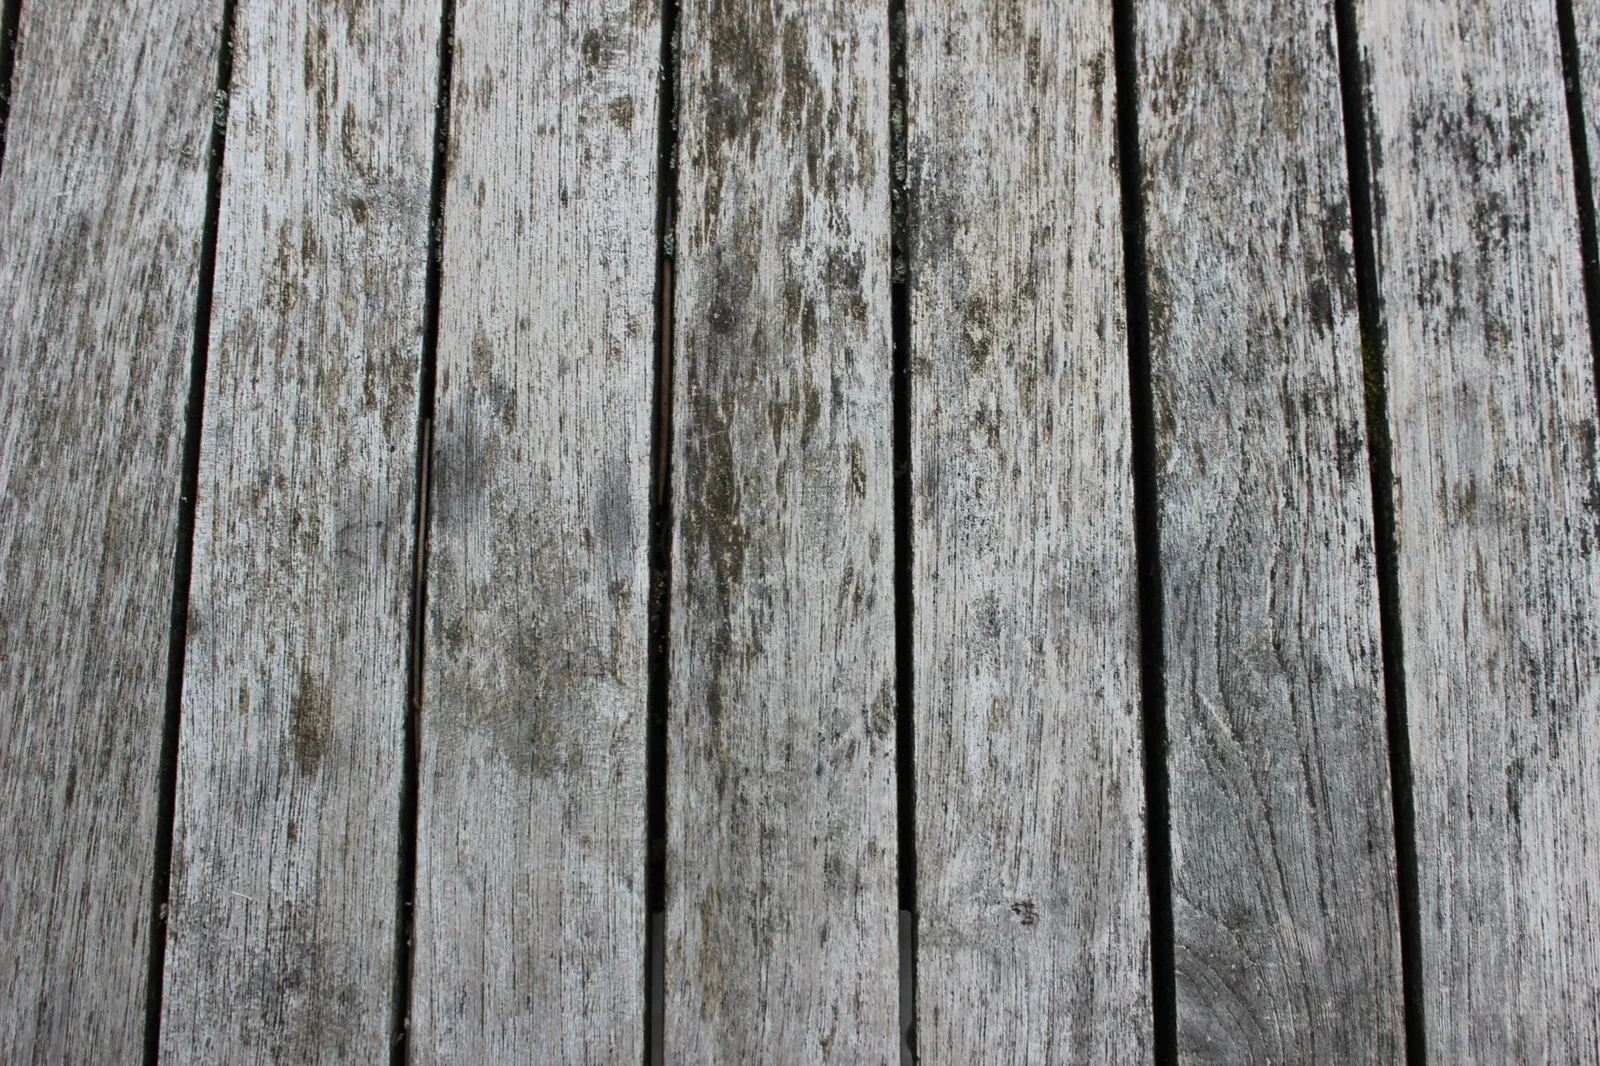
Photo by Kilian M via Pexels
How Much Does It Cost to Seal a Deck?
Sealing a deck yourself is one of the cheapest exterior upgrades you can make, because almost all of the cost is in the sealer itself.
- Materials: $45–$120 for enough quality sealer to cover a typical 12×16 ft (about 200 sq ft) deck, plus $15–$30 for cleaner and supplies.
- Equipment rental: $40–$80 per day if you need to rent a pressure washer.
- Professional service: $550–$1,300 for a full clean-and-seal, depending on deck size and condition — most of that is labor.
On a per-square-foot basis, DIY sealing usually lands around $0.30 to $0.60 per sq ft all-in, versus $2.50 to $4.50 per sq ft for a pro. Either way, it’s money well spent compared with replacing rotted boards at $15 to $30 per linear foot later.
Common Deck-Sealing Mistakes to Avoid
Even a simple job goes sideways fast when you rush it. The mistakes below are the ones pros see over and over.
- Sealing damp or unwashed wood. Moisture and dirt are the two biggest reasons sealer peels within weeks. Wait for the wood to fully dry and clean it properly first.
- Applying in direct sun or on a hot surface. Sealer that flashes off too fast leaves lap marks and blotches. Seal in shade or on an overcast day when temperatures are between 50°F and 85°F.
- Slapping on one thick coat. More isn’t better. Thin, even coats penetrate; heavy coats sit on top and peel.
- Ignoring the manufacturer’s re-coat window. Wait too long and the second coat won’t bond; apply too soon and you can re-liquefy the first coat.
- Skipping the gaps and end grain. Board ends and the spaces between boards wick the most moisture. Brush sealer into both, not just the flat surface.
While you’re at it, sealing pairs well with other quick upgrades that keep water and drafts out of your home’s exterior — see our guides to exterior caulking and weatherproofing windows and doors.
Frequently Asked Questions
How often should I seal my deck?
Every two to three years for a clear or semi-transparent sealer, and every three to five years for a solid stain-sealer. Decks in full sun or harsh winters fade faster and may need attention sooner. If water stops beading on the surface and starts soaking in, it’s time to reseal.
How long does a deck need to dry before sealing?
New pressure-treated lumber can take several months to dry out enough to seal, while a freshly cleaned, already-installed deck usually needs 24 to 72 hours, depending on humidity. Test with a moisture meter if you’re unsure — most sealers want the wood below 12% moisture content.
Can I seal a deck in one day?
The cleaning can be done in a morning, but the wood needs to dry before you coat it, so realistically expect the job to span two to three days — clean on day one, seal on day two or three. Rushing the dry time is the fastest way to ruin the finish.
Do I need to sand my deck before sealing?
You don’t need to sand the entire deck, but you should sand splinters, raised grain, and previously sealed or glossy patches. A quick pass on rough spots is usually enough for a newly cleaned deck.
Is it better to seal or stain a deck?
They overlap a lot. A clear sealer protects while leaving wood natural; a stain adds color as it seals. If your goal is purely protection and you like the current color, seal. If you want to change or even out the color, use a semi-transparent or solid stain-sealer, which does both jobs at once.
For prep and application steps, This Old House breaks down sealing a wood deck.
The Bottom Line
Sealing a deck is one of the highest-return maintenance jobs a homeowner can do — a weekend of work and $50 to $120 in materials that buys you years of extra life out of thousands of dollars in lumber. The secret isn’t the sealer itself; it’s the prep. Clean the wood, let it dry completely, and apply thin, even coats in the right conditions, and the sealer will do its job for seasons to come.
When in doubt about product and dry times, follow the manufacturer’s label over any generic advice — it’s written for the specific chemistry in the can. For more on keeping your home’s exterior in top shape, check out our guide to pressure washing a house and the rest of our exterior maintenance library.