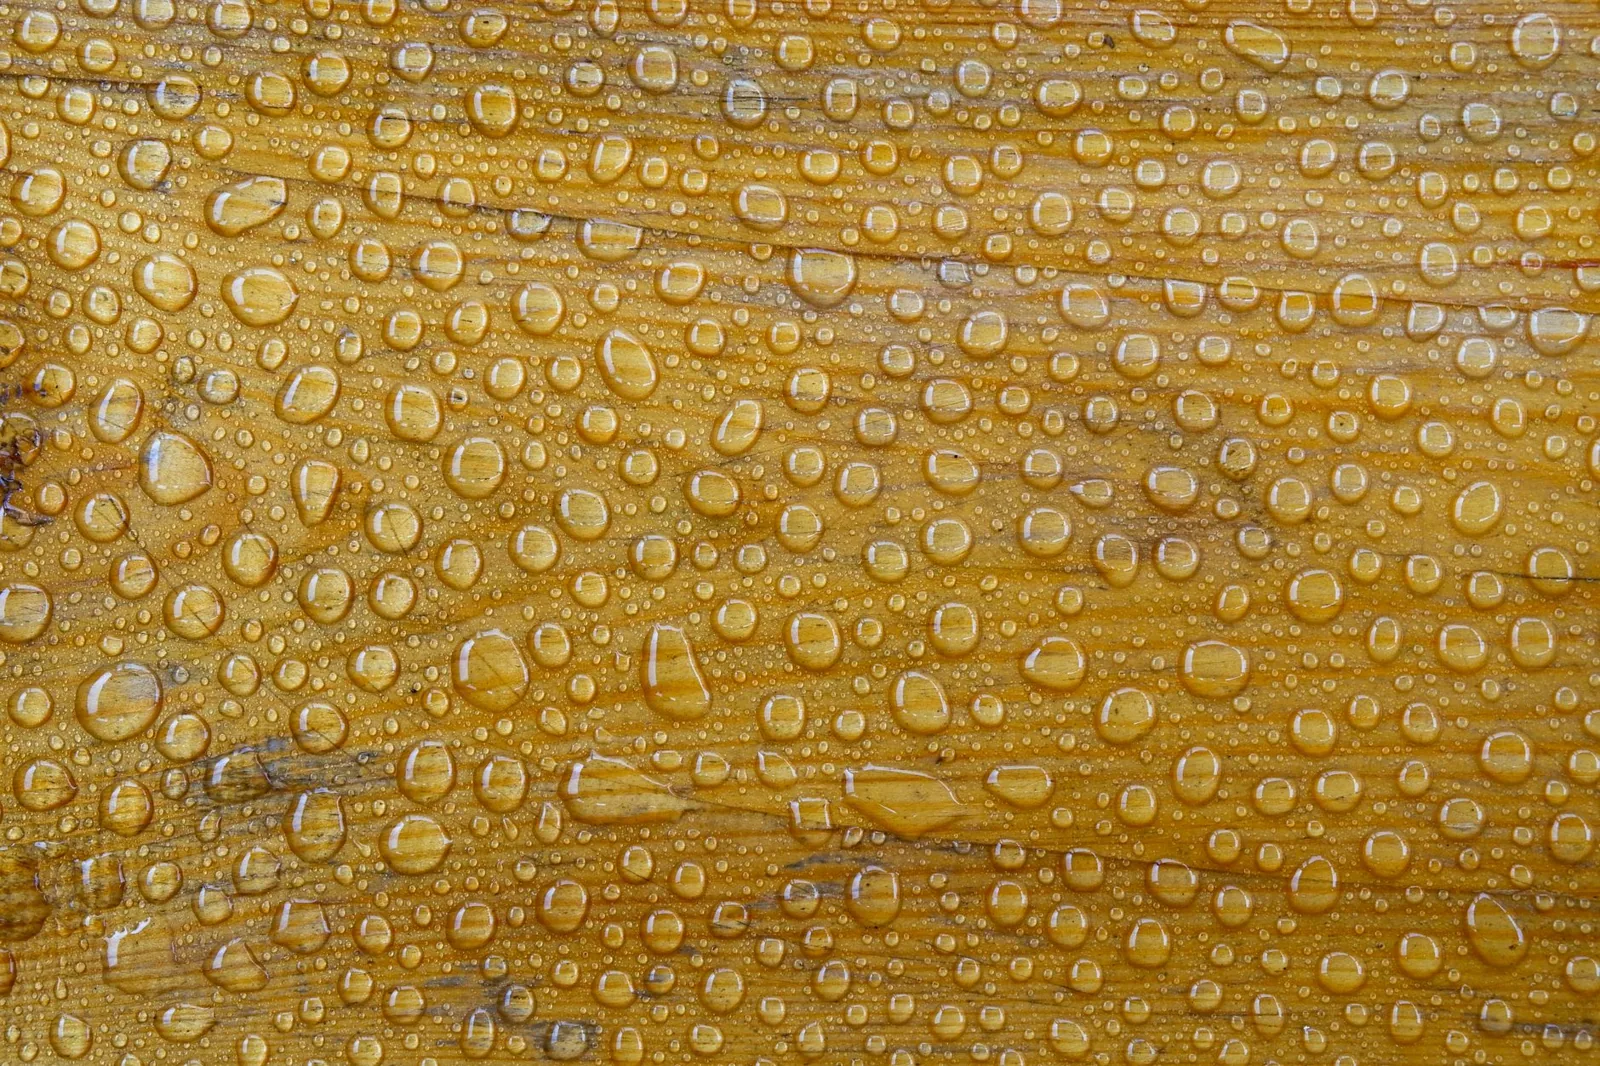
Exterior Wood Sealer Guide: How to Protect Decks, Siding, and Fences
This exterior wood sealer guide is for anyone staring at a deck that has turned gray, a fence that’s starting to cup, or siding that looks thirsty after a long winter. Wood is one of the few building materials that actively degrades the moment it’s installed—sun, rain, snow, and freeze-thaw cycles all work against it. The fix is cheap and simple: seal it before the damage compounds into rot that costs thousands to repair.
Most homeowners wait too long. Water soaks into bare wood, swells the grain, and creates hairline cracks. Those cracks hold moisture longer, and moisture is exactly what rot fungi and wood-boring insects need. A good sealer closes that loop for a bare fraction of what replacement lumber costs.
Below, you’ll find the sealer types that actually work, honest price ranges, and an application process that takes a weekend instead of a week. It’s written for a homeowner with a brush and a Saturday, not a pro with a spray rig.
Why Wood Fails Before It Rots
Wood doesn’t rot overnight. It fails through a predictable sequence, and almost every step is preventable.
Untreated wood absorbs water through exposed end grain and surface fibers. When that water evaporates, the surface dries faster than the wood beneath it, which causes the outer layer to shrink and crack—the fine “alligatoring” you see on old decks. Each crack becomes a pocket that holds water longer, and standing water is the gas pedal for decay.
Ultraviolet light does a second kind of damage. UV breaks down lignin, the natural glue that holds wood fibers together, which is why sun-exposed wood turns gray and sheds a dusty surface layer each year. Sealer with UV inhibitors slows this, but no product stops it entirely.
Finally, freeze-thaw cycles wedge the existing cracks wider. Water in a crack expands about 9% when it freezes, and over a single winter that repeated expansion can split a board in half. Sealing doesn’t stop the cold, but it keeps the water out of the cracks in the first place.
Oil-Based, Water-Based, or Hybrid: Which Sealer You Need
The most confusing decision in any exterior wood sealer guide is the chemistry. The three main families behave differently, and picking the wrong one is a common cause of “I sealed it last year and it’s already peeling.”
Oil-based (alkyd or penetrating). These soak into the wood fibers rather than sitting on top, which is exactly what you want for decks and fences that take foot traffic and weather. Linseed and tung oil products are the old-school options; synthetic alkyd blends like Thompson’s WaterSeal and Cabot Australian Timber Oil dominate shelves now. They darken and enrich the grain, last two to four years, and never peel because they don’t form a surface film. The trade-offs are slower drying, stronger fumes, and a finish that looks tired as it wears rather than clean.
Water-based (acrylic). These form a thin film on the surface and dry in one to two hours, which makes recoat work fast. They’re low-VOC, easy to clean up, and resist mold well. The weakness is adhesion: on dense or previously oiled wood, a film-forming sealer can peel in sheets. Water-based products are a better fit for vertical surfaces—siding and fences—where peeling is less of a cosmetic problem than on a horizontal deck.
Hybrid (water-oil emulsion). Brands like Ready Seal and DeckWise market hybrids that claim penetration plus easy cleanup. They perform well on weathered wood but tend to be more expensive per gallon, and long-term durability data is thinner than for the two established chemistries.
| Feature | Oil-Based | Water-Based | Hybrid |
|---|---|---|---|
| How it protects | Penetrates grain | Surface film | Both |
| Dry time | 8–24 hours | 1–2 hours | 2–6 hours |
| Typical lifespan | 2–4 years | 1–3 years | 2–3 years |
| Best for | Decks, fences | Siding, fences | Weathered wood |
| Cleanup | Mineral spirits | Soap and water | Soap and water |
| Cost per gallon | $18–$45 | $20–$50 | $30–$60 |
For most decks, an oil-based penetrating sealer is the right starting point. For painted or previously filmed siding, you want a water-based product matched to what’s already there.
How Much Exterior Wood Sealer Really Costs
Sealer itself is modest. Labor and prep are where the bill grows, and any estimate that skips prep is hiding the real cost.
A gallon of decent exterior sealer covers roughly 150 to 300 square feet depending on the porosity of the wood and how many coats you apply. At $20 to $50 a gallon, sealing a 400-square-foot deck runs $60 to $160 in product alone for two coats. Add a quality brush or roller ($15–$30), a pump sprayer ($25–$50), and surface cleaner or wood brightener ($15–$25), and a DIY job lands around $120 to $265 for an average deck.
Professional sealing typically runs $0.60 to $1.50 per square foot for deck work, and $0.75 to $2.00 per square foot when prep includes stripping old failed coating and sanding. A 400-square-foot deck therefore costs $300 to $600 with a pro, or $500 to $800 if the surface needs to be stripped back to bare wood first. These figures come from repeated Angi and contractor-site estimates and move with your region’s labor rates.
Siding and fences fall in the same per-square-foot band but go faster because they’re vertical, so a pro can often roll the labor cost down. Always get the prep line item written separately—it’s the honest way to compare bids.
Preparing Wood: The Step Most People Skip
More sealers fail because of skipped prep than because of a bad product. Sealer can’t bond to dirt, gray fibers, mildew, or old peeling finish.
Start by clearing the surface. Sweep, then wash with a deck cleaner or a mix of oxygen bleach and water; oxygen bleach brightens and kills mildew without the harshness of chlorine. If there’s loose or peeling old finish, strip and sand it off rather than sealing over it. Sealing over failed coating just means the new sealer peels off with the old layer in a year.
Power washing helps, but it’s a tool that punishes haste. Too much pressure—or holding the nozzle too close—fuzzes and scars the grain, and that rough surface drinks sealer unevenly.
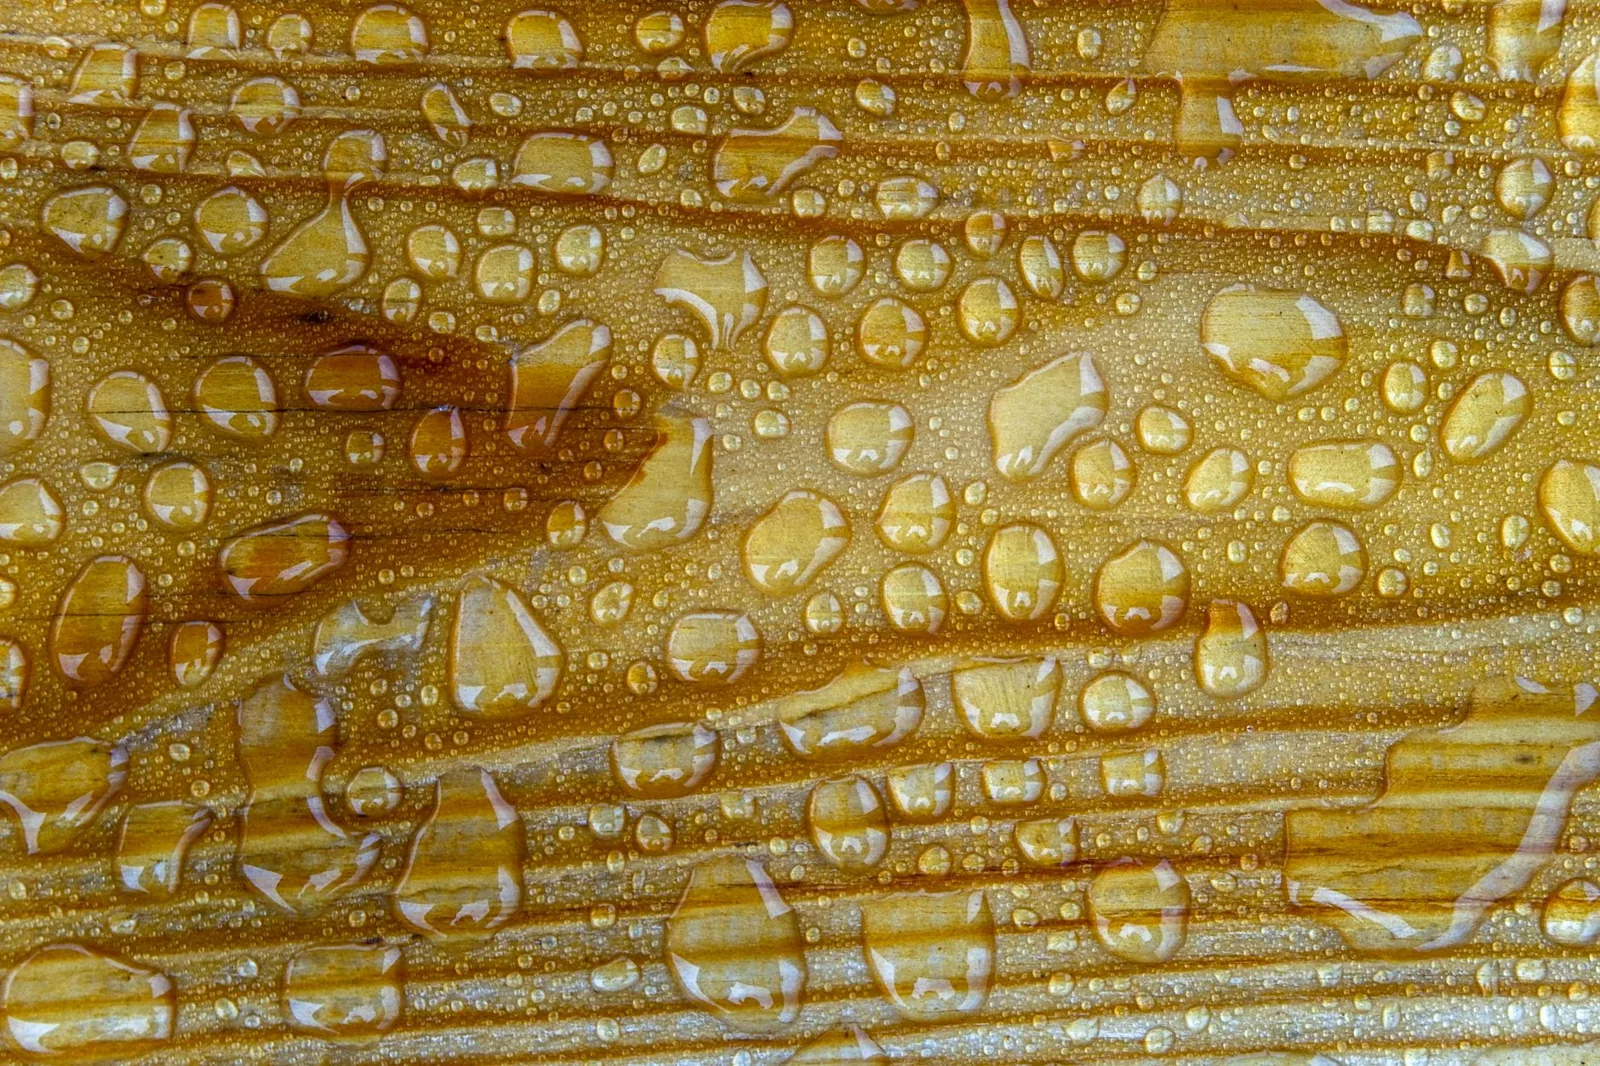
Photo by sergeispas via Pexels
Before you wash, know what the job will actually cost with proper equipment and expectations by checking our breakdown on the real pressure washing cost. And remember that washing is only the first half of the surface equation—the same weekend is a good time to fill gaps with a proper exterior caulking job so water stops sneaking behind boards.
Once the wood is clean, let it dry completely: 24 to 48 hours of dry weather before you open the can. Sealer applied over damp wood traps moisture and fails from the inside out. Do the “sprinkle test”—if water beads on the surface instead of soaking in, the wood is still too wet (or was recently sealed).
How to Apply Exterior Wood Sealer, Step by Step
Weather is part of the plan, not an afterthought. Apply when the forecast shows two dry days with temperatures between 50°F and 85°F and no direct hot sun on the surface—hot wood flashes the sealer off before it penetrates.
1. Stir, don’t shake. Stir the sealer thoroughly so pigment and solids are even throughout. Shaking introduces air bubbles that leave pinholes.
2. Cut in the edges first. Brush sealer into edges, corners, board gaps, and around hardware so you don’t have to maneuver a sprayer or roller close to the house later.
3. Work in sections. Apply to two or three boards at a time, end to end, keeping a wet edge. On a deck, work backward so you never paint yourself into a corner. On siding, go top to bottom so drips get rolled into the next pass.
4. Push sealer into the end grain. End grain is where most water enters. Double-coat the cut ends of boards and any butt joints—this single step extends the life of the job more than any other.
5. Back-brush or back-roll. After spraying or rolling, immediately go over the section with a brush to work the sealer into pores and break up puddles. Skipping back-brushing is the classic cause of blotchy, sticky spots.
6. Wipe up puddles. Sealer that pools and dries on the surface turns glossy and slick and will flake. Wipe excess within 20 to 30 minutes.
7. Apply the second coat. Most outdoor wood wants two thin coats, not one thick one. The second coat goes on while the first is tacky or after the recoat window on the label—follow the manufacturer’s timing, since the window differs between oil and water products.
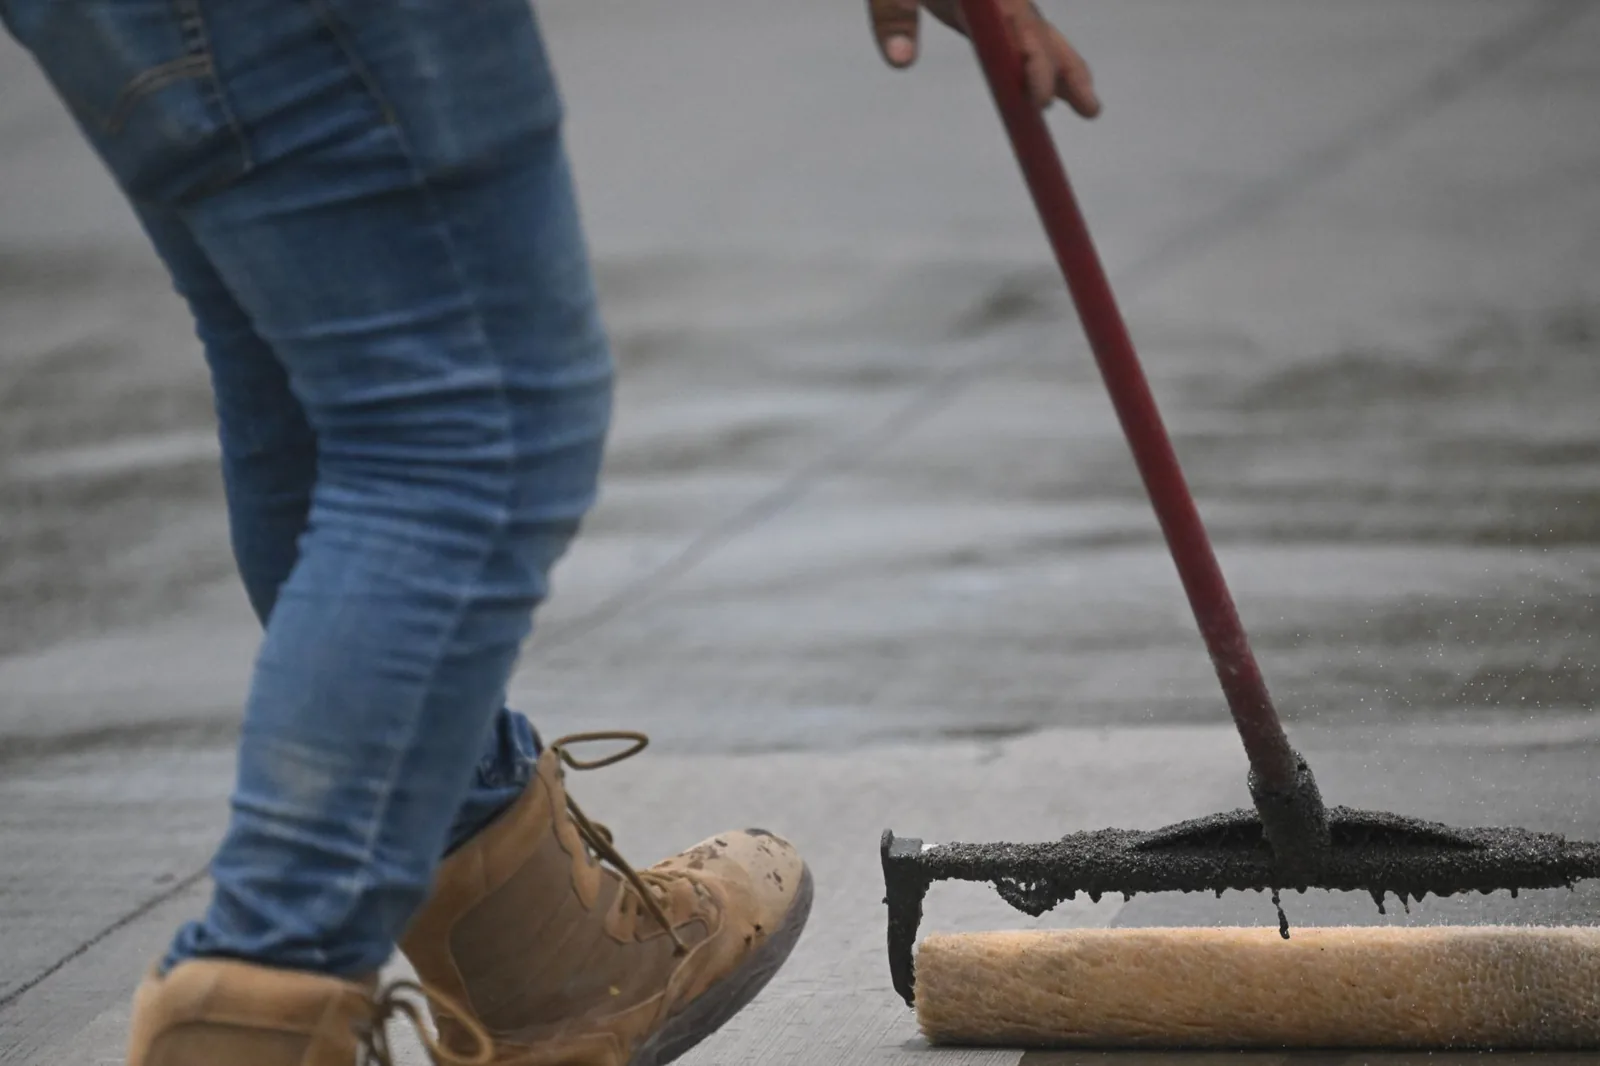
Photo by Eyes2Soul Eyes2Soul via Pexels
How Often to Reseal, and When to Call a Pro
Reseal on a schedule, not a calendar alone. The “sprinkle test” is the honest judge: sprinkle water on the wood, and if it soaks in within a few seconds instead of beading, it’s time to reseal. For most oil-based sealers that’s every two to three years in sun, and three to four in shade. Water-based finishes run a little shorter, especially on horizontal deck boards.
Horizontal surfaces age fastest because water sits on them and sun hits them dead-on. Plan to reseal a deck every other year, a fence every three, and siding every four to five. Vertical wood that’s protected by wide roof overhangs can stretch longer.
Call a pro when the surface has failed beyond a simple recoat—heavily peeling film, deep gray surface damage, cupped or warped boards, or soft spots that mean rot has already started. Repairs in soft wood need to happen before sealing, not after. Get a sense of what you’re looking at with our guide to wood rot repair costs before you assume a reseal will cover the damage.
Frequently Asked Questions
Do I need to seal pressure-treated wood?
Yes. Pressure treatment protects against rot and insects, not against UV and moisture cycling. Treated lumber should still dry for a season (or until water beads on it), then be sealed like any other wood. Sealing early is the only way to keep treated boards from cupping and checking.
Can I seal over an existing sealer or stain?
Only if the old finish is still sound and you apply the same type. Sealing over a peeling or flaking film just transfers the failure to your new coat. When in doubt, strip and sand first—a job that adds cost but saves you from redoing the whole thing in a year.
Is it better to brush, roll, or spray sealer?
Spray is fastest for coverage but pushes the least sealer into the grain. The best results come from spraying or rolling to get the sealer on, then back-brushing immediately to force it into pores. For small fences and furniture, a brush alone is fine and wastes the least product.
How long does exterior wood sealer last?
Two to four years on horizontal surfaces with an oil-based penetrating sealer, and longer on protected vertical wood. Water-based films run one to three years. The sprinkle test tells you more than the calendar does.
What’s the difference between sealer, stain, and paint?
Paint is a thick surface film that hides the wood. Stain adds pigment while still showing grain. Sealer is typically clear or lightly tinted and protects without much color. Many products blur these lines, so read the label for solids content and UV protection rather than the marketing name.
For finish and sheen comparisons, Bob Vila explains choosing a wood sealer.
The Bottom Line
Sealing exterior wood is the highest-return maintenance dollar you’ll spend on your house. A $150 DIY weekend buys years of life from a deck or fence that would otherwise need hundreds or thousands in lumber and labor to replace, and the difference between a job that lasts three years and one that peels in one comes down to prep, dry wood, and back-brushing—not the price of the can.
Pick an oil-based penetrating sealer for horizontal decks, a water-based product for siding that already has a film, and never let a salesperson talk you into sealing over peeling old finish. Check the forecast, spend more time on the end grain than you think you need, and run the sprinkle test every spring. Do that, and the wood on your house will outlast your patience for staring at it.
For the full picture on getting your exterior ready before you seal, see our guides on how to pressure wash a house and the real cost of pressure washing.