
Exterior Caulking Guide: Seal Gaps, Stop Leaks, and Cut Energy Bills
Caulk is the cheapest insulation you can buy, and it’s the reason so many houses leak air, water, and money through gaps you can’t see from the curb. This exterior caulking guide walks you through the right materials, the right technique, and the right places to seal so a $7 tube of sealant does the work of a far more expensive repair.
Every house has gaps. They open where siding meets window frames, where a pipe pokes through a wall, where a foundation meets framing, and in a thousand smaller seams that expand and contract with the seasons. Left alone, each one lets in drafts, moisture, and insects — and moisture is the one that does real damage, rotting trim, staining siding, and feeding mold long before you notice a problem.
The fix is simple and cheap, but only if you do it right. Pick the wrong sealant for the surface, skip the prep, or caulk over a joint that should be left open, and you’ll be back on a ladder in a year doing it again. Here’s the whole process, from choosing a tube to running a clean bead.
Why Exterior Caulking Matters
Caulk is not a cosmetic finish. It’s the first line of defense between your house and the weather, and it fails quietly.
Air leaks drive up heating and cooling costs year-round. The U.S. Department of Energy estimates that sealing uncontrolled air leaks can cut heating and cooling costs by 10 to 20 percent in many homes, and exterior cracks around windows, doors, and penetrations are among the most common sources of that leakage. A single 1/8-inch gap running the height of a door frame lets out as much air as a small window left cracked open all winter.
Water is the bigger threat. Caulk keeps rain, melting snow, and wind-driven moisture out of wall cavities where it rots sheathing and framing. Wood repair runs $100 to $500 for a modest repair and far more once rot spreads into structural members. A $7 tube of sealant is a much better deal.
There’s a comfort factor too. Drafty rooms near exterior walls feel cold even when the thermostat says 68 degrees, because your body radiates heat toward the cold surface. Sealing the seams around those windows and baseboards evens out the temperature and makes the room genuinely more comfortable.
Exterior Caulking Guide: Choosing the Right Caulk
The most common caulking mistake is grabbing whatever tube is cheapest at the hardware store. Sealants are formulated for different surfaces and different amounts of movement, and using the wrong one means it will crack, peel, or simply not stick.
| Feature | Silicone | Acrylic Latex | Polyurethane / Hybrid |
|---|---|---|---|
| Best for | Non-porous joints, glass, metal, tile | Painted wood, interior trim, minor gaps | Siding, concrete, exterior gaps, gutters |
| Paintable | No | Yes | Yes (most hybrids) |
| Flexibility | Excellent | Fair | Very good |
| Outdoor durability | 20+ years | 10–15 years | 20+ years |
| Typical price per 10.1 oz tube | $6–$10 | $3–$6 | $7–$12 |
Silicone (like GE Silicone II or Gorilla 100% Silicone) sticks to glass, metal, glazed tile, and most plastics, and it stays flexible for decades. The catch is that paint won’t stick to it, so keep it away from wood trim you plan to repaint.
Acrylic latex (DAP Alex Plus is the household standard) is paintable, cheap, and easy to tool with a wet finger. It’s fine for small gaps in painted wood and interior work, but it hardens over time and doesn’t stretch well, so it’s a weak choice for big exterior joints.
Polyurethane and hybrid sealants (OSI Quad Max, Sashco Big Stretch, Loctite PL) are the workhorses for real exterior work. They’re paintable, flexible, and grip porous surfaces like concrete, brick, and wood. They cost a bit more but they last, and they’re what a pro reaches for on siding, trim, and foundation joints.
For deep or wide gaps, you’ll also need backer rod — a foam cord you push into the joint first so the caulk doesn’t sag into the void and waste half the tube.
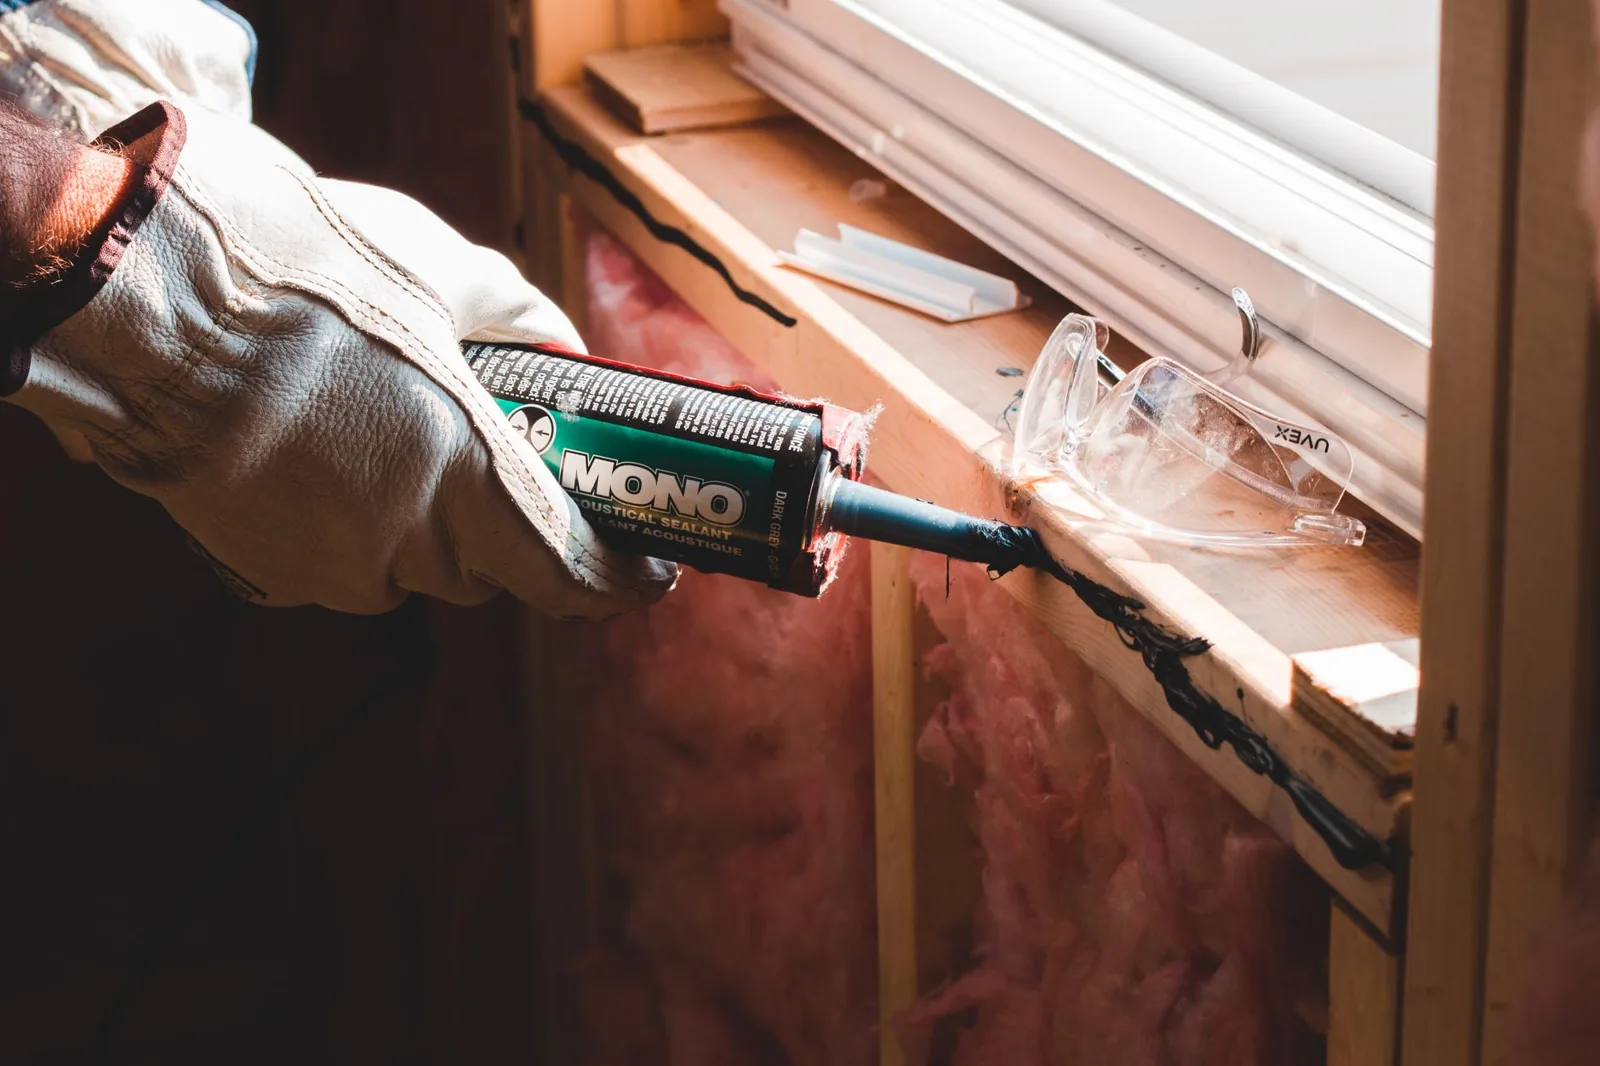
Photo by Erik Mclean via Pexels
The Tools and Materials You Need
Caulking is one of the few home repairs you can do properly with under $50 of gear. Gather everything before you start so the sealant doesn’t skin over while you hunt for a rag.
- A caulk gun — a dripless model with smooth rod action (about $10–$20) makes a real difference in bead control.
- Caulk matched to the surface (see the table above).
- Backer rod for gaps wider than about 1/4 inch.
- A utility knife and a caulk removal tool for digging out old, cracked sealant.
- Painter’s tape to keep lines straight on visible joints.
- Rubbing alcohol or mineral spirits and rags for cleanup.
- A small bucket of soapy water or a caulk smoothing tool for tooling the bead.
- Gloves and eye protection — polyurethane and silicone are hard to remove from skin.
Cut the tube tip at a 45-degree angle just past the thread line, keeping the hole small at first. You can always trim it larger, but you can’t make a big hole smaller.
How to Apply Exterior Caulk, Step by Step
Speed matters with caulk, but prep matters more. Here’s the sequence that produces a bead that lasts.
1. Wait for the right weather
Most sealants need a dry surface and cure best between about 40°F and 90°F. Check the tube — silicone and polyurethane generally want temperatures above 40°F. Avoid caulking in direct sun on a hot day, when the surface can be too hot for the sealant to grip.
2. Cut out the old caulk
Old, cracked caulk won’t accept a fresh bead on top. Run a utility knife or caulk removal tool along both sides of the old sealant, pull it out, and scrape the joint clean. Vacuum or brush out loose debris.
3. Clean and dry the joint
The number one reason caulk fails is a dirty or damp surface. Wipe the joint with rubbing alcohol or mineral spirits and let it dry completely. Dust, chalk, and old paint will keep the sealant from bonding.
4. Tape the edges
On any joint where appearance matters, run painter’s tape along both sides of the gap. Leave the exact width you want the bead to cover.
5. Fill deep gaps with backer rod
If the gap is deeper or wider than about 1/4 inch, press backer rod into it until it sits just below the surface. Caulk needs to bond to the sides of the joint, not fill the void behind it.
6. Run the bead
Hold the gun at a 45-degree angle and push the bead ahead of the tip rather than dragging it behind. Work in sections of a few feet, and keep steady, even pressure so the bead stays uniform.
7. Tool the bead
Within a few minutes — before it skins over — smooth the bead with a wet finger or a caulk smoothing tool. Tooling presses the sealant into the joint and leaves a concave finish that sheds water instead of trapping it.
8. Pull the tape immediately
Remove the painter’s tape while the caulk is still wet. If you wait until it sets, you’ll tear ragged edges in the bead.
9. Let it cure
Don’t touch, paint, or pressure-test the joint until the sealant is cured. Check the tube for the cure time — many exterior sealants are skin-dry in an hour but need 24 hours or more for a full cure.
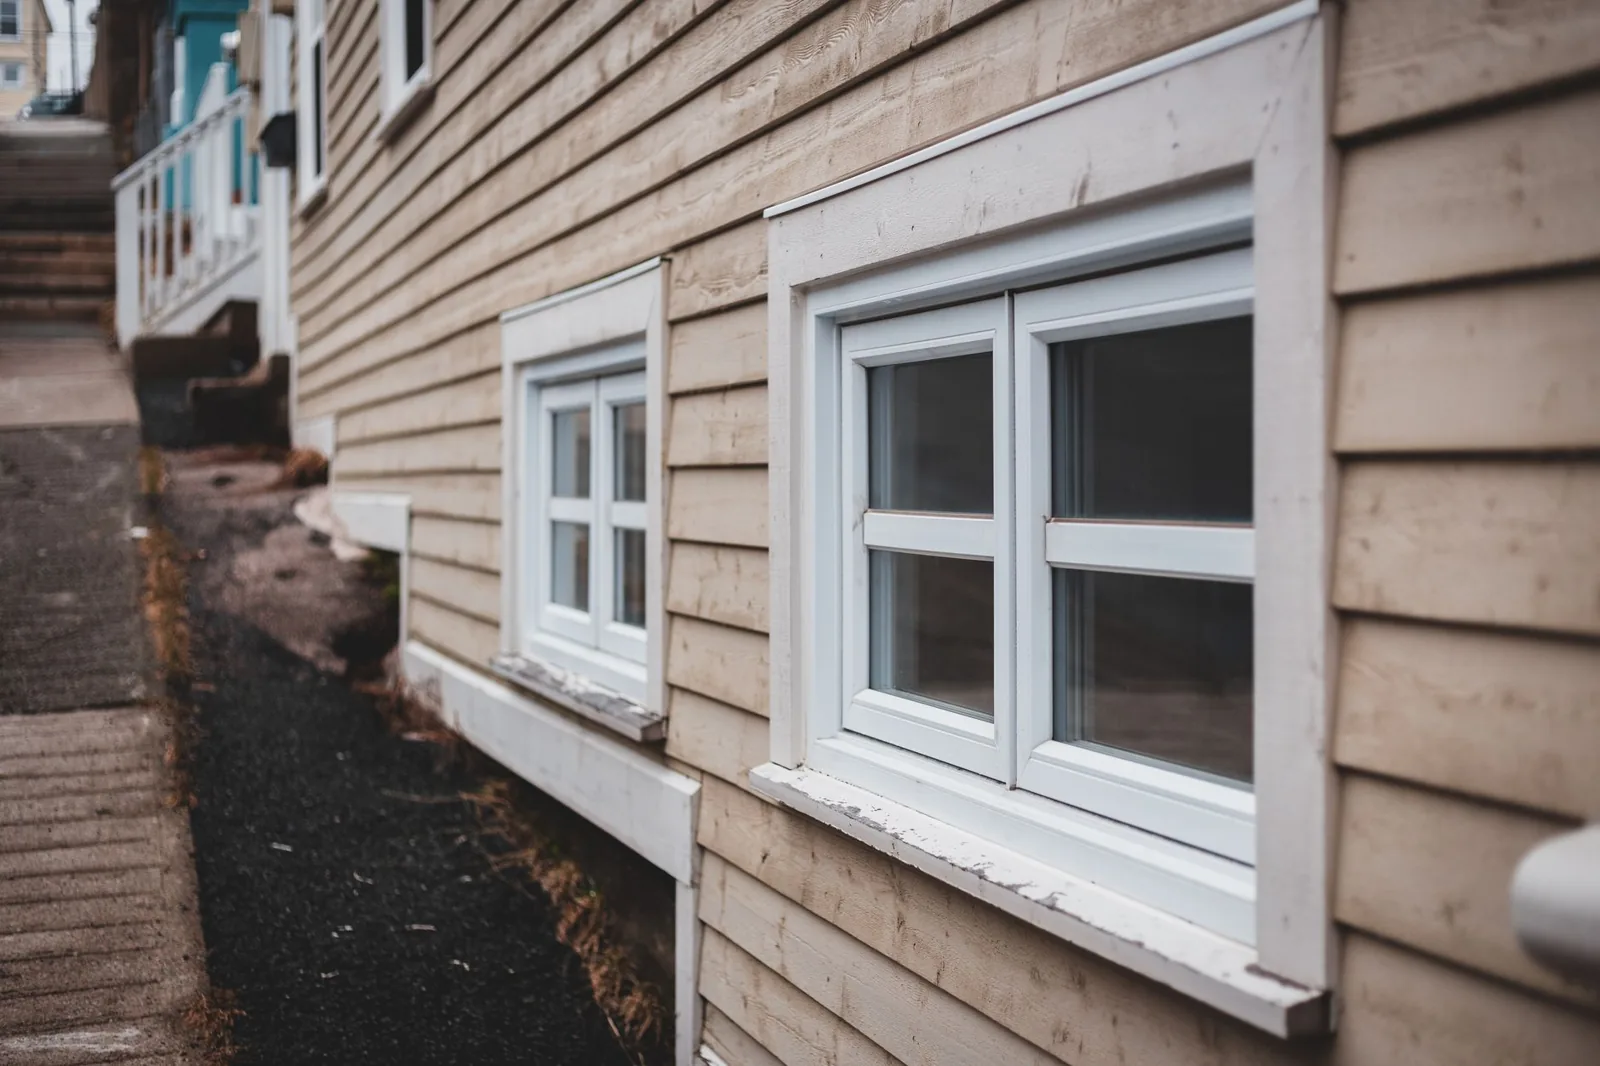
Photo by Erik Mclean via Pexels
Where to Caulk Outside — and Where Not To
Not every gap on the outside of a house should be sealed. Knowing which joints to caulk and which to leave open is half of doing the job correctly.
Caulk these joints:
- Around window and door frames, where trim meets siding.
- Around exterior penetrations — hose bibs, vents, electrical conduit, dryer exhausts, and gas lines.
- Siding seams and corner boards where trim butts against siding.
- Where different materials meet — brick to wood, metal flashing to siding, chimney to roof decking.
- Foundation cracks and gaps where the sill plate meets the foundation.
Leave these open:
- Weep holes in brick veneer and windows, which exist to let moisture drain out. Sealing them traps water inside the wall.
- The bottom edge of horizontal lap siding, which needs to breathe and drain.
- Roof flashing joints that rely on overlap and gravity — caulk is a temporary patch, not a roof repair.
If you’re sealing around windows, pair the caulking with new weatherstripping on windows and doors to close the air gaps the caulk can’t reach. And if you find soft, crumbling wood while you’re up on the ladder, read up on wood rot repair costs before you seal over a problem that’s still spreading.
How Much Does Exterior Caulking Cost?
Caulking is one of the most affordable exterior maintenance projects you can take on, whether you do it yourself or hire it out.
DIY cost: a caulk gun, a few tubes of sealant, backer rod, and tape run roughly $30 to $70 for a typical full-exterior touch-up. Most tubes cover 25 to 55 linear feet of a standard bead, so sealing all the windows and doors on an average house rarely takes more than three or four tubes.
Professional cost: hiring a handyman or caulking contractor to seal the exterior of an average home typically runs $150 to $450, depending on the number of windows, doors, and penetrations and how much old caulk has to be removed. Expect to pay $1.25 to $4 per linear foot for professional application.
The return is fast. If sealing air leaks shaves 10 percent off a $1,800 annual heating and cooling bill, that’s $180 back in the first year — more than the entire DIY job costs. For bigger water problems at the base of the house, this pairs well with a look at how to waterproof a basement exterior.
Exterior Caulking Mistakes to Avoid
Even a careful homeowner can undo a caulking job with one of these common errors.
- Skipping the removal step. Fresh caulk over cracked caulk looks fine for a month, then peels off in sheets because it was never bonded to the surface.
- Caulking a dirty or damp joint. Bond failure is almost always a prep failure, not a product failure.
- Using the wrong sealant. Paintable acrylic on a high-movement concrete joint will crack within a season; silicone on painted wood will never take paint.
- Filling deep gaps without backer rod. The caulk sags, cures unevenly, and wastes product.
- Sealing weep holes. This is how you turn a tiny crack into a full wall-cavity moisture problem.
- Tooling too late. Once the skin forms, tooling tears it and leaves a rough, water-trapping finish.
Frequently Asked Questions
How long does exterior caulk last?
It depends on the type. Silicone and polyurethane/hybrid sealants regularly last 20 years or more outdoors, while acrylic latex typically lasts 10 to 15 years before it hardens and cracks. Sun exposure and extreme temperature swings shorten the lifespan, so inspect joints every couple of years.
Can I caulk over old caulk?
No. Old caulk is often dirty, oxidized, and no longer bonded to the surface, so a new bead won’t stick reliably. Remove the old material, clean the joint, and start fresh for a seal that lasts.
What’s the best caulk for exterior wood trim?
A paintable polyurethane or hybrid sealant like OSI Quad Max or Sashco Big Stretch. It flexes with the wood as it expands and contracts and accepts paint, which is critical on trim you plan to repaint.
Should I use silicone or caulk outside?
That depends on the surface. Silicone is the better choice for non-porous joints like glass, metal, and glazed tile, while a polyurethane or hybrid caulk is better for porous exterior surfaces like wood, siding, brick, and concrete.
When is the best time to caulk a house exterior?
Late spring through early fall, on a dry day with temperatures between about 40°F and 90°F. Avoid rain, heavy dew, and direct hot sun, which can overheat the surface and keep the sealant from bonding.
For product selection and technique, This Old House covers how to caulk exterior gaps.
The Bottom Line
Exterior caulking is the highest-value maintenance task most homeowners ignore. For the price of a few tubes of sealant and an afternoon on a ladder, you can stop drafts, cut your energy bill, and keep water out of the walls where it does the most damage.
The whole job comes down to three things: pick the right sealant for the surface, remove and clean the joint before you caulk, and leave the drainage gaps open. Get those right and a bead of caulk will outlast half the other materials on your house.
Before you start, take a slow walk around the outside with a notebook and list every gap you find — window frames, door frames, hose bibs, vents, siding seams, and foundation cracks. Then work through it with the steps above. The first cold day, you’ll feel the difference.
For more on protecting your home’s shell, see our guides on pressure washing costs and how to pressure wash a house to keep exterior surfaces clean before you seal them.