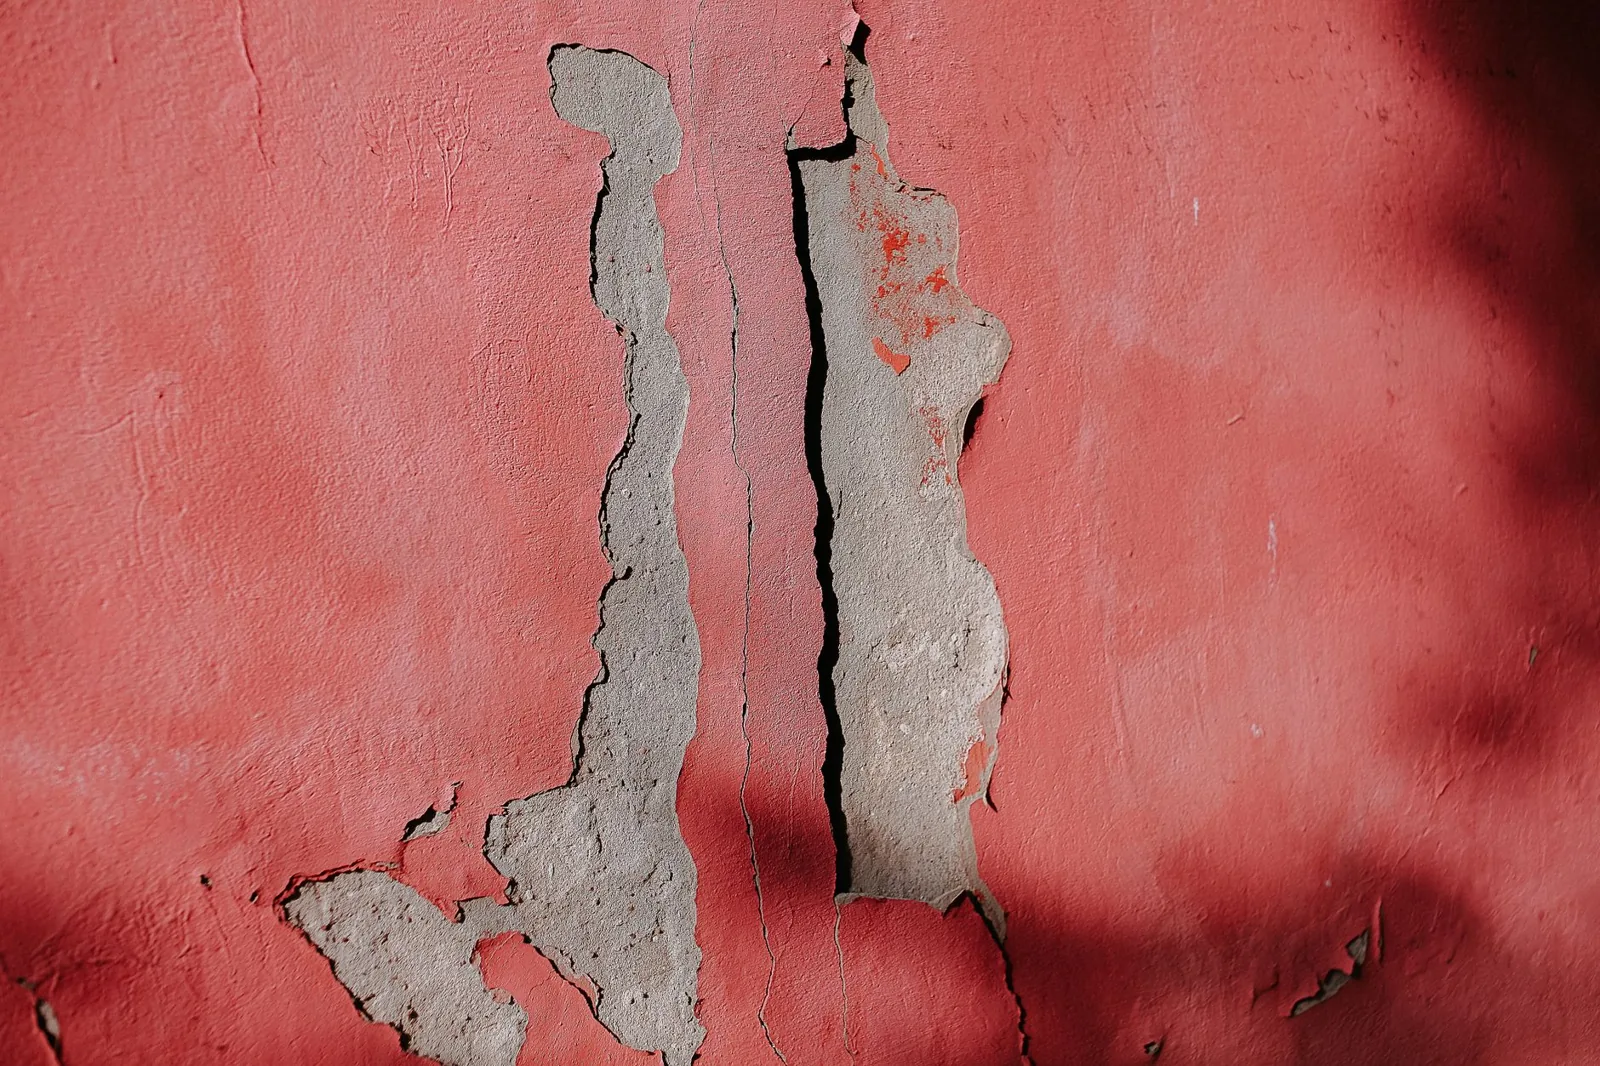
How to Fix Peeling Exterior Paint
Peeling exterior paint rarely stays put as one small blister. Left alone, that flake near the window trim becomes a bare spot, and the bare spot becomes a strip of siding that holds moisture against the wood, rots, and invites wood-destroying insects in behind it. Fixing it is not a weekend I’d wish on anyone, but knowing how to fix peeling exterior paint correctly—and stopping the underlying cause rather than just covering it up—is the difference between a repair that lasts two years and one that lasts a decade.
The good news is that the process is more tedious than it is technical. If you can hold a scraper, run a pressure washer, and roll paint onto flat surfaces, you can handle 90 percent of this job yourself. What separates a lasting fix from a wasted afternoon is the prep work, and most of that comes down to patience: removing everything that’s already failing, letting the surface dry completely, and priming every inch of bare wood before any fresh paint goes on.
Here’s the exact sequence to fix peeling exterior paint, in the order that it actually works.
Why Exterior Paint Peels in the First Place
Paint doesn’t peel at random. It peels for one of a handful of predictable reasons, and until you know which one you’re dealing with, any new coat is going to fail in the same spots for the same reason.
Moisture trapped inside the wall. This is the most common culprit on older homes and on any wall that gets hit by sprinklers, shaded north-facing exposure, or a missing gutter. Water vapor pushes outward through the siding, and when it can’t pass through a layer of paint, it lifts the film off the wood. You’ll usually see peeling concentrated near the bottom of walls, around window and door trim, and anywhere the siding stays damp.
Paint applied over a dirty or chalky surface. Exterior paint needs something to grip. If the old surface was chalky from sun exposure, coated in dust, or still glossy, the new coat never bonds and starts peeling within a year or two, often in large sheets.
Paint applied over damp wood. Back-to-back coats, painting in high humidity, or painting right after a rain traps moisture under the film. The result is blistering and peeling that shows up almost immediately.
Incompatible layers. Latex paint over oil-based paint—without a proper bonding primer in between—is a classic failure. The latex dries to a flexible film that simply can’t grip the hard, slick oil enamel underneath.
Wood movement. Cedar, pine, and hardboard siding expand and contract through the seasons. Brittle old paint can’t flex with it, so it cracks, and moisture gets in through the cracks and finishes the job.
Catch the cause early and the fix is small. Ignore it and you’ll be doing a wood rot repair before you get back around to the paint.
Tools and Materials You’ll Need
Gather everything before you start. Running to the store mid-job is how corners get cut, and corners are exactly where paint peels again.
- Paint scraper (a 2.5-inch stiff-blade scraper and a smaller 1-inch knife for trim)
- Wire brush and a medium-grit sanding sponge or random-orbit sander
- Pressure washer or a garden hose with a high-pressure nozzle
- Exterior wood filler (such as Bondo Wood Filler or Minwax High-Performance Wood Filler)
- Exterior caulk (paintable, like DAP Dynaflex 230 or GE Max Shield)
- Bonding or exterior wood primer (oil-based or a high-bond acrylic like Zinsser Peel Stop)
- 100% acrylic exterior paint
- Painter’s tape, drop cloths, and plastic sheeting
- Drop the ladder, a dust mask, safety glasses, and work gloves
- Optional: a heat gun or an infrared paint stripper for stubborn areas
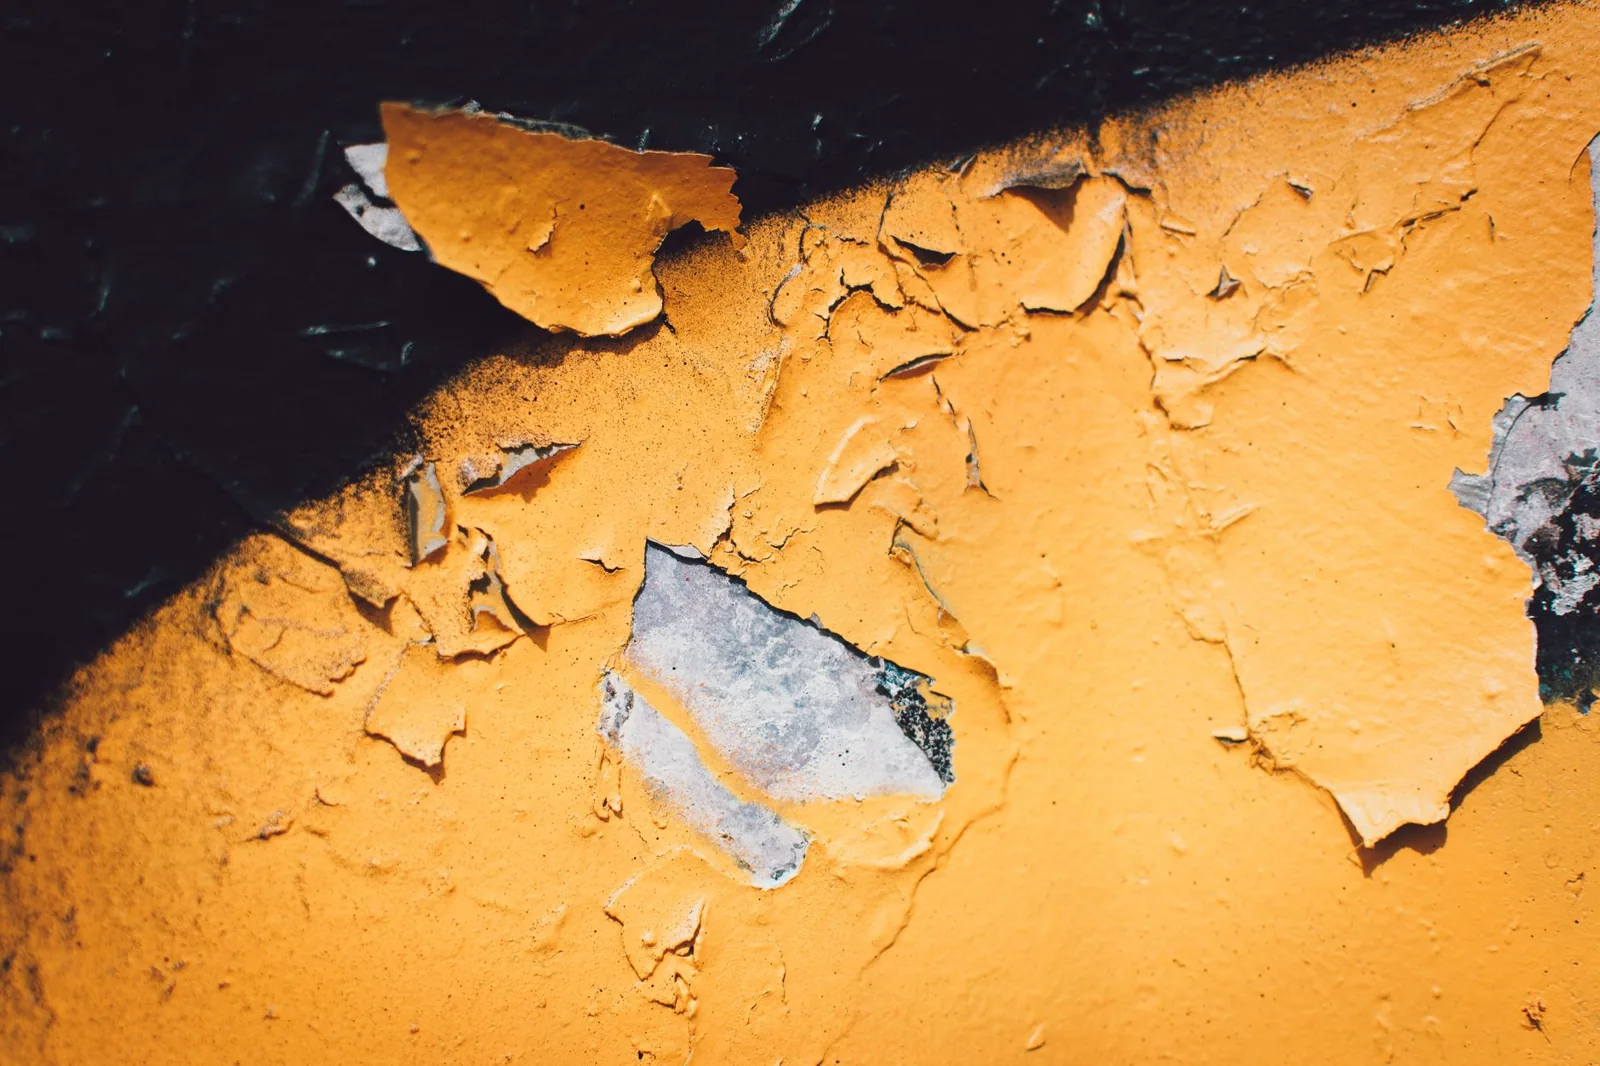
Photo by Shane Aldendorff via Pexels
If the house predates 1978, pick up a lead test kit before you disturb any paint. A few dollars up front is cheaper than the alternative, and it changes the whole approach if the test comes back positive.
How to Fix Peeling Exterior Paint, Step by Step
This is the sequence professionals follow, and it works whether you’re repainting one badly damaged wall or the entire house.
Step 1: Stop the moisture source first
No amount of scraping fixes a leak. Before you touch the paint, walk the wall and deal with whatever is feeding it water. Clean out and repair clogged or sagging gutters, redirect sprinkler heads so the spray doesn’t hit the siding, and fix any gap where water is getting behind trim. If the peeling is near a window or door, reseal it with fresh exterior caulk during the prep stage. Let the wall dry out for a day or two of clear, dry weather before you start.
Step 2: Remove the loose paint
Scrape away every bit of paint that has already failed. Work the scraper at a shallow angle, and take it all the way to the point where paint is still firmly bonded—you should not be able to wedge the blade under its edge. A wire brush clears the flaky residue the scraper misses, then feather the edges with sandpaper so the transition between the bare wood and the intact paint is smooth instead of a raised ridge.
For paint that’s peeling in long rigid sheets or is otherwise stubborn, a heat gun or infrared stripper softens it enough to peel cleanly. Keep the heat moving; overheating the wood scorches it and ruins adhesion for the next coat.
Step 3: Clean and dry every surface
New paint bonds to clean, dry, slightly rough surfaces and to nothing else. Pressure wash the entire area to remove chalk, dust, and any mold or mildew, using a wide fan tip and holding the wand at an angle so you don’t drive water under the siding or leave raised grain. If you see anything black or green, scrub it with a bleach-and-water solution (about one part bleach to three parts water) or a TSP substitute, then rinse thoroughly. For a deep clean that removes chalk, mix TSP according to the label and wash the walls down.
This step is where pressure washing your house properly pays off—blasting too close or with the wrong tip gouges the siding and forces water deep into the wood. Then you wait. Wood must be dry before priming, which usually means 24 to 48 hours of dry weather after washing, and longer in shade or high humidity.
Step 4: Repair and fill
Now that the surface is bare and dry, this is your window to fix the damage that peeling paint was hiding. Fill nail holes and small cracks with exterior wood filler, and dig out any soft or rotten wood and replace it before you prime. Caulk the joints where siding meets trim, where trim meets windows and doors, and anywhere two pieces of material come together. Fresh caulk does double duty here: it seals out the moisture that caused the peeling in the first place.
Step 5: Prime every bare spot
Prime everything you scraped or sanded down to bare wood, not just the biggest patches. A high-bond or oil-based exterior primer locks down the edges of the old paint, seals the wood so the topcoat doesn’t soak in unevenly, and gives the new paint real something to grab. If you peeled latex off oil primer in big sheets, an adhesion-promoting primer like Zinsser Peel Stop is exactly the product for this specific problem. Let the primer dry for the full time on the label before painting.
Step 6: Repaint with a quality exterior acrylic
Use a 100% acrylic exterior paint—it stays flexible as the wood moves, so it resists the cracking that starts the peel cycle all over again. Cut in around trim with a brush, then roll large flat areas for an even coat. Two coats are almost always worth it on bare wood; the first seals and the second gives you the full color depth and protection. Don’t paint in direct hot sun or when the temperature will drop below the range printed on the can overnight.
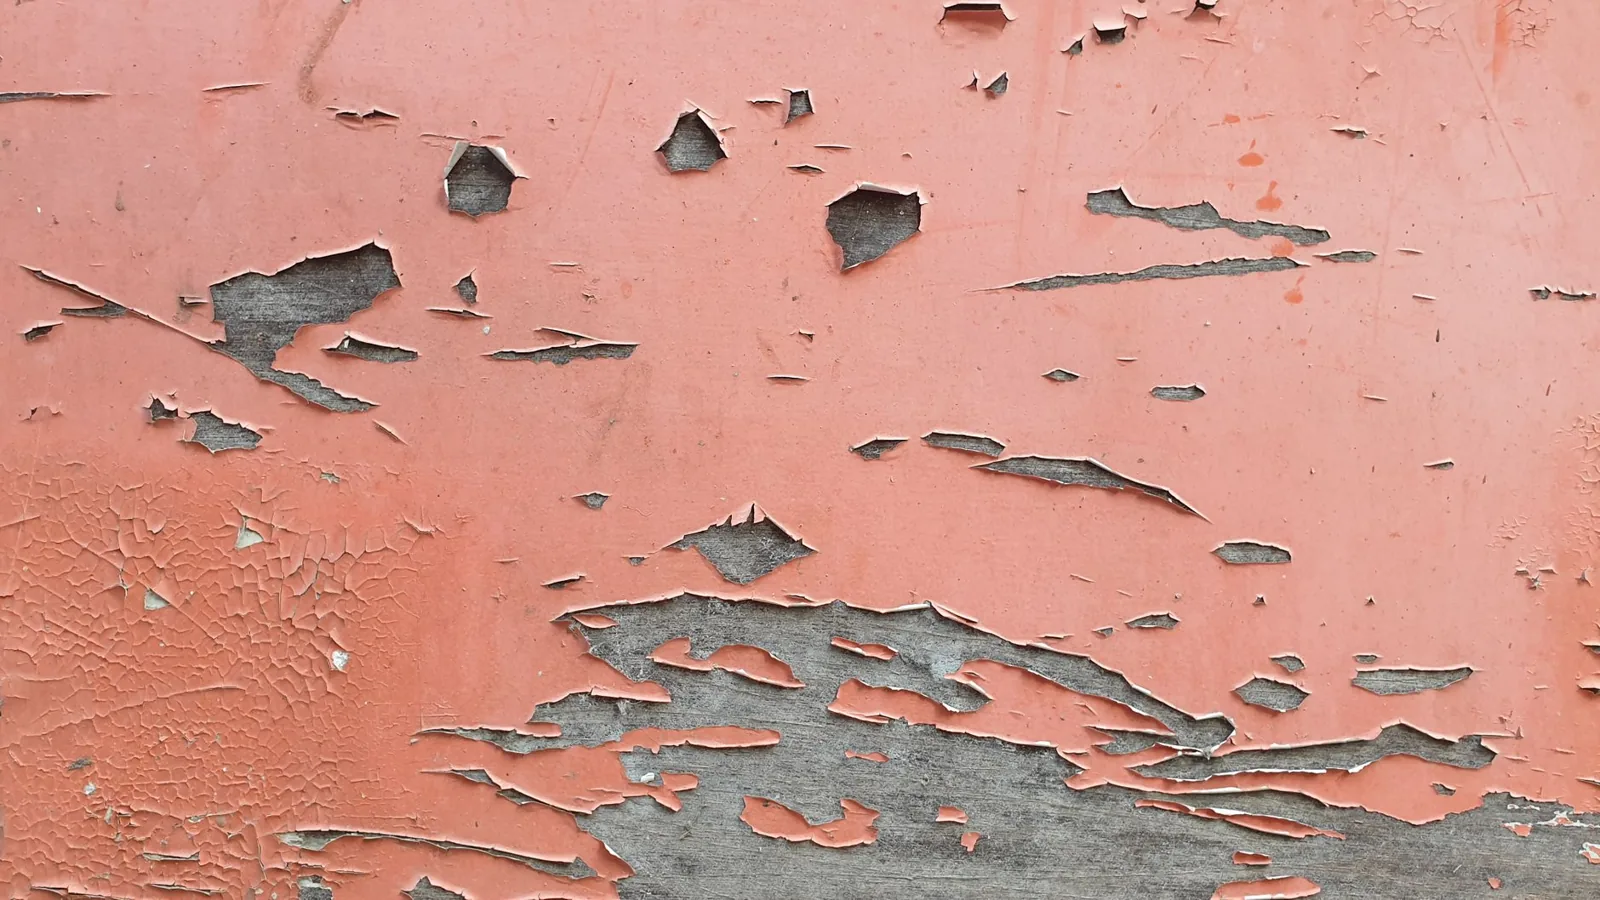
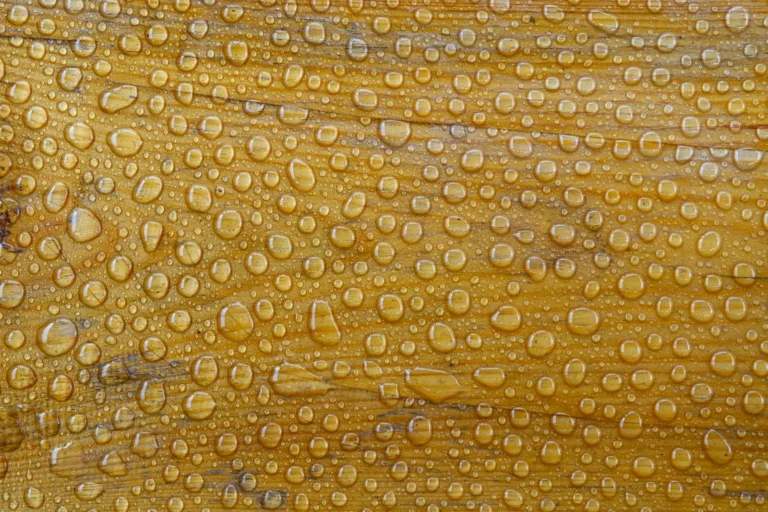
Photo by Krakograff Textures via Pexels
How Much Does It Cost to Fix Peeling Paint?
What this job costs depends almost entirely on how much you do yourself. Peeling paint repair is labor-heavy and materials-light, which makes it one of the better exterior projects to take on solo if you’re reasonably handy.
| Feature | DIY repair | Professional repair |
|---|---|---|
| One wall (150–300 sq ft) | $40–$150 in materials | $300–$900 |
| Full single-story house | $300–$800 in materials | $3,000–$6,000 |
| Full two-story house | $600–$1,500 in materials | $6,000–$12,000+ |
| Time | 2–4 weekends | 3–5 days |
| Lead paint remediation | Not allowed (hire certified pro) | $8–$17 per sq ft |
Materials stay cheap—scrapers, brushes, caulk, primer, and a couple of gallons of acrylic rarely top a few hundred dollars for one wall. Professional pricing climbs because prep is slow, and on two-story homes it involves scaffolding or lift rental. If your peeling is limited to one side of the house, that’s usually the sweet spot where the pro quote is affordable enough to justify skipping the ladder work and paint fume.
If the older paint tests positive for lead, the economics flip: by federal rules you need a certified renovator for anything beyond about six square feet of disturbed surface, and that cost is non-negotiable for your own safety.
Mistakes That Make the Paint Peel Again
Most “repaint fails” are the same handful of shortcuts, and they’re all avoidable.
- Painting over moisture. Painting a wall that’s still damp after pressure washing is the single fastest way to guarantee blisters. If it rained yesterday, wait.
- Skipping primer on bare wood. Topcoat straight onto raw wood soaks in unevenly and lets the paint lift at the edges.
- Using cheap contractor-grade paint. A $15 gallon may cover in one coat, but it won’t flex or resist sun and moisture. Buy 100% acrylic.
- Ignoring the moisture source. You can scrape and paint all weekend, but a leaking gutter will peel the new coat off in a year.
- Painting at the wrong temperature. Too hot, and the paint skins over before it cures; too cold, and it never cures at all. Respect the label.
When to Call a Professional
Painting a single wall or doing spot repair around windows is squarely in DIY territory. But bring in a pro when the job checks any of these boxes: the peeling is widespread across the entire house, you’re working from scaffolding on a two-story or taller wall, there’s more than a few board feet of rotten wood to repair, or the old paint tests positive for lead. Tall, whole-house repaints are also where pros earn their keep on speed—a crew with a lift finishes in days what takes a homeowner a month of evenings.
Frequently Asked Questions
Can I just paint over peeling paint?
No. Painting over peeling paint is the most common way to waste a weekend. The new coat bonds to the loose pieces, and when they let go, it comes off with them. You have to scrape, prime, and only then paint.
Why does my exterior paint peel in sheets?
Large-sheet peeling usually means the top layer never bonded to what was underneath—typically latex applied over chalky, dirty, or glossy oil-based paint. The fix is removing the loose film, cleaning the surface, and using a bonding primer.
What temperature should I paint exterior surfaces in?
Follow the range on the can, but generally you want air and surface temperatures between 50°F and 85°F, and no rain or heavy dew for 24 hours after each coat.
How long should exterior paint last before peeling?
A properly prepped acrylic paint job on sound siding should last 7–10 years before it needs a fresh coat. Peeling within a year or two almost always points to moisture or skipped prep.
Do I have to remove all the paint, or just the loose parts?
Only the loose, failing paint has to come off. Paint that’s still firmly bonded is a good foundation—feather its edges with sandpaper and prime the bare spots, and you’re set.
The Bottom Line
Fixing peeling exterior paint isn’t glamorous, but it’s one of those jobs where doing it right the first time quietly saves you thousands. The order matters more than the effort: find and stop the water first, remove every flake of failing paint, wash and dry the surface completely, prime the bare wood, and only then repaint with a quality acrylic. Skip the primer or paint over the moisture and you’ll be back on the ladder in a season wondering why the paint peeled again.
Treat this as the maintenance task it is rather than a one-off ordeal, and the next time you spot a bubble near the trim, you’ll catch it in an afternoon with a scraper and a brush—before it becomes a whole wall, a rot repair, and a much bigger bill. For deeper background on prep and application techniques, This Old House’s guide to scraping and repainting siding and The Family Handyman’s exterior paint prep walkthrough are both worth a read before you pick up a brush.