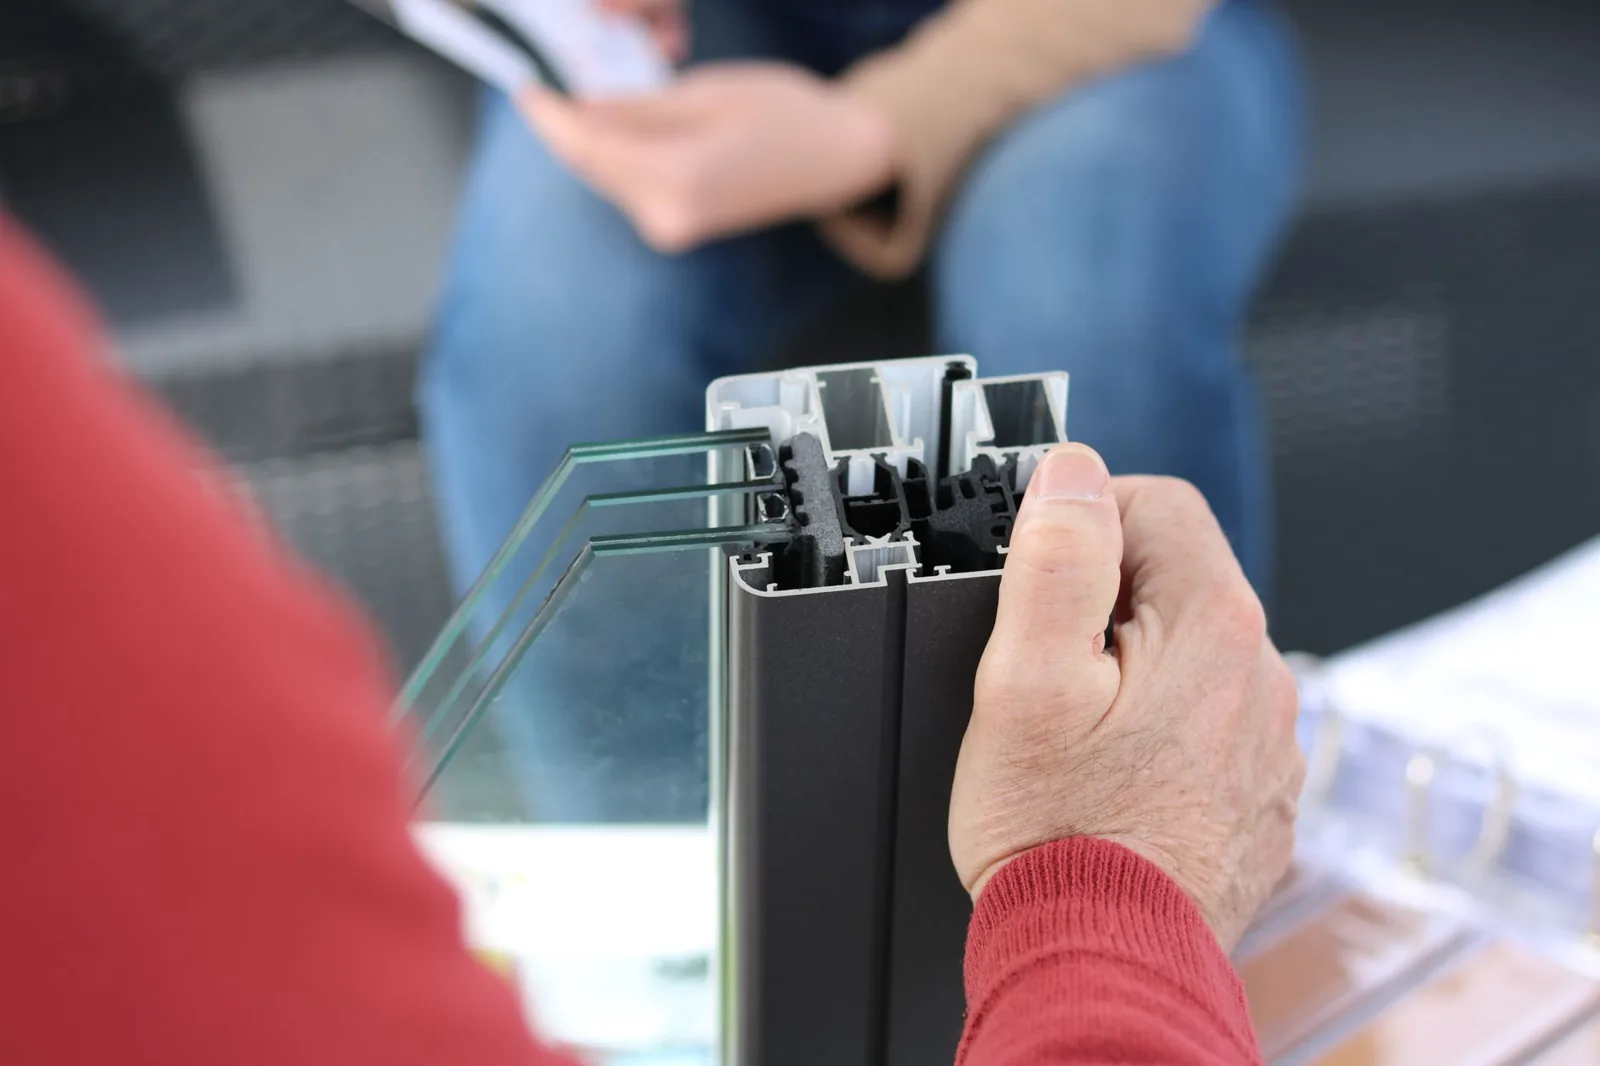
Weatherstripping Windows and Doors: A Complete Guide to Blocking Drafts
Weatherstripping windows and doors is one of the cheapest fixes you can make to an older house, and it pays back almost immediately. The U.S. Department of Energy estimates that air leaks around windows, doors, and other openings account for 25% to 40% of a home’s heating and cooling bill. A roll of weatherstripping costs a few dollars and takes an afternoon to install, which makes it one of the best return-on-effort projects in home maintenance.
Most drafts are invisible. You don’t feel them on a calm day, but on a windy night or the first cold morning of fall, you notice the chill near a door or a window frame. The fix is rarely complicated: find the gap, clean the surface, and install a material that fills it. The hard part is choosing the right product for the job, because there are about a half-dozen common types and each works better in one spot than another.
This guide covers the materials that actually work, how to install them on doors and windows, and the mistakes that cause weatherstripping to fail within a season. Use it as a checklist before you buy anything, and you’ll finish with a tighter, quieter, cheaper-to-run house.
Why Weatherstripping Windows and Doors Pays Off
Air sealing delivers three concrete benefits, and they compound over time.
Lower energy bills. Sealing gaps means conditioned air stops leaking out and outside air stops leaking in. For a typical single-family home, you can expect to trim 5% to 10% off heating and cooling costs after a proper sealing pass, according to ENERGY STAR. That’s roughly $100 to $300 a year for most households, forever, for a one-time material cost of $30 to $100.
Comfort. Drafts make rooms feel colder than the thermostat reading, so people crank the heat to compensate. Sealing those leaks lets you keep the same setting and feel warmer. Rooms at the far end of the house are usually the biggest winners, since they sit farthest from the furnace.
Pest and moisture control. Weatherstripping doesn’t just block air. It closes the cracks that ants, spiders, and occasionally mice use to get inside, and it reduces the amount of condensation that forms on cold glass and frames. Less moisture at the window frame means less peeling paint and a lower chance of wood rot around windows and doors.
There’s also noise. A well-sealed door noticeably cuts street and neighbor sound, especially on homes that face a busy road.
The Main Types of Weatherstripping
No single product works everywhere. The material you’d force under a door is wrong for a double-hung window sash, so it’s worth understanding the options before you open a package.
| Material | Best For | Approx. Cost | Lifespan |
|---|---|---|---|
| Adhesive-backed foam tape | Window sashes, door frames, irregular gaps | $3–$8 per roll | 1–3 years |
| V-strip (vinyl/aluminum tension seal) | Sides and tops of doors, sliding windows | $10–$20 per kit | 5–10 years |
| Felt (with or without adhesive) | Low-traffic door frames and attic hatches | $5–$12 per roll | 1–3 years |
| Door sweeps and thresholds | Bottom of entry and garage doors | $8–$25 each | 3–5 years |
| Tubular rubber/vinyl gaskets | Compression seals on doors and windows | $10–$20 per kit | 5+ years |
| Spray foam and rope caulk | Large or odd-shaped gaps, seasonal sealing | $4–$12 | Varies |
Foam tape and felt are the easiest to install and the shortest-lived. Metal or vinyl V-strip and tubular gaskets cost a little more but survive years of compression and sliding. Door sweeps are a separate category because they seal the widest gap in the house: the space under an entry door.
A quick rule of thumb: use foam tape for low-traffic, irregular gaps; use V-strip or tubular gasket anywhere the surface rubs or compresses repeatedly.
Choosing the Right Product for Each Opening
Match the material to how the opening moves, because that movement is what destroys most weatherstripping.
Windows
Double-hung and sliding windows slide past their frames, so anything glued to the sliding edge will get sheared off. Foam tape works on the stationary meeting rails and the gaps around the frame, but the sliding contact points need V-strip or a spring-bronze tension seal, which flexes without tearing. Casement and awning windows hinge instead of sliding, so a soft foam or tubular gasket along the stop is fine.
Interior vs. exterior doors
Entry doors swing and compress against the jambs, so a tubular rubber or vinyl gasket nailed or stapled into the jamb holds up best. Interior doors need lighter sealing, if any — most people only bother with bedrooms and bathrooms for noise and odor control. The bottom of every exterior door needs a sweep plus a threshold, which is a two-part system rather than a single strip.
Garage and attic doors
Garage doors get treated separately with their own weather-seal kits that slide onto the bottom panel and along the jambs. Attic access hatches and pull-down stairs are often the leakiest opening in the ceiling; foam tape and a rigid cover board make a dramatic difference here.
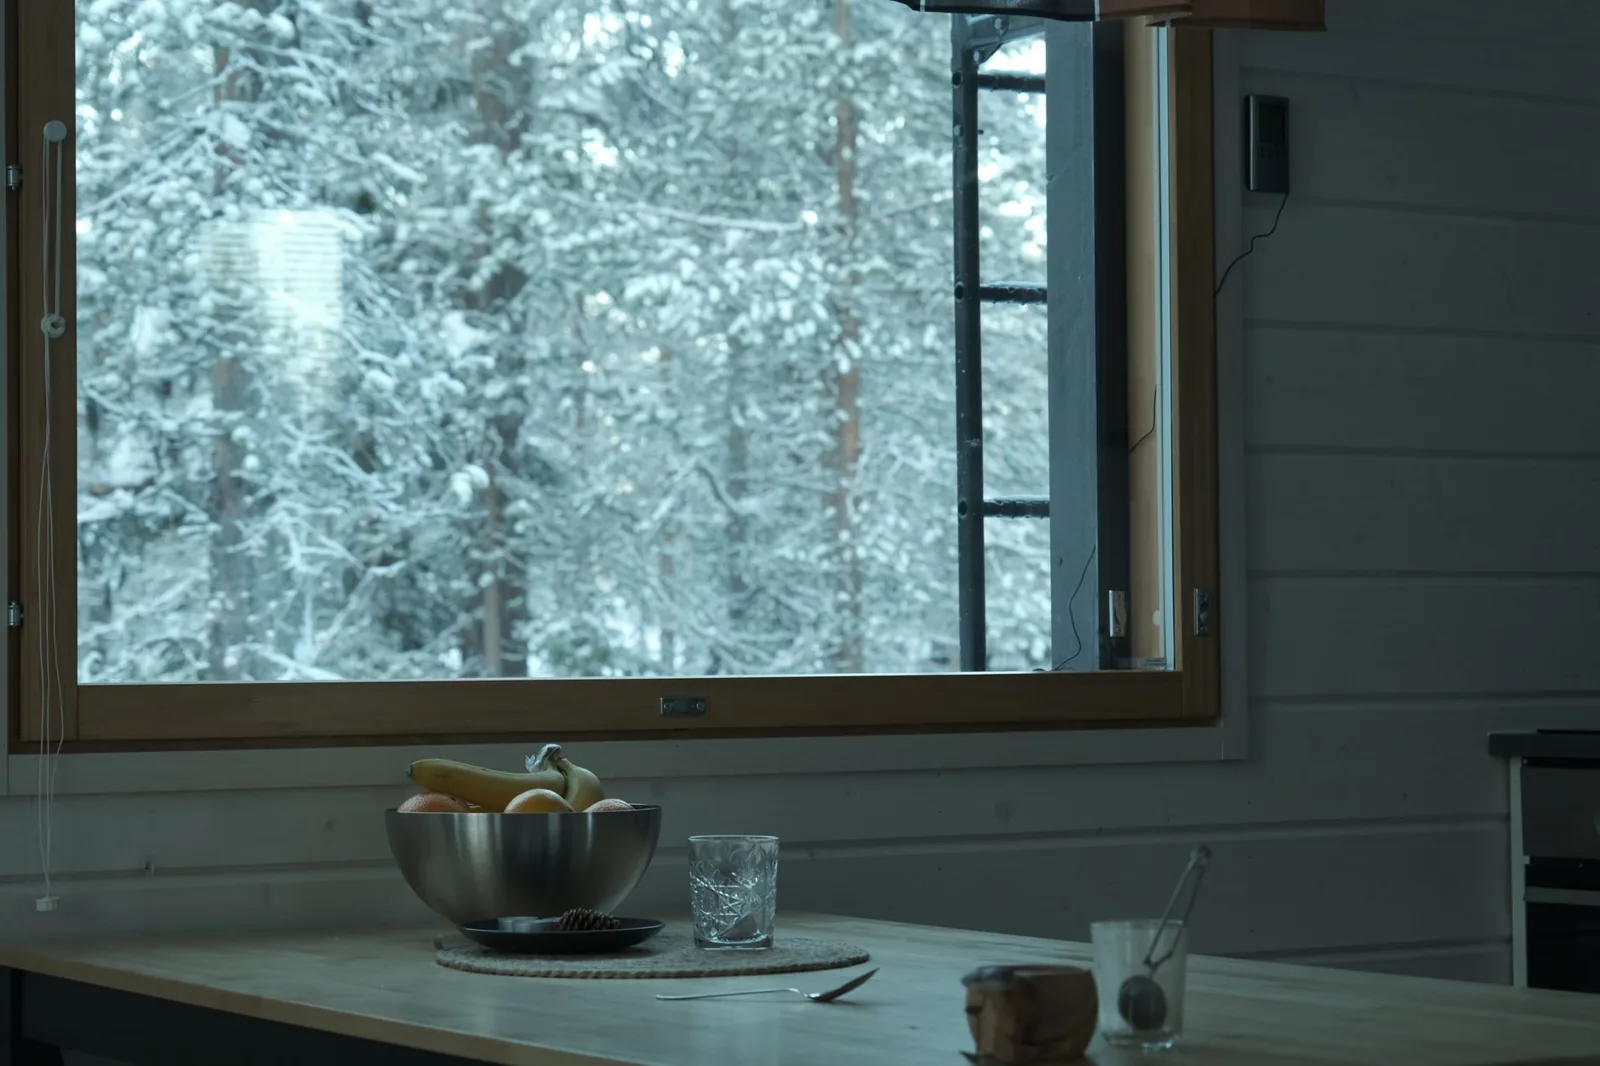
Photo by Floor November via Pexels
How to Weatherstrip an Entry Door
Doors are the best place to start because they’re the biggest single source of drafts and the easiest place to see results.
Step 1: Find the leaks. On a bright day, have someone shine a flashlight around the closed door from outside while you look from inside. Anywhere you see light, you have a gap. A dollar-bill test also works: close the door on a bill and tug. If it slides out without resistance, the seal is too loose.
Step 2: Clean the surfaces. Wipe the jambs and the door edge with a damp cloth and let them dry. Adhesive weatherstripping will peel off within weeks if you stick it to dust or old paint that’s flaking.
Step 3: Seal the sides and top. Cut lengths of tubular rubber, felt, or V-strip to fit each jamb. Work from the top down, and don’t stretch the material as you fasten it — stretching reduces its compression and leaves thin spots. Nail or staple in place, or peel the backing if you’re using self-adhesive.
Step 4: Install the door sweep. Screw a new sweep to the bottom of the door so it lightly contacts the threshold. It should compress slightly without dragging so hard it makes the door hard to close. If the gap under the door is uneven, install an adjustable threshold instead and raise it until contact is firm but smooth.
Step 5: Test. Re-run the flashlight and dollar-bill checks. The bill should now catch firmly all the way around.
A full door sealing job takes 30 to 60 minutes and runs $15 to $40 in materials per door.
How to Weatherstrip Windows
Windows need a lighter touch than doors, and the payoff is just as real in a cold snap.
Clean and inspect first. Open each sash and wipe down the frame, stops, and sash edges. Check for cracked glazing, loose putty, and gaps where the frame meets the wall. Weatherstripping only seals the movable parts — it won’t fix a broken seal between the glass and the frame. That’s a job for exterior caulking around the outside of the frame.
Seal the moving halves. For double-hung windows, apply V-strip along the sides where the sashes slide, so the strip flexes as the window moves. For the meeting rail where the top and bottom sashes overlap, a foam or felt strip closes the gap where the most air slips through.
Fill the frame gaps. Anywhere the frame meets the wall or trim, run a bead of caulk inside and out. On the interior, foam backer rod plus caulk handles gaps wider than a quarter inch. This stops the air that bypasses the sash entirely and leaks through the framing.
Check the locks. A window that can’t latch tightly is a window that leaks. If the lock is loose or misaligned, tighten or adjust it before judging your weatherstripping work, because an unlocked sash defeats the entire seal.
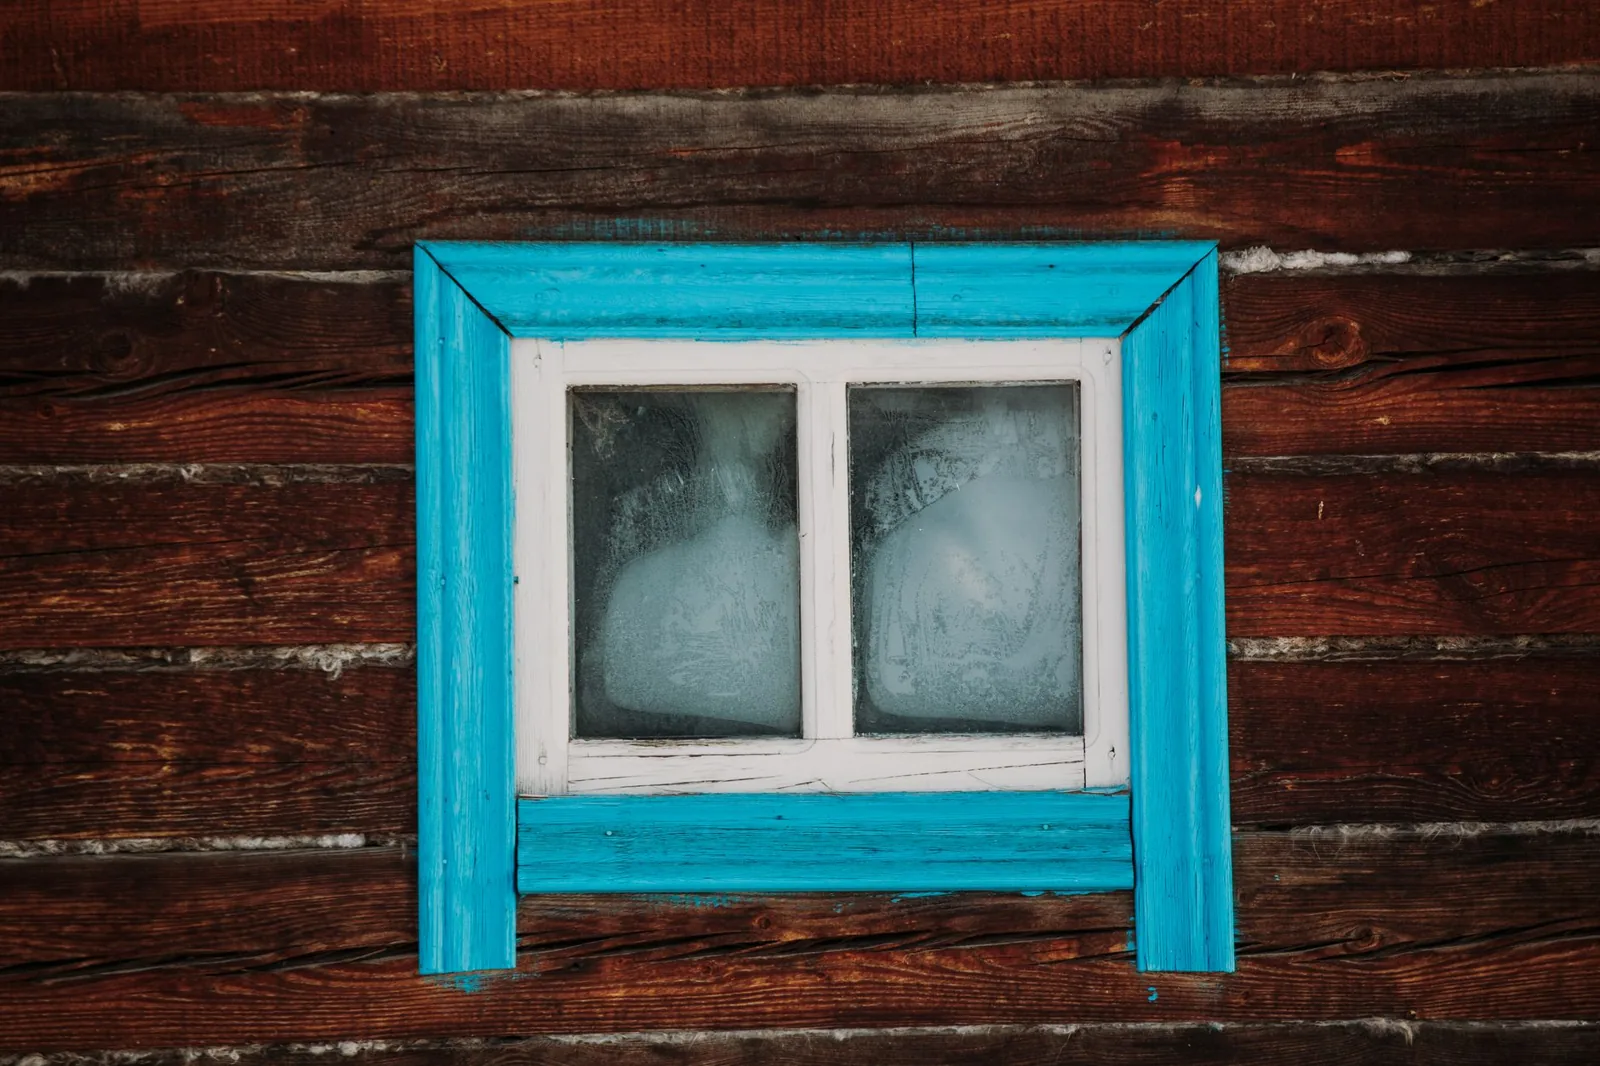
Photo by Ivan Babydov via Pexels
Mistakes That Make Weatherstripping Fail Early
Most weatherstripping that “doesn’t work” was installed wrong, not bought wrong. These are the four errors that show up most on service calls.
- Installing over dirt and paint flakes. Adhesive needs a clean, dry, sound surface. Skipping the prep is the number-one reason strips peel off in weeks.
- Using foam tape in a sliding or compression location. Foam tears under shear and takes a permanent set under constant compression. Save it for irregular, low-contact gaps.
- Forgetting the bottom of the door. Sides and top sealed, sweep missing — the biggest gap in the house is still open. The bottom seal is half the job.
- Stretching the material while fastening. Tensioned and adhesive strips both lose their effectiveness when stretched. Measure, cut slightly long, and let the material sit naturally.
Also worth knowing: weatherstripping is a maintenance item, not a set-and-forget fix. Expect to replace foam and felt every one to three years, and inspect sweeps and gaskets each fall before the heating season starts.
How Weatherstripping Fits a Full-Season Plan
Air sealing works best as one part of a larger weatherproofing push. Weatherstripping closes the movable joints; caulk closes the fixed ones; and a properly waterproofed basement exterior stops water from entering down low while your windows and doors hold the air upstairs. Tackling all three in a single weekend gives you the most noticeable comfort and utility savings, since each fix covers a different leak path.
Time it for early fall. Temperatures are mild enough that adhesives cure properly (most pressure-sensitive adhesives struggle below about 50°F), and you’ll have everything sealed before the first real cold snap.
Frequently Asked Questions
How much does it cost to weatherstrip a whole house?
Materials for a typical single-family home run $50 to $150 for windows and doors combined, assuming you do the work yourself. Hiring a handyman to handle the doors and windows usually adds $150 to $400 in labor depending on how many openings need work.
How long does weatherstripping last?
It depends on the material. Foam tape and felt typically last one to three years, while V-strip, tubular gaskets, and metal tension seals commonly last five to ten years. High-traffic door sweeps fall somewhere in between and should be checked yearly.
Can I weatherstrip in winter?
You can, but with limits. Spray foam and most pressure-sensitive adhesives need temperatures above roughly 40°F to 50°F to bond properly. If you must seal in cold weather, mechanical fasteners — nails, staples, and screws — hold better than adhesive-backed products.
Do I need weatherstripping on new windows and doors?
New units almost always include factory weatherstripping, so adding more is rarely necessary. What new installations do need is proper sealing around the frame. If a brand-new window drafts, check the caulking and insulation around the frame rather than the sash seals.
What’s the difference between weatherstripping and caulk?
Weatherstripping seals moving joints — the parts of windows and doors that open and close. Caulk seals stationary joints such as the seam between a frame and the wall. A complete air-sealing job uses both, not one or the other.
The Bottom Line
Weatherstripping windows and doors is a low-cost, high-impact project that pays for itself within a single heating season. Buy the right material for each opening, spend the extra ten minutes cleaning surfaces, and don’t forget the bottom seals — that’s the entire strategy. For less than the cost of a dinner out and one weekend of work, you’ll get a warmer house, a lower utility bill, and a quieter home every month of the year.
If you’re sealing the moving parts, your next step is sealing the fixed ones. Check out our exterior caulking guide to close the seams weatherstripping can’t reach, and see what a pressure washing pass can do to prep those surfaces for fresh sealant before you start.