
How to Waterproof a Basement Exterior: A Complete Step-by-Step Guide
A wet basement rarely fixes itself, and the water that keeps showing up on your floor usually starts outside. Learning how to waterproof a basement exterior means attacking the problem at its source — the foundation wall and the soil pressed against it — rather than chasing symptoms with buckets and dehumidifiers. Done correctly, exterior waterproofing is the closest thing to a permanent fix, and it is a job a determined DIYer can handle with a rented excavator, a few weekends, and the right materials.
This guide walks through the full process: excavating the foundation, repairing and coating the walls, installing drainage, and grading the soil so water drains away instead of through it. We also cover realistic costs, the mistakes that undo a good job, and answers to the questions homeowners ask most.
Why Exterior Waterproofing Beats Every Interior Fix
Interior waterproofing — sealant paint, epoxy injection, an interior French drain and sump pump — keeps water from pooling in your living space, but it does not stop water from getting into the wall in the first place. The wall keeps absorbing moisture, and over time that moisture corrodes rebar, spalls concrete, and feeds mold inside wall cavities you cannot see.
Exterior waterproofing stops water before it touches the foundation, which protects the structure itself rather than just its appearance. The trade-off is effort: you need full access to the outside of the foundation wall, which means digging down to the footing. For a 1,500-square-foot basement, that is a trench roughly 8 feet deep and 2 to 3 feet wide running the full perimeter. It is disruptive and labor-intensive, but the result typically outlasts any interior system by decades.
How to Waterproof a Basement Exterior, Step by Step
Below is a proven seven-step sequence. Skimping on any one of them — most often the drainage board or the backfill — shortens the life of the whole system.
Step 1 — Excavate the Foundation
Rent a mini-excavator (about $250 to $400 a day from Sunbelt, United Rentals, or a local yard) and dig a trench around the foundation down to the footing. Keep the trench at least 2 feet wide so you have room to work and apply materials. Call 811 before you dig so underground utilities — gas, electric, water, sewer — are marked. In the US this locate service is free, and hitting a gas line while trenching is not a cheap mistake.
Pile the spoil on a tarp away from the trench edge. The dirt goes back in later, so keep it organized.
Step 2 — Clean and Repair the Walls
Power-wash the exposed wall to remove dirt, old coatings, and efflorescence. A pressure washer rated around 2,500 to 3,000 psi works well here; if you are new to pressure washing, our guide to pressure washing a house covers technique and safety.
Inspect for cracks, honeycombs, and form-tie holes. Repair them before any coating goes on:
- Hairline cracks: chase them slightly and fill with hydraulic cement, which sets even in damp conditions.
- Structural cracks (wider than 1/4 inch or shifting): inject a two-part epoxy or polyurethane from the exterior side with an injection kit from a brand like RadonSeal or Sika.
- Form-tie holes and gaps around pipe penetrations: pack with hydraulic cement.
Let all repairs cure fully — usually 24 hours for hydraulic cement — before the membrane goes on.
Step 3 — Apply the Waterproofing Membrane
There are two legitimate routes, and they are not interchangeable:
| Feature | Dampproofing | Waterproofing membrane |
|---|---|---|
| What it is | Thin asphalt- or tar-based spray, usually 10 mil or less | Thicker bentonite, rubberized asphalt, or peel-and-stick sheet membrane |
| Water resistance | Resists dampness only; breaks down and won’t span cracks | Blocks water under hydrostatic pressure and spans small cracks |
| Typical cost | $2 to $4 per sq ft of wall | $4 to $9 per sq ft of wall |
| Best for | Non-living crawl spaces, dry climates | Finished basements and any foundation that has ever leaked |
For a basement you plan to use or finish, choose a real waterproofing membrane. Roll-on rubberized products like Tuff-N-Dri, Kryton, or Drylok’s Fluid-Applied series, and peel-and-stick sheets like Grace’s Bituthene or Henry/VaproShield, are all solid. Roll the manufacturer’s primer on first, then the membrane, overlapping seams at least 2 to 3 inches, and lap it up onto the footing and a few inches above grade.
Step 4 — Install the Drainage Board
A dimpled plastic drainage board (also called a dimple mat or protection board) creates an air gap between the soil and the membrane. Water striking the wall drops down the channels to the footing drain instead of sitting against the coating. Products like Platon or Delta-MS are installed dimple-side against the wall, seams overlapped, and run from the footing to above grade where a termination strip caps it.
Skipping this layer is the single most common reason a new exterior waterproofing job still leaks within a few years.
Step 5 — Add a Footing Drain
At the bottom of the trench, lay a 4-inch perforated PVC or corrugated pipe (a footing drain, also called drain tile) on a bed of washed gravel. Wrap the pipe in filter fabric to keep silt out, then cover it with more gravel. Pitch the pipe at least 1/8 inch per foot toward daylight or a sump, so the water the membrane and drainage board catch has somewhere to go.
Step 6 — Backfill With Gravel and Grade the Soil
Backfill the first 12 to 18 inches against the wall with clean, free-draining gravel — never the excavated clay, which holds water against the membrane. Above that you can return the native soil. Grade the finished surface so it slopes away from the house at about 6 inches of drop over the first 10 feet.
Step 7 — Redirect Water at the Surface
Clear gutters, extend downspouts at least 4 to 6 feet from the foundation, and keep landscape irrigation pointed away from the house. For gaps and joints where water can sneak in at window wells and doors, revisit our exterior caulking guide and our window and door weatherstripping guide. Sealing the envelope at the surface means your buried system only has to handle groundwater, not every rainstorm from above.
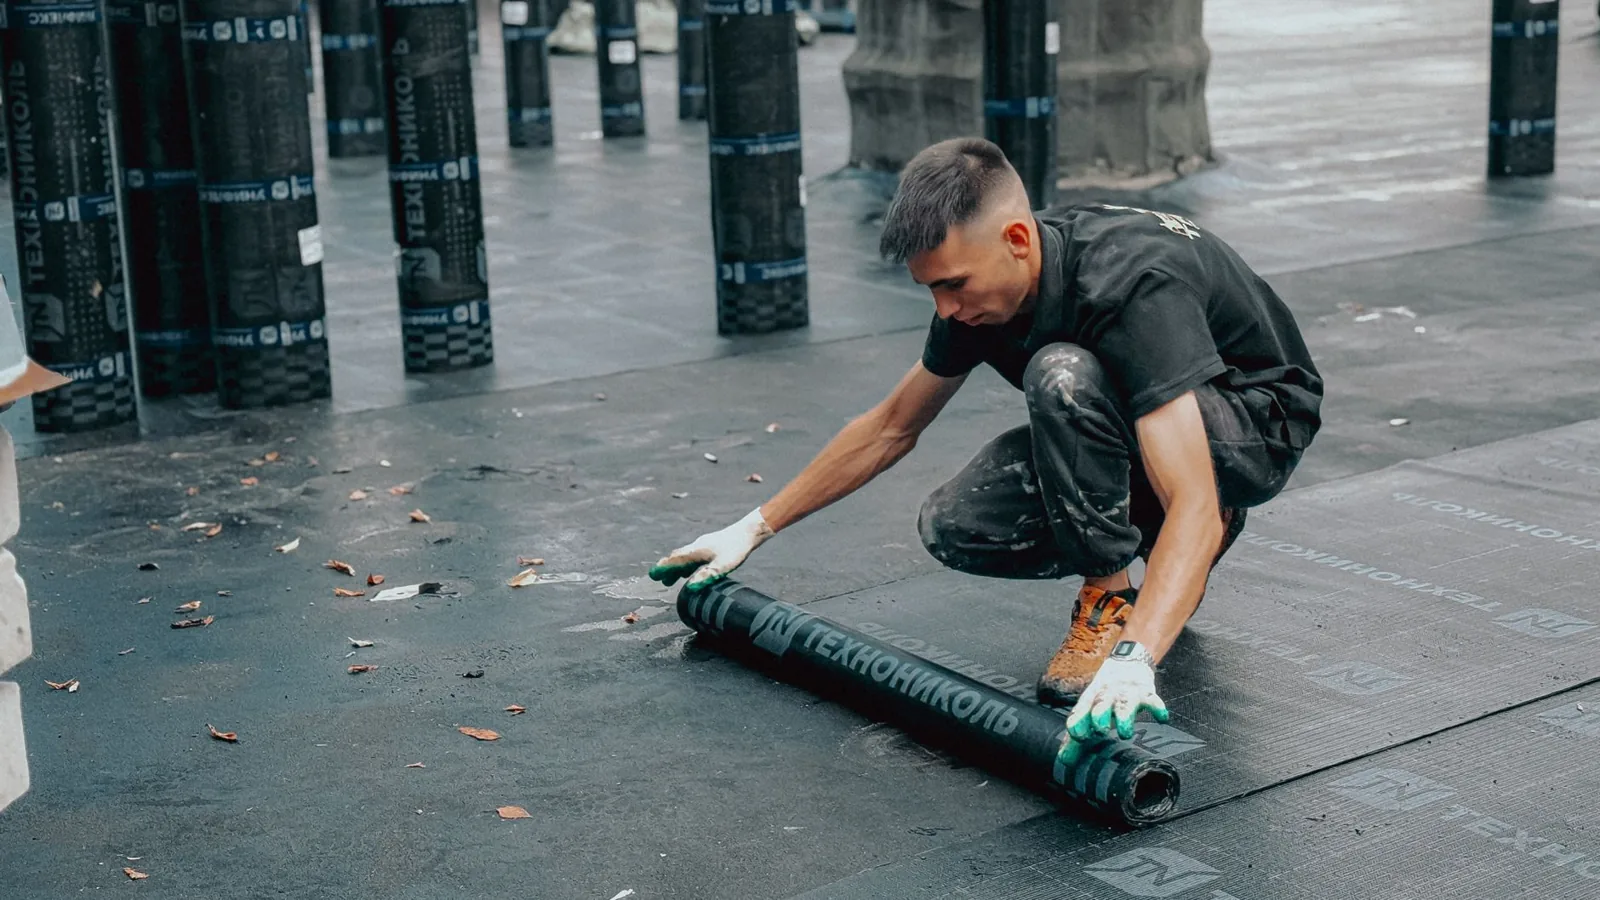
Photo by Bulat843 🌙 via Pexels
How Much Does Exterior Basement Waterproofing Cost?
Exterior waterproofing is priced by the linear foot of foundation wall, because the trench has to go around the whole perimeter. For a typical home, expect $60 to $150 per linear foot all-in, or roughly $9,000 to $25,000 for a full foundation when a contractor does the work. A 50-linear-foot foundation on the low end falls around $3,000 to $5,000 for materials and a contractor’s crew; larger or deeper foundations push well past $20,000.
Doing it yourself drops the price dramatically. The big-ticket items are:
- Mini-excavator rental: $250 to $400 per day
- Waterproofing membrane: $4 to $9 per square foot of wall, $400 to $900 per 5-gallon kit
- Drainage board: $0.60 to $1.50 per square foot
- 4-inch perforated pipe and filter fabric: $1 to $3 per linear foot
- Washed gravel: $30 to $80 per ton, delivered
A DIY exterior waterproofing job on an average foundation usually runs $2,000 to $5,000 in materials and rentals — a fraction of the pro price, at the cost of serious labor and a rented machine you will need to learn in an afternoon. If you live in a climate with heavy freeze-thaw cycles or clay soil, pay extra for the thickest membrane and a perforated footing drain; it is cheap insurance on a job you only want to do once.
Common Mistakes That Undo Exterior Waterproofing
Even with the right materials, these errors are what bring a homeowner back to a wet basement:
- Skipping the drainage board. A membrane without an air gap fails early.
- Backfilling with clay instead of gravel. It holds water against the wall and negates the membrane.
- No footing drain, or a drain with no slope. Trapped water still builds hydrostatic pressure.
- Sealing over a live leak without fixing the source. Coatings fail when the wall keeps moving.
- Ignoring the surface. No gutter maintenance or downspout extension sends a river straight back to the foundation every storm.
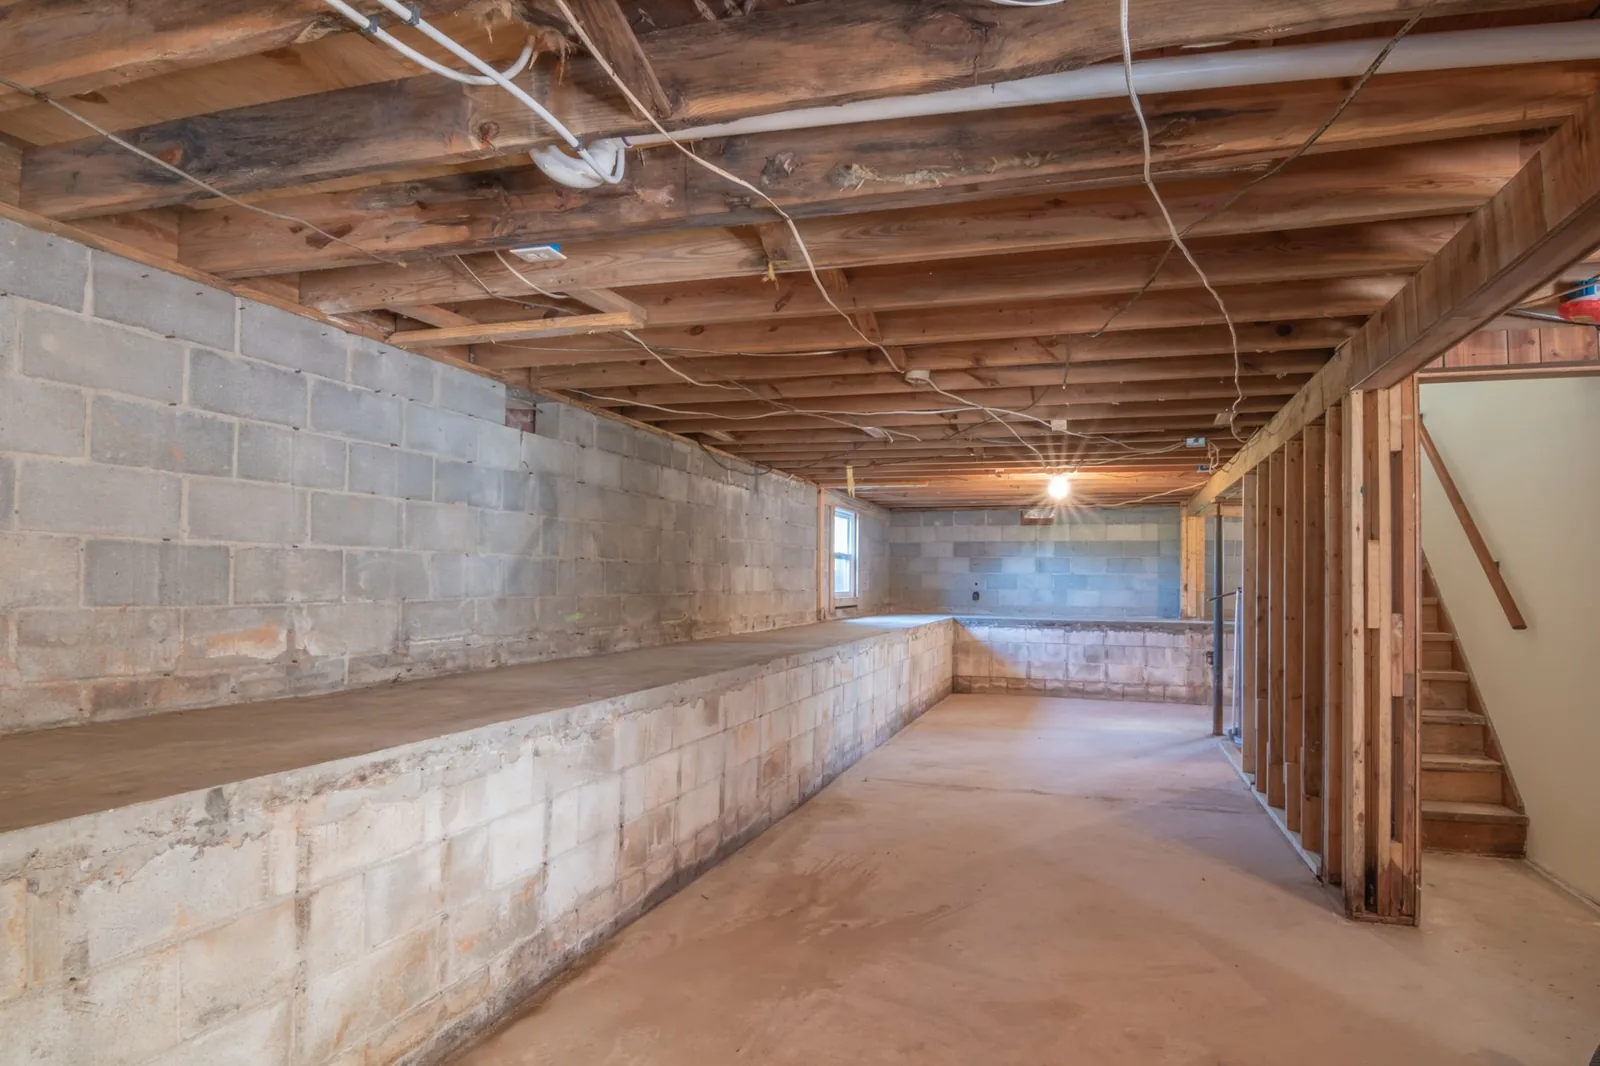
Photo by Curtis Adams via Pexels
Frequently Asked Questions
Can I waterproof my basement from the outside without digging?
Not properly. The parts of the wall that matter — the interior of the footing, cracks below grade, the drainage layer — are all underground. You can excavate just one problem wall instead of the full perimeter, but the wall must be dug out to be treated, which is why this is fundamentally an excavation job.
Is exterior waterproofing better than interior waterproofing?
For actually keeping water out of the wall, yes. Interior systems (sealant paint, epoxy injection, an interior French drain and sump pump) manage water after it enters. Exterior waterproofing stops it at the source and protects the foundation structure itself. This Old House has a good visual breakdown of the difference.
How long does exterior basement waterproofing last?
A proper job — sound repairs, a quality membrane, a drainage board, and a footing drain — should last 20 to 30 years or more. Dampproofing alone, without a membrane, may fail within a decade. The drainage board and backfill quality, more than the coating brand, usually decide the lifespan.
Do I need a permit to waterproof a basement exterior?
Often yes, because you are excavating within the code-required setback from the property line and altering the foundation’s drainage. Check with your local building department before you dig; some jurisdictions also require an engineer’s stamp if you are repairing structural cracks.
Can I hire this out in stages?
Yes. Many contractors will excavate and waterproof one wall per season, which spreads the cost over a year or two. Just confirm the membrane is terminated in a way that ties cleanly into the next phase, so you do not create a seam that leaks. Family Handyman walks through the layering in detail.
The Bottom Line
The people who end up happiest with their basements are the ones who stopped treating the symptom and dug to the source. How to waterproof a basement exterior is not a mystery formula — it is a sequence of excavate, repair, membrane, drainage board, footing drain, and smart backfill, done in that order, with no steps skipped. It costs more upfront than any interior patch, but it is the only fix that actually keeps water out of the wall.
Start with the drainage and grading outside, and only then commit to the dig. When you are ready to take on the excavation, work the seven steps in order, rent the right machine, and do not skip the drainage board. Your basement — and whoever finishes it into a workshop, gym, or spare bedroom later — will thank you for it.