Air Sealing Old House: Cut Drafts, Moisture, and Energy Bills
Older homes move air. That is part of their charm until winter, when cold air slips through the rim joists and warm air pours out the attic while your furnace runs nonstop. Air sealing old house framing is the single most cost-effective comfort upgrade most owners skip, and it almost always pays for itself faster than new windows, better insulation, or a high-efficiency boiler.
The idea is simple: a house should hold conditioned air the way a thermos holds coffee. In a pre-1980 home it rarely does. The U.S. Department of Energy estimates that air leaks can account for 25% to 40% of a home’s heating and cooling energy, and older houses sit at the top end of that range. Sealing those leaks is cheap, mostly do-it-yourself, and measurable — homeowners routinely see a 10% to 20% drop in energy use after a thorough job.
Why Old Houses Leak So Much
Homes built before modern energy codes were framed to breathe. Builders relied on a loose shell to let moisture escape, because wall cavities had little or no insulation and no vapor barrier. Balloon framing, common through the 1930s, created continuous channels from basement to attic — an open highway for air. Balloon-framed walls have no fire stops and no blocking between floors, so a crack behind a baseboard on the first floor can draft straight from the crawl space to the roof.
Add decades of settling and you get a predictable list of gaps. Construction joints open up. Plumbing and electrical penetrations stay unsealed. Attic hatches rarely fit. Old double-hung windows and their weight pockets channel air even when the sash is locked. None of these are defects; they are simply how the house was built. The good news is that almost all of them can be sealed with materials from a single trip to the hardware store.
Where Air Escapes From an Old House
Most heat loss in an old home happens high and low, not at the windows. Here is where the leaks hide, roughly in order of importance:
- Attic floor and rim joists — the single biggest source. Heat rises and finds every plumbing chase, wire hole, and can light.
- Basement and crawl space rim joists — cold air enters where the foundation meets the floor framing.
- Attic hatch and pull-down stairs — a 1/4-inch gap around a hatch leaks as much as a wide-open bathroom vent.
- Recessed lights — old can fixtures are leaky holes in the ceiling.
- Window and door frames — as much from the gaps around rough openings as the units themselves.
- Plumbing and electrical penetrations — under sinks, behind the dryer, around the electrical panel.
- Chimney and flue chases — the gap between a masonry chimney and the framing around it.
An energy audit with a blower door is the accurate way to find these, but a $20 incense stick or a damp hand held near suspect spots on a windy day will point out the worst of them in an hour.
Air Sealing Old House: What You Need
Air sealing is unglamorous work with modest materials, which is exactly why it pays back so well. For under $150 you can buy everything needed for the most impactful fixes:
- Caulk — silicone or latex for gaps up to 1/4 inch. Big Stretch and OSI Quad are durable choices for exterior joints.
- Spray foam — Great Stuff cans for gaps over 1/4 inch. Use the “Window & Door” low-expansion formula around frames so it does not bow the jamb.
- Weatherstripping — foam, felt, or V-strip for doors, attic hatches, and window sashes.
- Door sweeps — an aluminum sweep under exterior doors costs about $10 and stops a surprising draft.
- Foam gaskets — penny-cheap outlet and switch plate sealers for outside walls.
- Rigid foam board and foil tape — for blocking off a big attic hatch or knee-wall door.
A pro air-sealing job — usually bundled with air sealing and insulation as part of a weatherization package — typically runs $600 to $1,500, often with utility rebates that cover a third or more. DIY sealing of the attic floor and rim joists can cost under $200 in materials and take a single weekend.
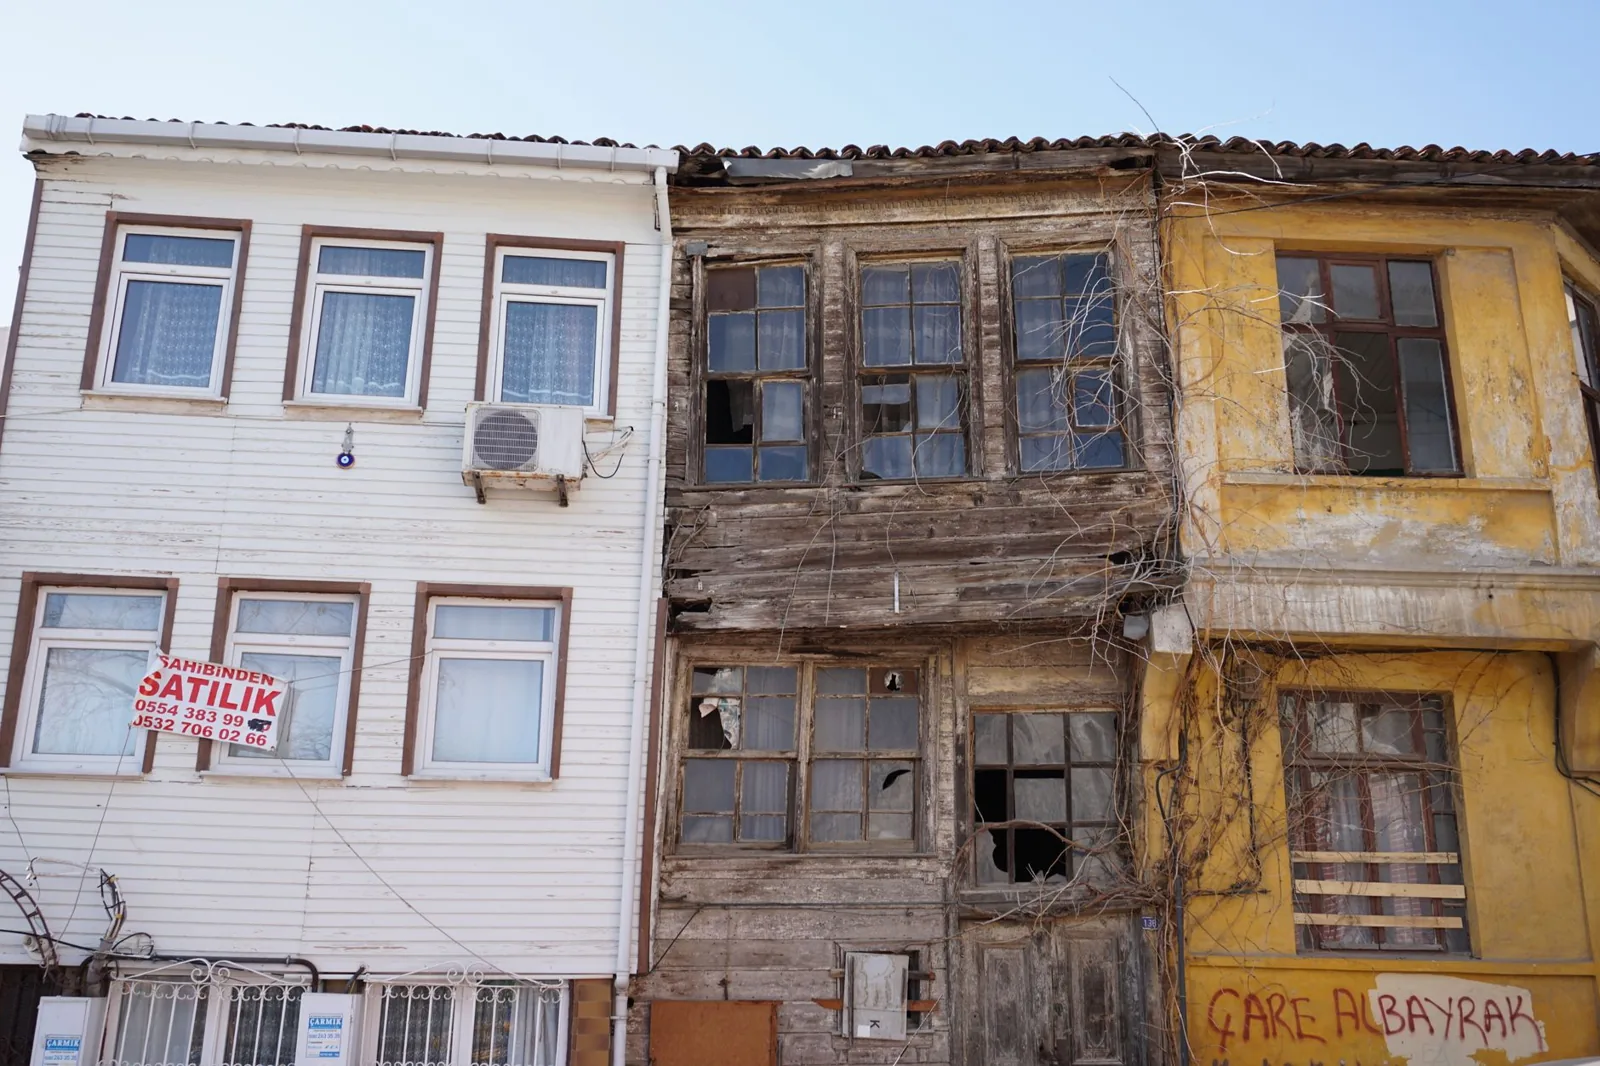
Photo by Oguzhan Aydin via Pexels
How to Air Seal an Old House, Step by Step
1. Seal the Attic Floor First
Work from the top down. Pull back the insulation in the attic, foam or caulk every plumbing vent, wire penetration, and interior wall top plate, then put the insulation back. Focus on the top plates of every interior wall — warm air loves to pour up through them.
2. Close In the Attic Hatch
Cut a piece of rigid foam to sit on top of the hatch, glue it in place, and run weatherstripping around the frame. A properly sealed attic hatch can cut a home’s chimney-effect air movement noticeably on its own.
3. Air Seal the Rim Joists
Go to the basement or crawl space. Caulk where the sill plate meets the foundation, then seal each rim-joist bay with two-part foam or caulk and fit rigid foam board cut to the cavity. This is one of the fastest ways to stop cold floors in an old house.
4. Treat Windows and Doors
Old sash windows rarely become airtight, but you can get them close. Refit the sash with weatherstripping, seal the weight pockets, add a proper weatherstripping treatment to the meeting rails, and run a fresh bead of exterior caulk where trim meets the siding. If a unit is too far gone to seal, weigh the cost of replacement against the drafts it keeps letting in.
5. Seal Every Outside-Wall Penetration
Remove outlet and switch covers on exterior walls and install foam gaskets. Seal plumbing penetrations under sinks and behind the washing machine with caulk or foam. Every small hole matters because dry air under pressure finds them all.
Leave the big venting alone — bath fans, range hoods, and dryer vents must still exhaust to the outside. Air sealing is about closing uncontrolled leaks, never about starving a house of the combustion air its furnace and water heater depend on.
What Air Sealing Does Not Fix
Air sealing works best when it pairs with insulation, but it is not a substitute for it. Sealing without adequate insulation in the walls and attic still leaves conductive heat loss, which is why pros sell the two together. It also will not repair rotted framing. If you find soft or darkened wood while sealing a rim joist or window, deal with the moisture source before sealing over it.
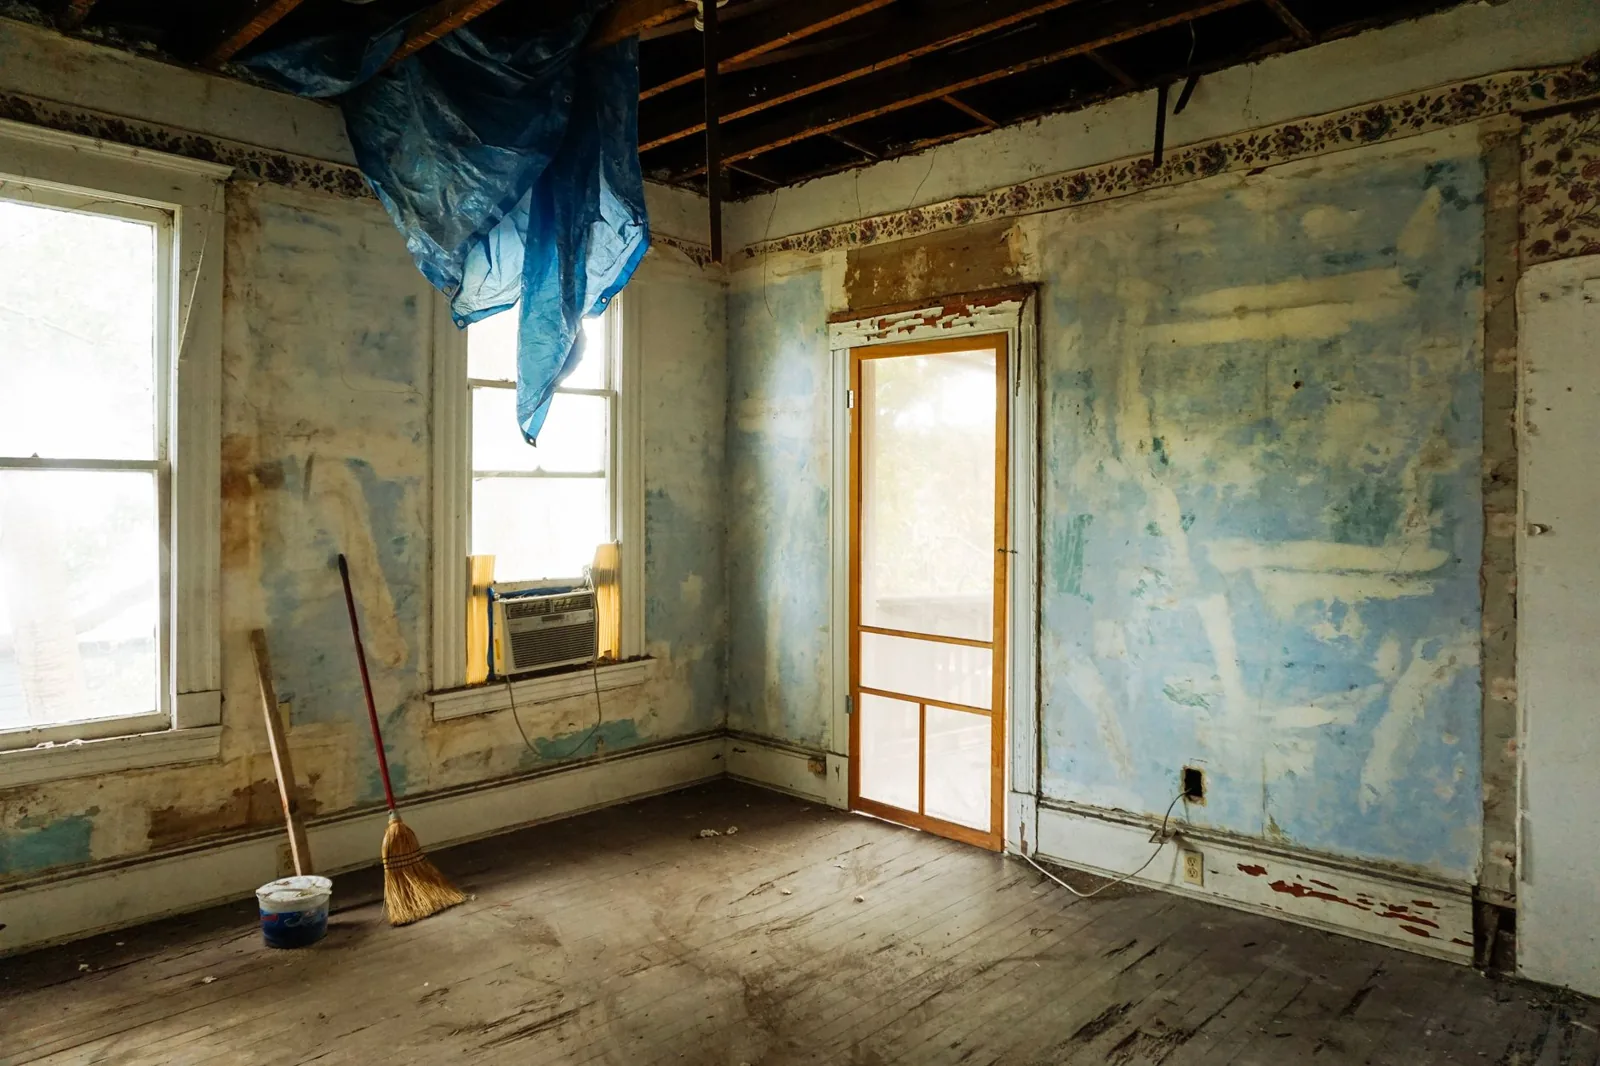
Photo by Monica Silvestre via Pexels
How Much Does Air Sealing an Old House Save?
The U.S. Environmental Protection Agency’s ENERGY STAR program pegs average savings from air sealing and insulation at 15% on heating and cooling costs, with a national average of about 11% on total energy bills. On a $2,400 annual energy bill, that is roughly $260 a year — real money that recurs every single winter. Combined with the comfort gain — no more cold rooms, fewer stale smells, less dust pulled in through leaky walls — it is one of the rare upgrades homeowners describe as “felt immediately.”
| Approach | Typical Cost | Best For |
|---|---|---|
| DIY attic + rim-joist sealing | $150–$400 in materials | Hands-on owners, biggest leaks first |
| Pro weatherization package | $600–$1,500 before rebates | Whole-house sealing + insulation |
| Air sealing + new windows | $1,000s | Only when windows are unsalvageable |
The table makes the point plain: sealing the home you already have beats replacing parts of it. Windows and siding are the last place to spend weatherization money, not the first. Visit the Department of Energy’s air sealing guide for the full technical rundown, and This Old House for contractor-grade how-to detail.
Frequently Asked Questions
How much does it cost to air seal an old house?
A professional air sealing and insulation package generally runs $600 to $1,500 before rebates. A DIY job targeting the attic floor, attic hatch, and rim joists can be done for $150 to $400 in materials. Many utilities rebate a portion of the pro cost through weatherization programs.
Can you air seal a house that is too tight?
Yes — over-sealing without accounting for ventilation can trap moisture and indoor pollutants. The fix is mechanical ventilation such as a bath fan, kitchen exhaust, or an ERV, not leaving random cracks open. Seal tightly, then ventilate right, as the building-science saying goes.
Is air sealing or insulation more important first?
Air seal first. Insulation loses much of its effectiveness when air moves through it, so sealing the leaks before adding insulation gets the biggest return for the least material. Do them in sequence, and you get the full benefit of both.
When is the best time to air seal an old house?
Late summer through fall, when the attic is cooler to work in and before the heating season starts. The second-best time is now — any season works for rim joists, hatches, and outlet gaskets.
Do I need a blower door test?
It is the gold standard but not required. A blower-door test pinpoints leaks and gives you a before-and-after number, and many utility programs include one in a discounted audit. An incense stick on a windy day covers the basics for far less.
The Bottom Line
Air sealing old house framing is the rare home-improvement project that is cheap, fast, and genuinely effective. For a couple hundred dollars and a weekend, you can stop the invisible air leaks that make an old house feel cold and cost you money every month. Work top-down — attic first, then rim joists, then windows, doors, and outlet gaps — leave combustion vents alone, and you will feel the difference before the first utility bill arrives. When you are ready to carry the weatherproofing further, our exterior caulking guide and weatherstripping walkthrough will take you to the next gaps.