How to Build a Shed: A Step-by-Step DIY Guide
A well-built shed turns a cluttered garage and an overstuffed basement into organized, weatherproof storage. Learning how to build a shed is one of the most satisfying outdoor projects a homeowner can take on — it adds usable square footage, keeps your mower and tools dry, and usually pays for itself within a few years compared with renting a storage unit.
This guide walks through the entire process in order: permits and site prep, choosing a size and material, framing the floor and walls, raising the roof, and finishing the job with siding and trim. You don’t need to be a professional carpenter to pull this off. You need a level site, a weekend or two, and a plan you actually follow.
Before You Build: Permits, Zoning, and Site Prep
The most common mistake first-time shed builders make is skipping the paperwork. In most US municipalities, a shed under 100 to 120 square feet is exempt from a building permit, but setback rules still apply. You typically have to keep the structure 3 to 5 feet from property lines and, if you have a septic system or utility easements, stay well clear of them. Check with your city or county building department before you spend a dollar on lumber.
Zoning can be stricter than you expect. Many HOAs require sheds to match the house’s exterior color and roof style, and some ban metal sheds outright. A 15-minute call to the planning office, or a quick read of your HOA covenant, saves you from tearing a finished shed down later.
Site prep matters just as much as the permit. Pick the highest, driest spot on your property and clear it of grass, roots, and rocks. Grade the ground so water runs away from the shed rather than pooling at the base. If the ground is uneven, you’ll level it when you build the foundation rather than fighting the slope during framing.
Choosing a Shed Size, Style, and Material
Shed size usually comes down to what you actually need to store. A 6×8 shed (48 square feet) holds a push mower, a few tools, and some totes. An 8×10 fits a riding mower and a workbench. A 10×12 or 12×16 gives you room to walk around and store bikes, ladders, and seasonal gear. Bigger is rarely the wrong answer — most owners say they wish they’d gone one size up.
Style and material affect both looks and maintenance. The main options:
- Wood (pressure-treated or cedar): The classic choice, easy to customize and paint, but needs repainting or sealing every few years.
- Vinyl: Near-zero maintenance and resists rot, but limited to certain styles and can fade.
- Metal: Cheap and durable against pests and fire, but prone to dents, condensation, and a utilitarian look.
For most DIYers, wood is the best balance of cost and flexibility. Pressure-treated lumber for the floor and framing, paired with a rot-resistant siding like LP SmartSide or T1-11, gives you a shed that lasts 20 years or more.
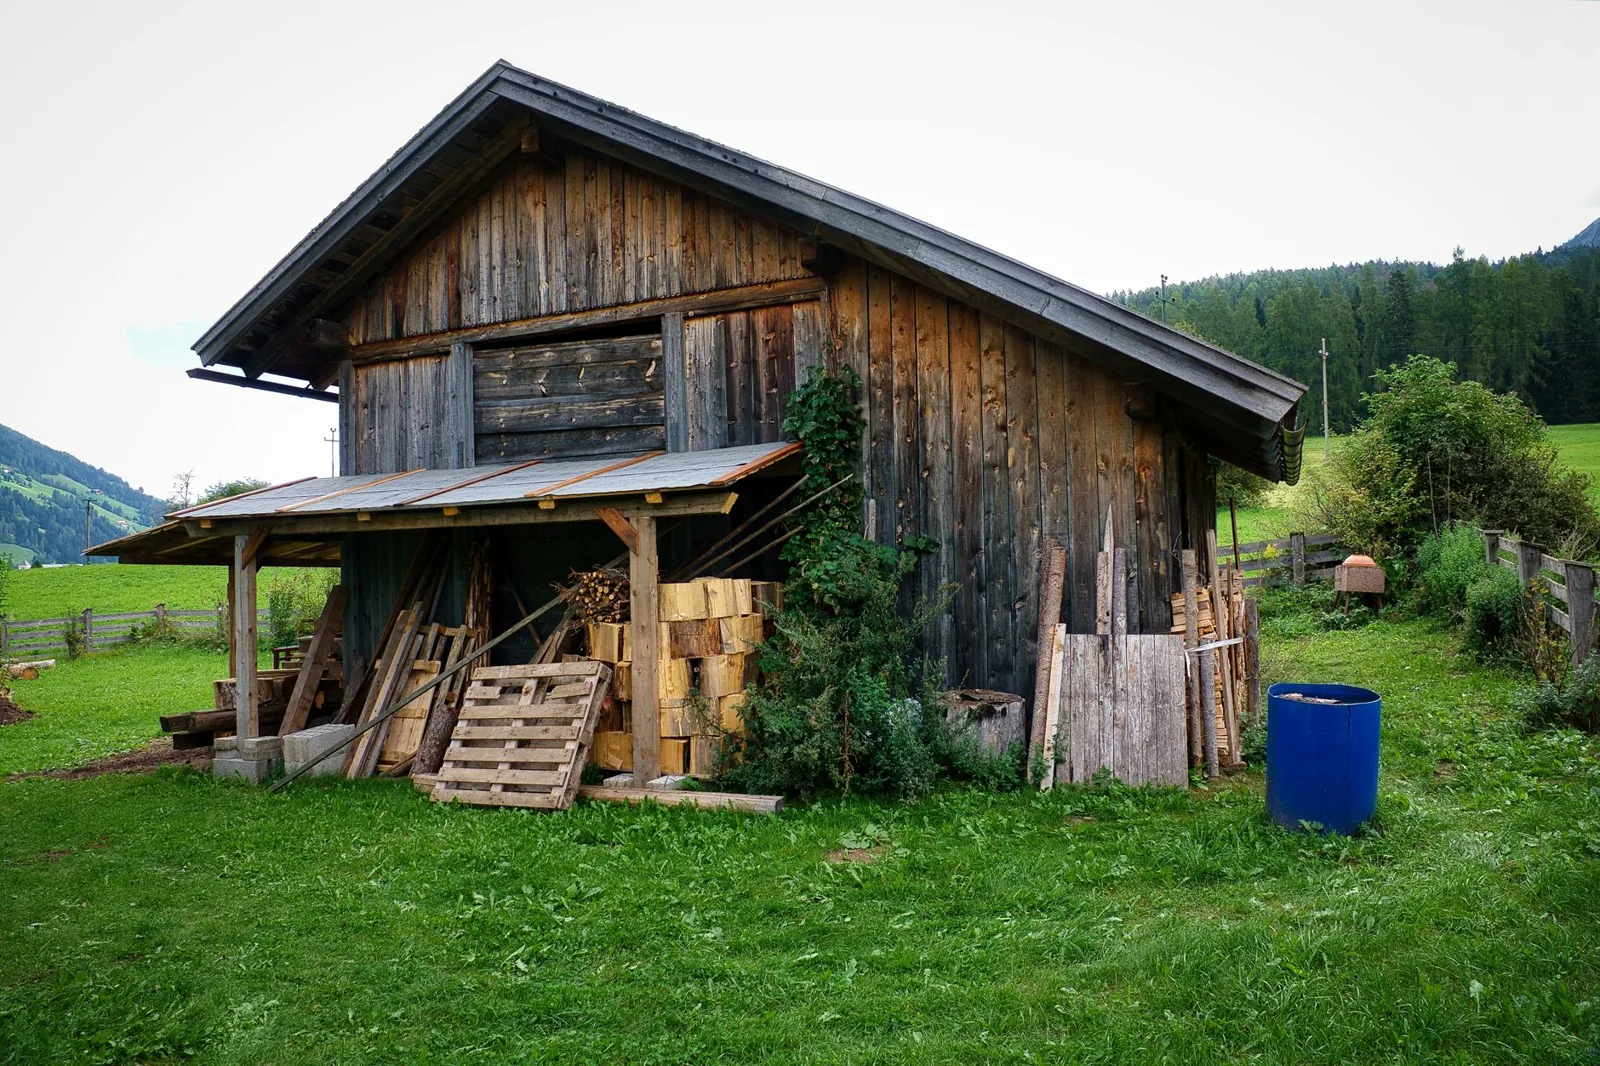
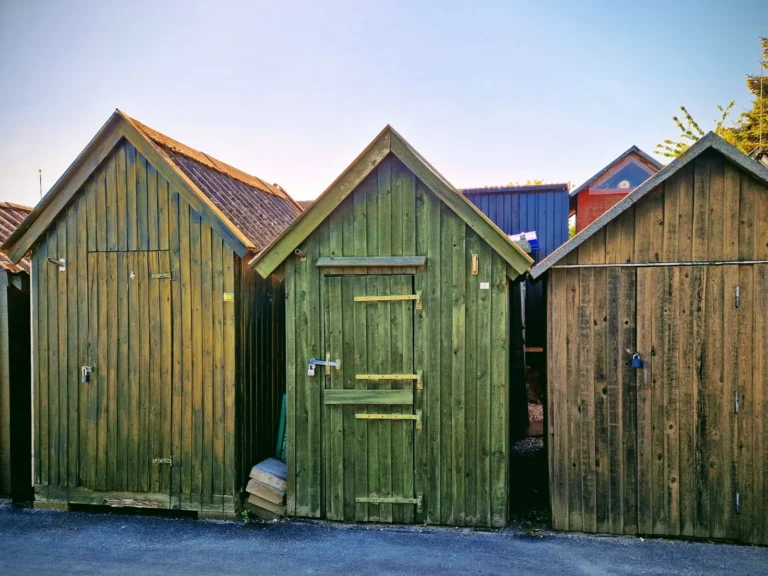
Photo by Joerg Hartmann via Pexels
Tools and Materials You’ll Need
You can build a standard gable shed with a circular saw, a drill/driver, a level, a framing square, a hammer, and a tape measure. A miter saw and a pneumatic nailer speed things up, but they aren’t required.
The material list for an 8×10 shed looks roughly like this:
- Pressure-treated 2x6s for floor joists and skids
- 2x4s for wall studs and rafters (spaced 16 inches on center)
- 3/4-inch pressure-treated plywood for the floor
- 1/2-inch OSB or plywood sheathing for walls and roof
- House wrap (Tyvek or similar) and asphalt shingles or metal roofing
- Siding (LP SmartSide, T1-11, or HardiePlank), door hardware, and a padlock hasp
- Simpson Strong-Tie connectors at the corners and rafter-to-wall joints
- Galvanized or exterior-rated fasteners — GRK and Spax structural screws are worth the upcharge
How to Build a Shed Foundation
The foundation is the part of how to build a shed that determines whether the structure stays square and dry for decades. The two most common options are a gravel pad and a concrete slab, with a skid foundation as a budget third choice.
A gravel pad is the fastest route. Excavate 4 to 6 inches, lay landscape fabric, fill with compacted crushed stone, and set the shed on pressure-treated skids (4x4s or 4x6s) with concrete blocks at the corners. Expect to spend $100 to $400 depending on size.
A concrete slab costs $1,500 to $4,000 for an 8×10, but it gives you a permanent, level, rodent-resistant floor. If you plan to park a riding mower inside or store anything heavy, the slab is worth it. Either way, build the foundation slightly larger than the shed footprint and make sure every corner is level before you place the first joist.
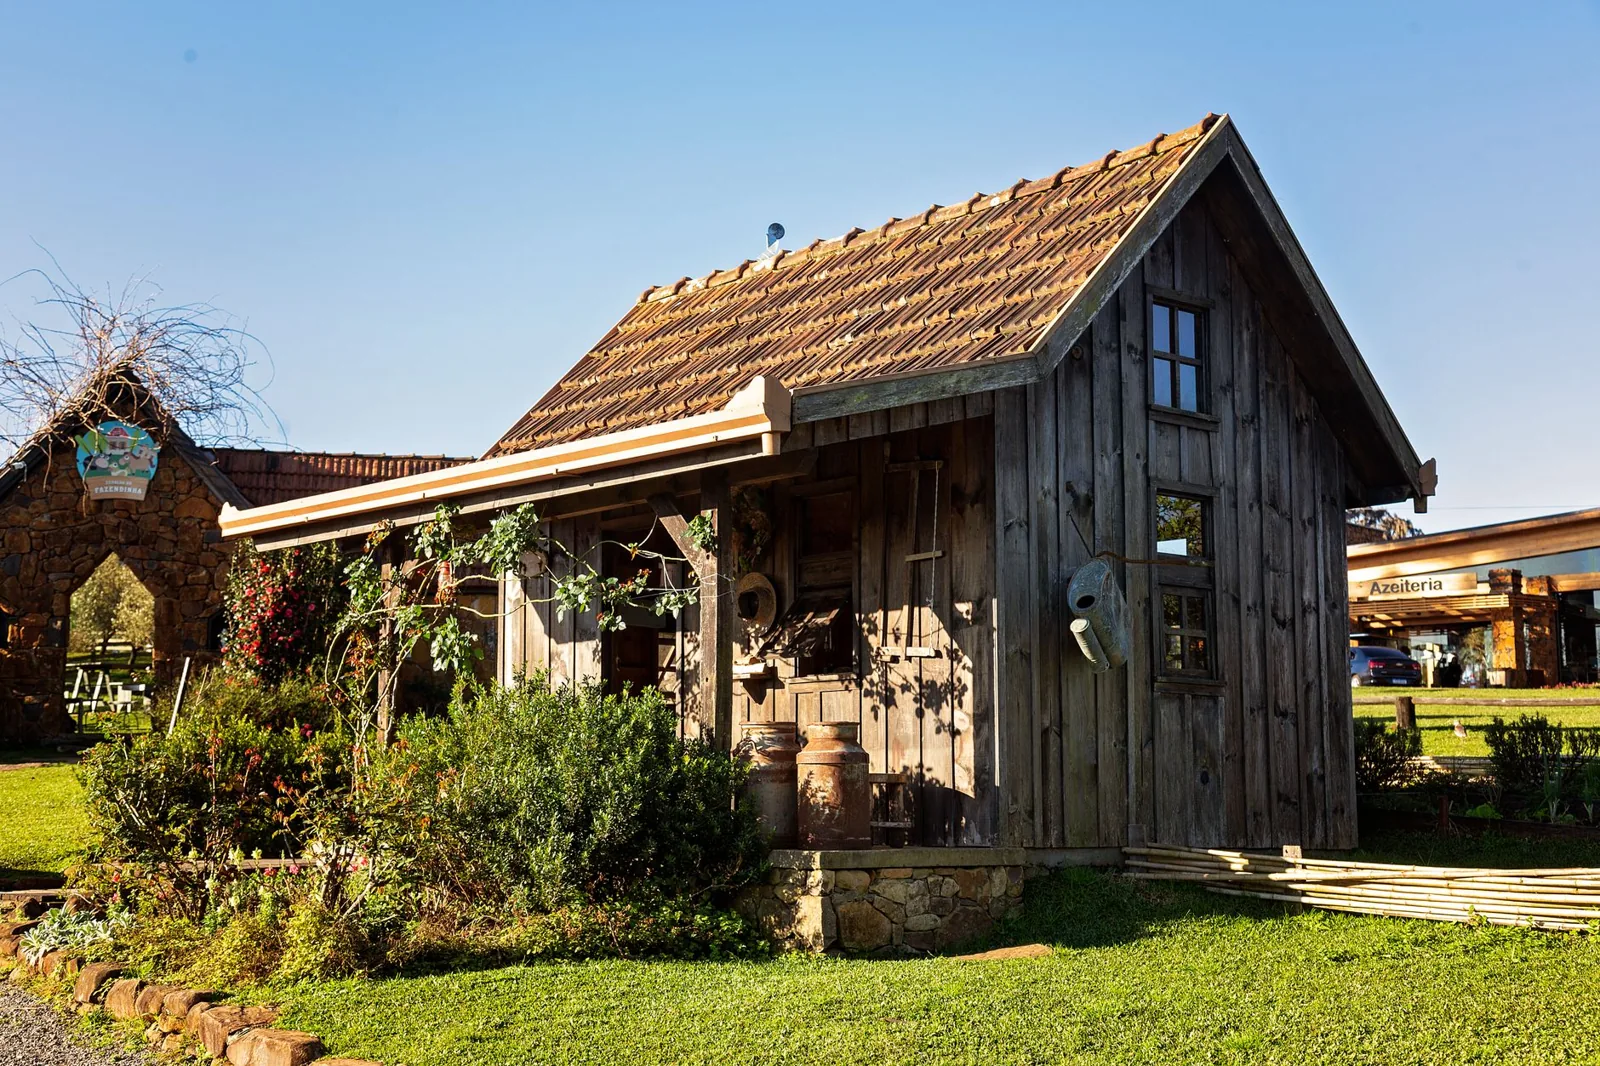
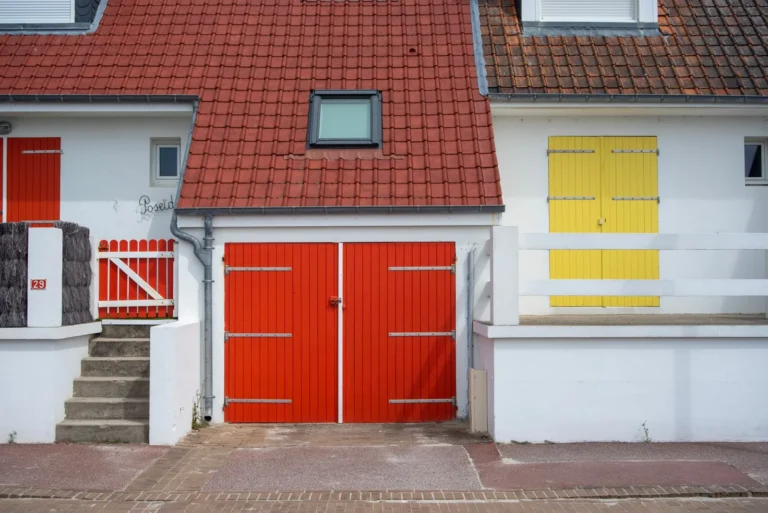
Photo by Marcelo Verfe via Pexels
Framing the Floor, Walls, and Roof
Start with the floor. Lay your pressure-treated joists on the skids or slab, spaced 16 inches on center, then fasten the plywood deck with construction adhesive and exterior screws. Take your time squaring the floor — measure diagonally from corner to corner and adjust until both measurements match.
Next, frame the walls flat on the ground, which is far easier than building them in place. Snap chalk lines for the top and bottom plates, mark studs every 16 inches, and nail everything together with the door and window rough openings already built in. Use 2×6 headers above the door opening to keep the wall from sagging.
For the roof, a simple gable design is the friendliest for first-timers. Cut rafters at the pitch you want — 4/12 is common — using a framing square. If cutting your own rafters feels intimidating, look for pre-cut rafter kits or trusses from a local supplier. Raise the walls, brace them plumb, and set the rafters with Simpson hurricane ties so the roof stays attached in high wind.
Sheathing, Roofing, Siding, and Trim
Once the frame is up, the shed starts looking like a building. Sheath the walls with 1/2-inch OSB, wrap them in house wrap, and staple it snug so moisture can’t get behind the siding. Sheath the roof deck next, then roll out roofing felt before nailing down shingles.
Roofing choice comes down to price and preference. Three-tab asphalt shingles from Owens Corning or GAF run $30 to $40 per bundle, and a bundle covers about 33 square feet — cheap and easy to install. Standing-seam or corrugated metal costs more upfront but lasts 40 years with no maintenance. Whichever you choose, install drip edge along the eaves to keep water off the fascia.
Finish with siding and trim. LP SmartSide goes up fast with a nail gun and holds paint well; T1-11 is the budget standby; HardiePlank costs more but shrugs off moisture and insects. Hang the door on heavy-duty hinges, add a ramp if you’ll be rolling a mower in, and caulk every seam where siding meets trim.
What It Costs and How Long It Takes
Building a shed yourself is dramatically cheaper than buying a prebuilt one, and the gap widens as the shed gets bigger.
| Option | Typical Cost | Time | Best For |
|---|---|---|---|
| DIY kit (flat-pack) | $1,500–$5,000 | 2–3 days | First-timers who want pre-cut parts |
| DIY from scratch | $800–$3,500 | 3–6 days | Budget builders comfortable with lumber |
| Prebuilt (delivered) | $3,000–$12,000+ | Half a day | No time or tools, no permit hassle |
Expect a 6×8 to take two people a full weekend, while an 8×10 or larger realistically takes four to six days of on-and-off work. If you’re weighing a shed against something bigger, see our breakdown of shed cost by size — and if you’re torn between a shed and a full garage addition, compare it against detached garage cost before you commit.
Frequently Asked Questions
Do I need a permit to build a shed?
It depends on size and location. Most areas exempt sheds under 100 to 120 square feet from permits, but setback and HOA rules still apply. Call your local building department to confirm before starting.
What is the cheapest way to build a shed?
A gravel pad foundation with pressure-treated skids and T1-11 siding is the least expensive route. A basic 8×10 built from scratch can come in under $1,500 in materials.
How long does it take to build a shed?
Two people can frame and finish a small 6×8 shed over a weekend. Larger sheds, or a first build with a concrete slab, typically take four to six days.
Can I build a shed on grass or dirt?
You shouldn’t build directly on soil. At minimum, level the ground and set the shed on skids and concrete blocks, or pour a gravel pad so the floor stays dry and rot-free.
How do I keep my shed organized after building it?
Install shelving, wall hooks, and a pegboard before you move anything in. For a full walkthrough of storage systems, read our garage organizer ideas.
The Bottom Line
Learning how to build a shed is a bigger project than hanging a shelf, but it’s well within reach for a determined homeowner. Do the paperwork first, get the foundation level, and spend the extra money on pressure-treated lumber and quality fasteners — those are the two places where cheaping out shows up years later as rot and racking.
Plan for a weekend for a small shed and a week for a large one, and budget $800 to $3,500 for materials if you build from scratch. For detailed framing and roofing guidance from experienced builders, This Old House and Family Handyman both publish step-by-step shed projects worth reading before you cut your first board. Once the roof is on and the door swings true, you’ll have storage that earns its keep every single season.