Garage Insulation Guide: Materials, R-Values, and Real Costs
A garage is almost always the least insulated space attached to a home. It’s freezing in January, sweltering by July, and quietly leaking conditioned air in every month in between. If the room above it never feels right no matter what the thermostat says, the culprit is rarely your HVAC system. It’s the bare concrete, uninsulated stud bays, and thin sheet-metal door sitting underneath you. This garage insulation guide walks through the materials worth paying for, the R-values that actually make a difference, and what the whole project costs.
You don’t need to turn a garage into a finished living room to make insulation worthwhile. Even a basic retrofit narrows temperature swings, cuts road noise, and protects what you store out there — tools, paint, a second refrigerator — from freeze-thaw damage and summer heat. Measured against square footage, it’s one of the cheapest comfort upgrades a homeowner can make.
Most garages can be insulated over a single weekend for a few hundred dollars in materials. The decisions that matter are which material goes where, what R-value you should target for your climate, and whether the garage door — the single largest hole in the thermal envelope — gets the same attention as the walls.
Why Insulate a Garage? The Payoff in Plain Terms
The benefits depend on how you use the space, but the physics holds for everyone: insulation slows heat moving through a surface. Slow it down enough and the garage stays closer to the temperature you want for longer.
Comfort in the room above. The most common complaint is a bonus room or bedroom over the garage that never heats or cools properly. Insulating the garage ceiling directly addresses it, since that ceiling is the floor of the room above.
Lower energy bills. An attached garage shares one or two walls with the house. When those shared walls are uninsulated, your furnace and air conditioner work against an unheated buffer zone. Sealing and insulating them reduces the load on your HVAC.
Protection for stored items. Paint cans, caulk tubes, batteries, and electronics don’t survive freeze cycles well. A garage that stays above freezing in winter and below 90°F in summer keeps far more of what you store usable.
Noise reduction. Insulation — especially dense fiberglass or mineral wool — damps both exterior road noise and the sound of a compressor or table saw escaping into the house.
The honest caveat: insulating a garage won’t make it warm in a Minnesota winter unless you also add a heat source. Insulation slows heat loss; it doesn’t create heat. Treat it as step one, then decide whether a small heater or mini-split is worth it.
The Best Insulation Materials for a Garage
Four materials dominate residential garage work. Each has a clear best use.
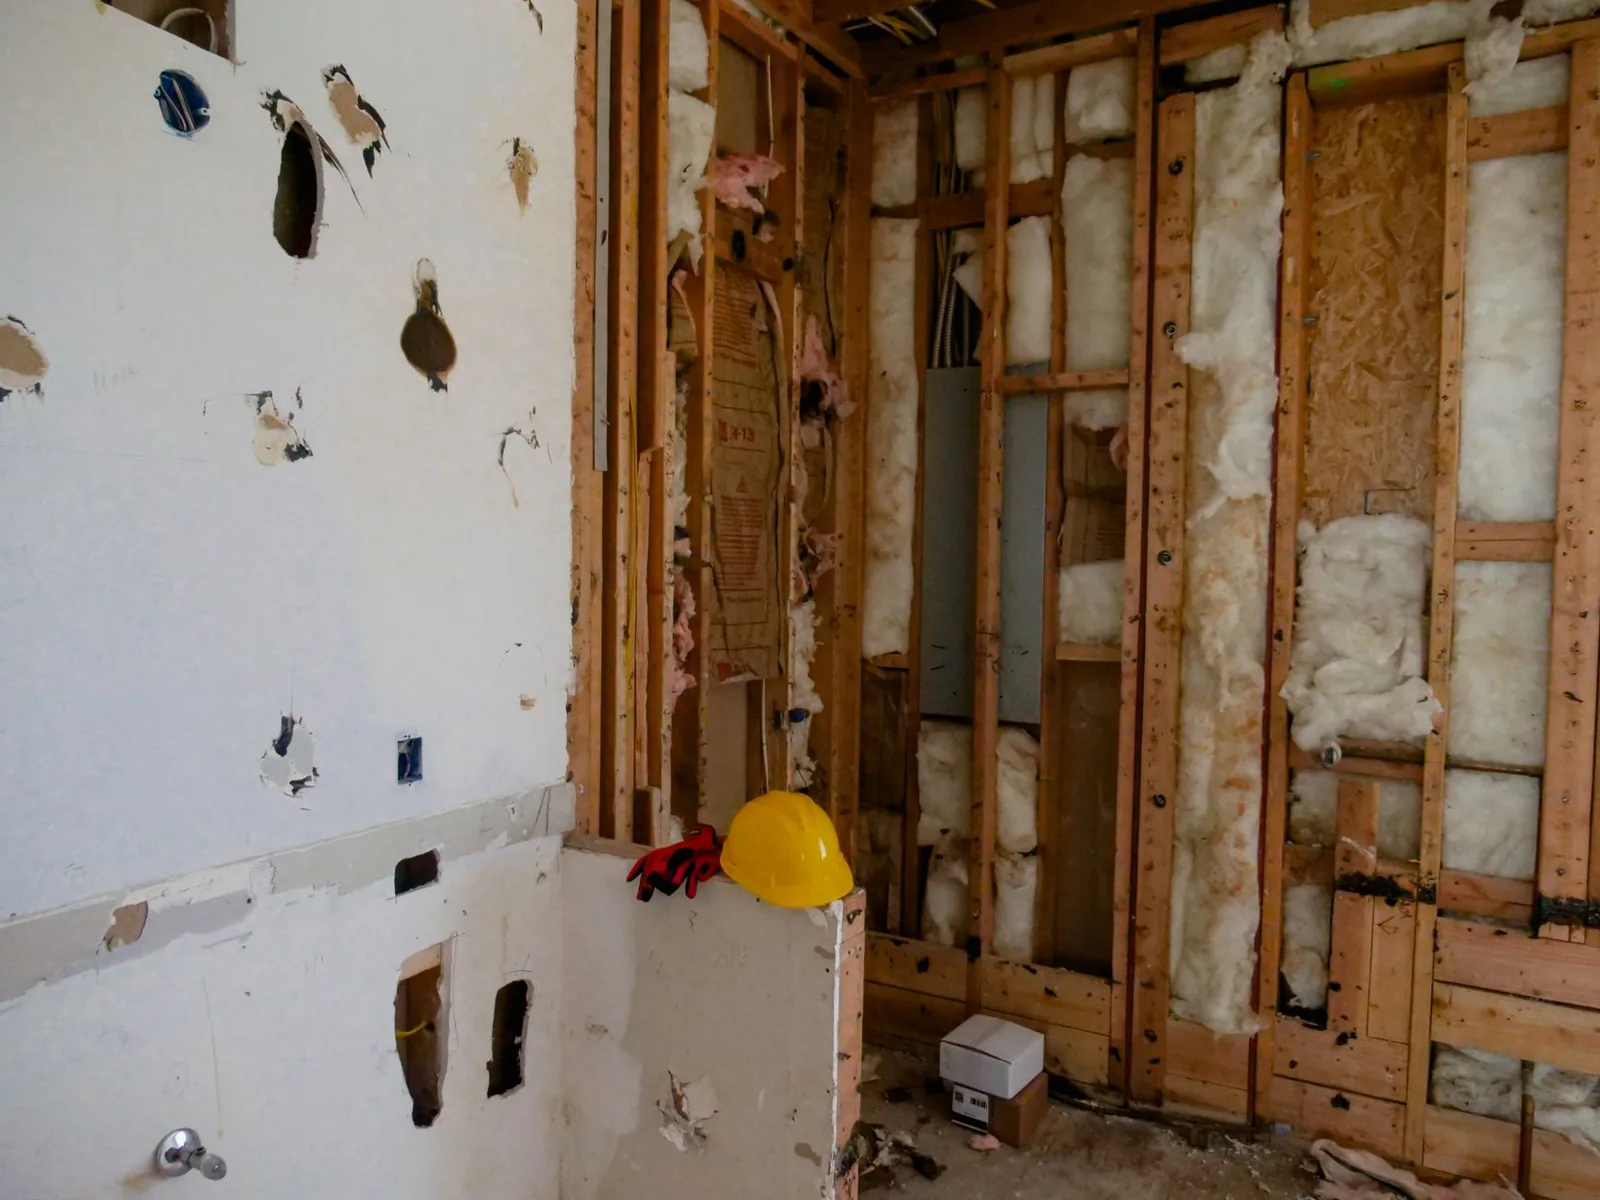
Fiberglass batts are the default for walls and ceilings between open studs or joists. They’re cheap, easy to cut with a utility knife, and available everywhere in standard widths. Brands like Owens Corning and CertainTeed sell faced batts (with a paper or foil vapor barrier) rated from R-11 to R-38. Fiberglass is your best choice when stud bays are exposed and dry.
Rigid foam board (XPS or polyiso, sold as Owens Corning Foamular, Dow Styrofoam, and Rmax) delivers more R-value per inch than batts and adds structural stiffness. It’s the go-to for garage doors, where you can cut panels to fit inside each door section, and for foundation or concrete-block walls where batts have nothing to grab.
Spray foam comes in two forms: open-cell (soft, about R-3.7 per inch) and closed-cell (rigid, about R-6.5 per inch). It air-seals as it insulates, which nothing else does as well. DIY two-component kits from Touch ‘n Foam and Dow Great Stuff run $300–$500 and cover roughly 200 board feet — enough for rim joists and small gaps, not a whole garage. Full-wall spray foam is a pro job at $1.50–$3.00 per board foot installed.
Blown-in cellulose or fiberglass suits enclosed ceiling cavities, especially above finished drywall. You rent the machine from a big-box store and blow it in through access holes. It’s fast and cheap for large flat areas.
| Feature | Fiberglass Batts | Rigid Foam Board | Spray Foam | Blown-In Cellulose |
|---|---|---|---|---|
| R-value per inch | R-3.1 to R-3.8 | R-5 to R-6.5 | R-3.7 (open) / R-6.5 (closed) | R-3.2 to R-3.8 |
| Best for | Open stud walls, ceilings | Garage doors, concrete walls | Air-sealing gaps, rim joists | Enclosed ceiling cavities |
| DIY difficulty | Easy | Moderate | Moderate to hard | Moderate (machine rental) |
| Approx. material cost | $0.30–$0.80/sq ft | $0.50–$1.20/sq ft | $0.60–$3.00/board ft | $0.40–$1.00/sq ft |
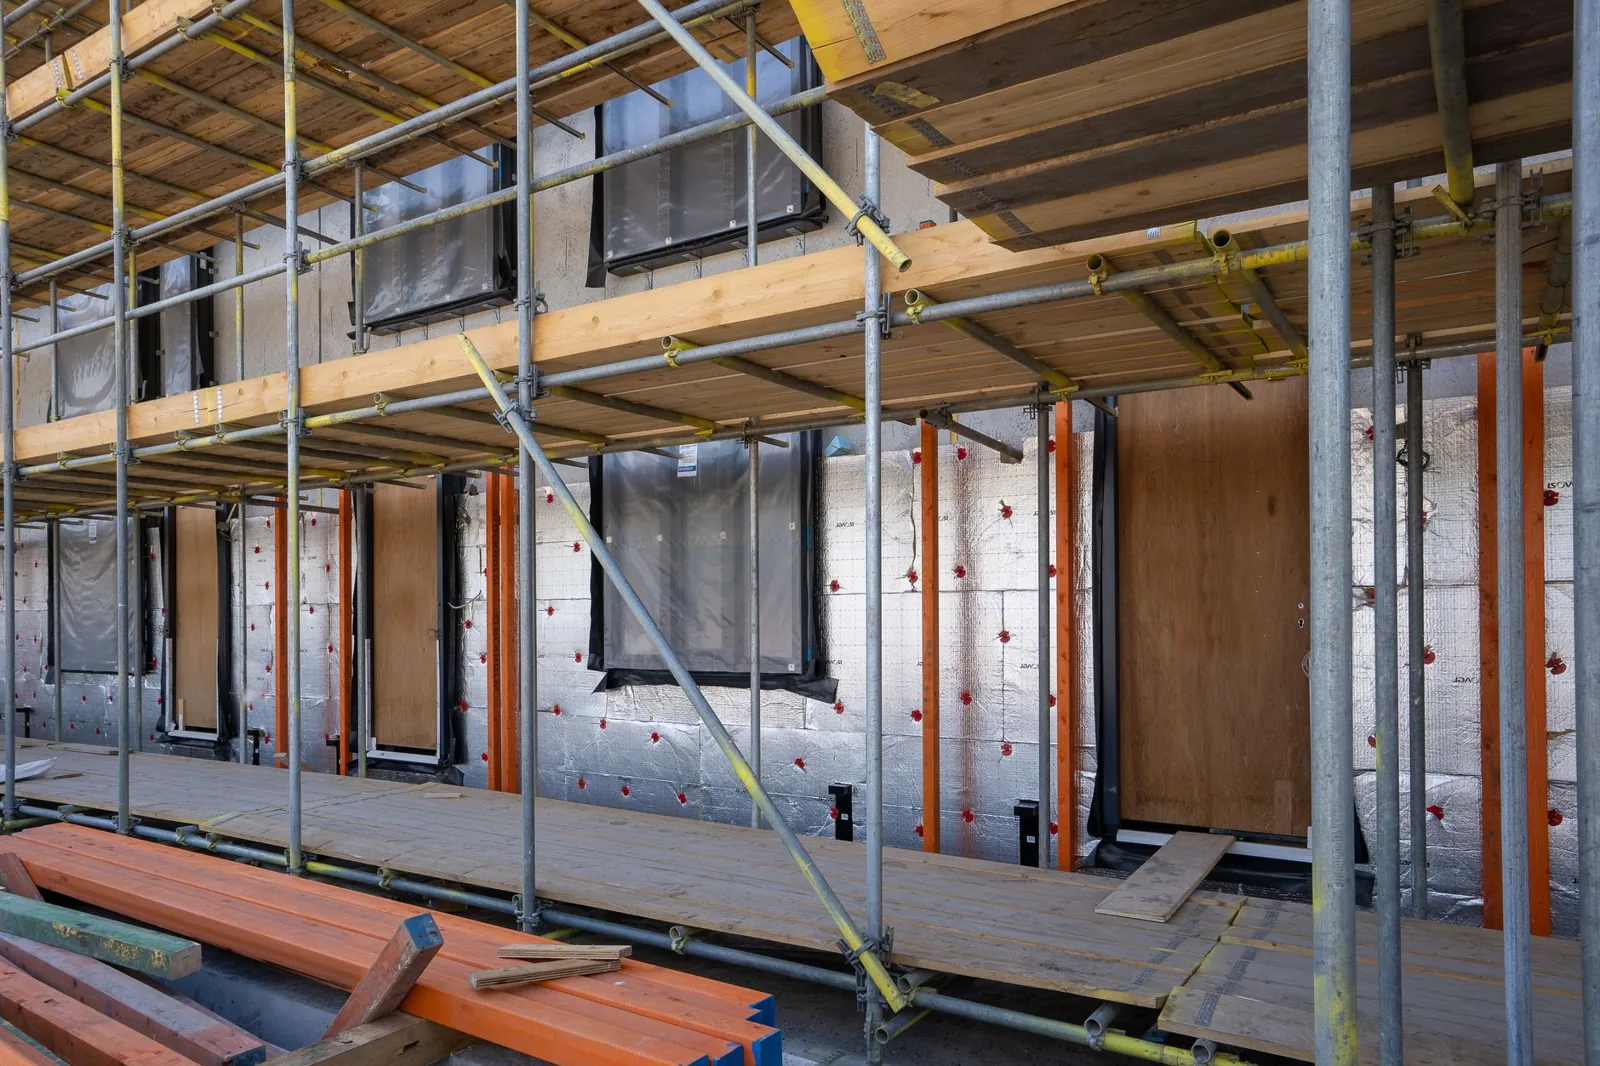
Photo by Mike van Schoonderwalt via Pexels
Garage Insulation R-Values: How Much You Really Need
R-value measures resistance to heat flow; higher is better. The Department of Energy publishes recommended levels by climate zone, and the numbers most homeowners should target for a garage break down like this.
For garage walls, R-13 to R-15 is the realistic sweet spot in most of the US and southern Canada. That’s a 2×4 stud cavity filled with R-13 batts, or R-15 for a 2×6 wall. Going higher on walls delivers diminishing returns because walls are a smaller share of heat loss than the ceiling.
For a garage ceiling below a living space, aim higher — R-30 to R-38. Heat rises, so the ceiling is the biggest energy leak, especially if a bedroom sits above. This is where blown-in insulation or R-38 batts earn their keep.
For the garage door itself, R-6 to R-12 is realistic. An uninsulated steel door is about R-1. If you replace rather than retrofit, insulated doors carry their own R-value rating, and the cost of a new garage door installation varies widely by size and material — worth pricing if your existing door is old or damaged.
A practical rule: match your garage insulation to your house, not to your neighbor’s climate. If you’re in zone 6 or 7 (northern states, most of Canada), chase the higher end of every range. If you’re in zone 2 or 3 (the South), a lighter touch on the ceiling and R-13 walls will do.
How to Insulate a Garage Door, Step by Step
The door is where most garages lose the most heat, and it’s the most approachable DIY project in this guide. Here’s the method that holds up.
Measure each door section. Most steel sectional doors have recessed panels. Measure the width and height of each recess, then plan to cut rigid foam or reflective panels slightly smaller so they press in without bowing.
Choose your panel. Rigid foam board (R-5 to R-6.5) gives the best thermal result. Reflective foil bubble insulation from brands like Reflectix or Frost King is thinner and easier to cut, but its R-value is modest — roughly R-3 to R-6 — and it performs best in hot, sunny climates where radiant heat is the main enemy.
Cut and dry-fit. Score rigid foam with a utility knife and snap it along the cut. Test-fit one panel in a recess before cutting the rest; a snug fit holds panels without adhesive, though a bead of construction adhesive or panel clips keeps them from rattling.
Seal the edges. The gaps around a garage door matter more than the panels. Replace worn bottom seals and install vinyl weatherstripping around the perimeter so air can’t blow in around the door.
Recheck the spring balance. Adding even a few pounds of foam to each section changes door balance. If the door starts to sag or the opener strains, have the torsion spring adjusted by a pro — these springs are dangerous to work on yourself.

Photo by Kindel Media via Pexels
Insulating Garage Walls and the Ceiling
Walls and ceilings use the same technique as interior work, with two garage-specific cautions.
Walls with exposed studs take R-13 or R-15 faced batts. Push the batt into the cavity, staple the facing to the studs, and keep the vapor barrier facing the heated side — toward the house interior. In cold climates that barrier matters; in hot, humid climates some builders skip it to avoid trapping moisture. When in doubt, check your local code.
Concrete or block walls call for rigid foam board glued directly to the masonry with compatible adhesive, or a 2×4 frame filled with batts. On an attached garage, the wall shared with the house should be insulated and fire-rated per code, usually with 5/8-inch drywall over the batt.
Ceilings under living space want R-30 to R-38, and air-sealing first. Caulk or foam every penetration — wiring holes, plumbing chases, and the gap around attic access — before insulating. Insulation without air-sealing is a sieve; air leaking through a small gap carries far more heat than conduction through a whole batt.
Detached garages are a judgment call. If you only park a car and store garden tools, the payback shrinks. Before spending, look at what a detached garage costs to build and run — a cheap, mostly-unused structure may not justify full insulation. But if you work out there in winter, insulating just the walls around a workbench and adding a small heater transforms the space for a fraction of the cost.
What Garage Insulation Costs: DIY vs. Pro
For a typical two-car garage of about 400 square feet of wall and ceiling area, here’s where the numbers land.
DIY material costs run roughly $350–$700. Figure $0.30–$0.80 per square foot for fiberglass batts, $0.50–$1.20 for rigid foam, plus $30–$60 for a roll of weatherstripping, $15–$30 for a can of spray-foam sealant, and $40–$80 for a blown-in machine rental if you’re doing the ceiling.
Pro installation typically runs $1.50–$3.50 per square foot depending on material and access. For that same 400-square-foot garage, expect $1,000–$2,500 installed for batt insulation, and $2,500–$5,000 or more for full closed-cell spray foam on walls and ceiling.
The DIY-versus-pro line is fairly clean. Batts in open studs, rigid foam on a door, and weatherstripping are all approachable for a competent homeowner with basic tools. Closed-cell spray foam and anything involving a torsion spring or a finished ceiling you can’t reach are jobs where paying a pro — or at least getting quotes — usually pays for itself in quality and safety. For finishing touches that make the space more livable afterward, our garage organizer ideas cover the storage side once the insulation is in.
Common Mistakes That Undo Your Insulation
Compressing fiberglass. Stuffing a thick batt into a thin cavity crushes the air pockets that do the work. A compressed R-19 batt can perform like R-11. Cut batts to fit, don’t cram them.
Skipping air-sealing. This is the most expensive mistake on the list. Insulation slows conduction; it does almost nothing for air leaks. Seal gaps first, insulate second, or you’ll pay to heat a draft.
Covering the vents. Never block soffit vents or roof ventilation when insulating a garage ceiling. Trapping moisture rots framing and peels paint.
Insulating without a moisture plan. In cold climates, the vapor barrier faces the warm side. Get it backward and you can trap condensation inside the wall cavity.
Ignoring the door. A garage with insulated walls and an uninsulated, drafty door has barely improved. The door can be 30–40% of the wall area in a single-car garage.
Frequently Asked Questions
Is it worth insulating an unheated garage?
If you use the garage for anything beyond parking — storage, a workshop, a gym, or a room above it — yes. You’ll see the payoff in comfort and protected belongings even without adding heat. If it’s purely a car shelter in a mild climate, the payback is minimal.
What is the cheapest way to insulate a garage?
Fiberglass batts between open studs and rigid foam board cut to fit the door panels are the two cheapest effective moves. A full DIY retrofit of a two-car garage can stay under $700 in materials.
Do I need a vapor barrier in a garage?
In cold climates, yes — the facing on batts goes toward the heated interior side. In hot, humid climates, local code often omits it or places it differently. This is one detail worth confirming against local requirements rather than guessing.
Can I insulate my garage door myself?
Yes, for standard steel sectional doors. Cut rigid foam to fit each recessed panel and add perimeter weatherstripping. Avoid modifying the torsion spring yourself; if the door’s balance changes, call a professional.
How much difference does insulating a garage make?
A well-sealed, insulated garage can stay 10–20°F warmer than outside in winter and noticeably cooler in summer, before any heating or cooling is added. The room above an insulated garage ceiling is usually the most dramatic improvement.
The Bottom Line
Insulating a garage is one of the few home projects where a weekend and a few hundred dollars produce an obvious, year-round difference. Prioritize air-sealing, match the material to the surface — batts for studs, rigid foam for the door, blown-in for enclosed ceilings — and hit the R-values that suit your climate. The ceiling under a living space matters most; the door is the most overlooked.
If you work out there, want the room above to finally be comfortable, or are tired of tossing rusted tools and frozen paint every spring, this is the project that fixes it. For more on the numbers behind a full door replacement, see The Family Handyman’s door insulation guide and the Department of Energy’s insulation guidance. Then decide whether you’re doing it yourself over a weekend or getting quotes for the spray-foam version — either way, start with the air leaks, and the rest falls into place.